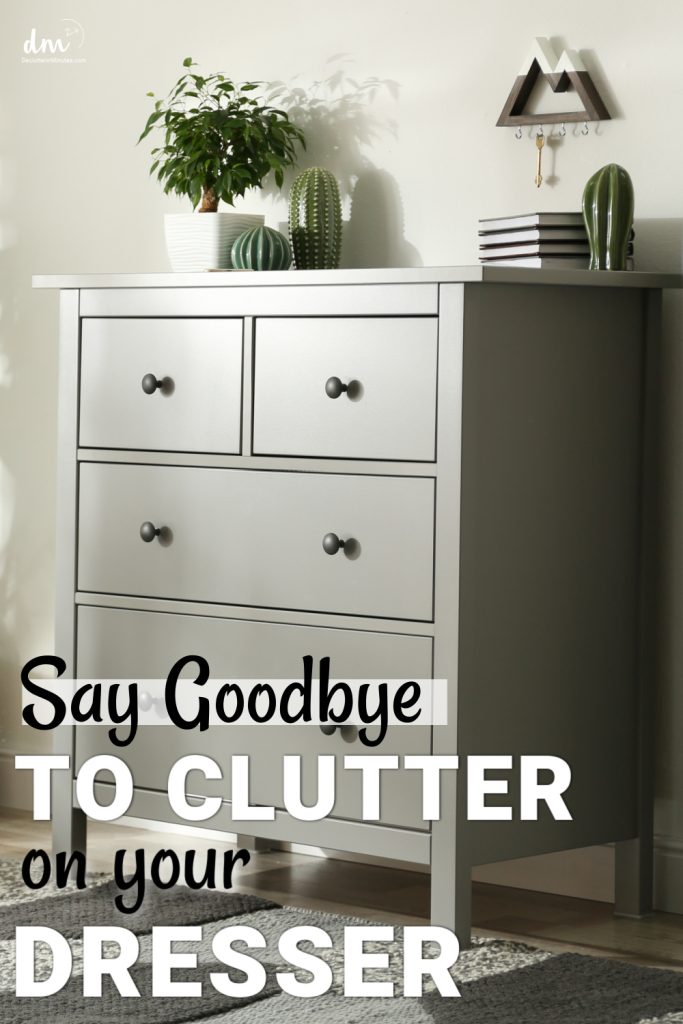
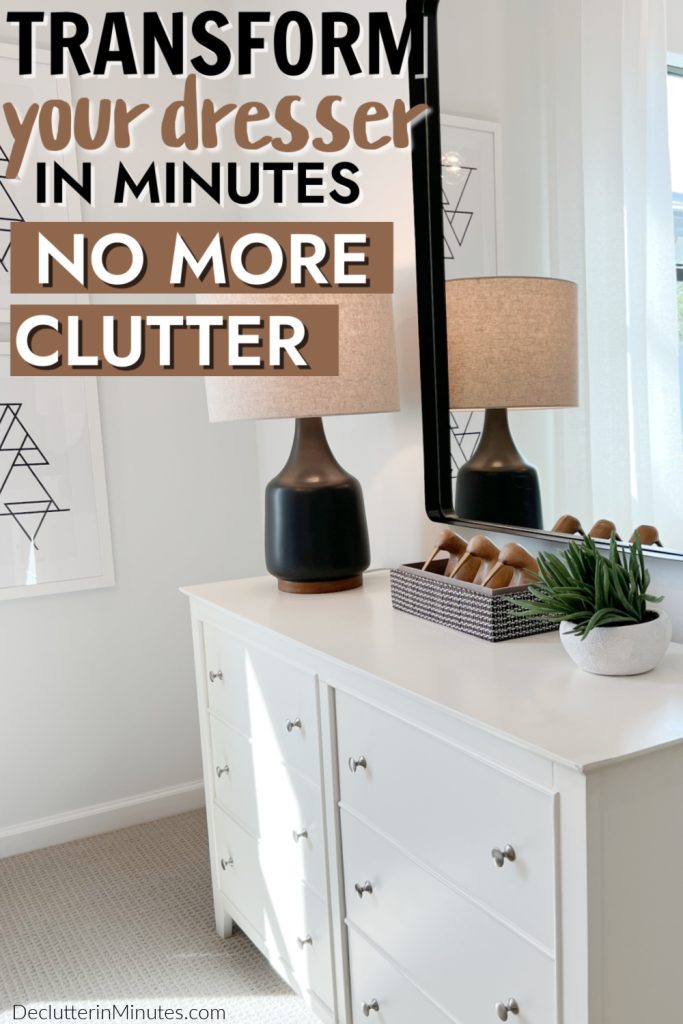
Easy Dresser Clutter Hacks
Sometimes, tackling a big project can be incredibly overwhelming, and finding a small win might be enough to jump-start your motivation again. If this sounds like you, then this mini-guide will help! How to declutter a dresser top so you can have a neat, tidy, and organized area in your room.
Declutter your Bedroom by focusing on small projects that you can use to snowball your way to a big win.
What is it about open spaces that just beg us to set things down? In the kitchen, it’s the counter. In the family room, it’s the coffee table. And in the bedroom? Yep, it’s probably your dresser.
Now, don’t get me wrong—setting things down can be super helpful, especially when you’re in the middle of cleaning up. But the problem comes when those things don’t get picked back up. Even if you mostly put things away, leaving a few stragglers behind can make that open space look cluttered and chaotic.
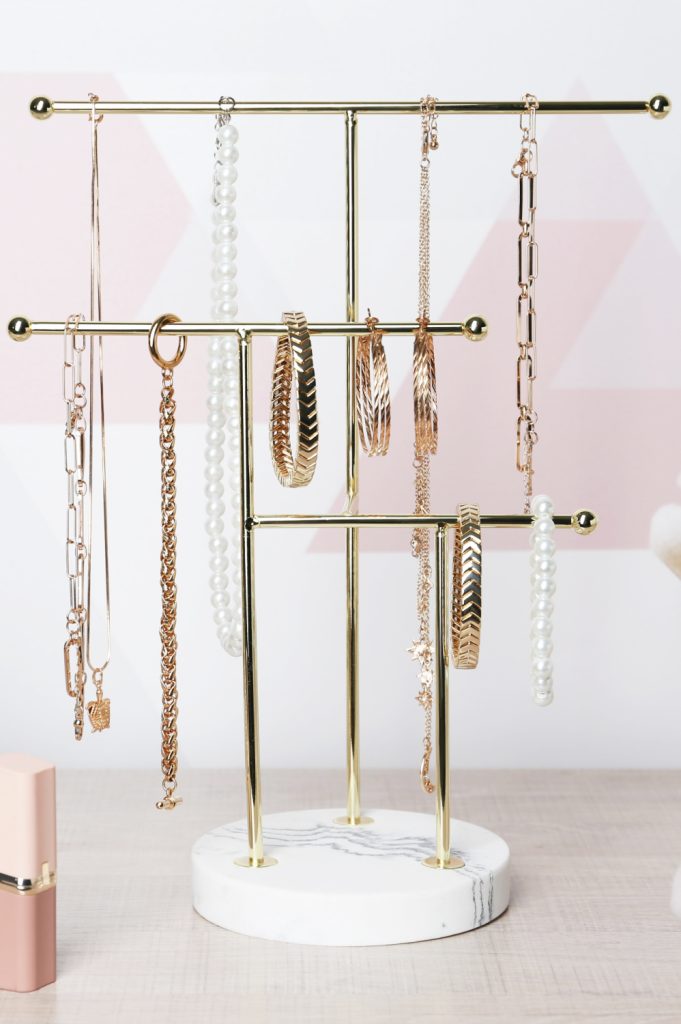
Sound familiar? If you’re like most people, the top of your dresser has become a magnet for random stuff. Clothes tossed here, a tangle of jewelry there, and maybe a few trinkets sprinkled in for good measure. Sure, it’s a convenient spot to stash things you use daily—until it’s not.
Because let’s be real: what happens when it all gets out of hand? Suddenly, your dresser isn’t just cluttered—it’s a precarious mountain of stuff that feels like it might collapse the next time you walk by.

Why Dressers Get Cluttered (and What to Do About It)
Before we jump into tackling that dresser chaos, let’s take a second to figure out why it gets so cluttered in the first place. Spoiler alert: it’s not just you!
Here are the usual culprits:
- No designated spot for certain items.
- Not putting things all the way away.
- Not having a clear system to keep things organized.
Once you know what’s causing the mess, it’s way easier to set up solutions that’ll keep your dresser top looking neat for the long haul.
His and Hers: The Dresser Dilemma
If you’re sharing a dresser with your partner, things can get even trickier—especially if you have different ideas of what “organized” looks like.
One way to keep the peace? Divide and conquer!
You can split the surface in half or use separate organizers for each person’s stuff. Or, if you’re feeling ambitious, come up with a shared system that works for both of you. Teamwork makes the dream work, right?
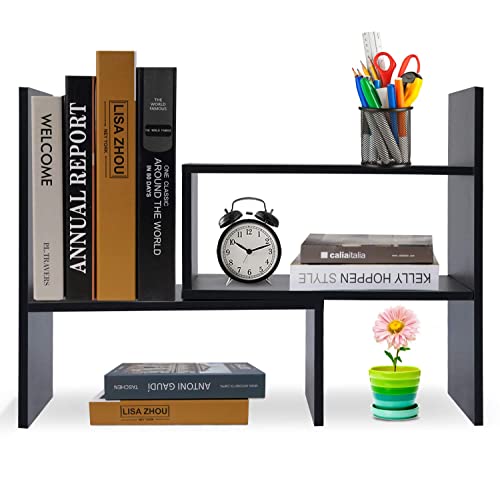
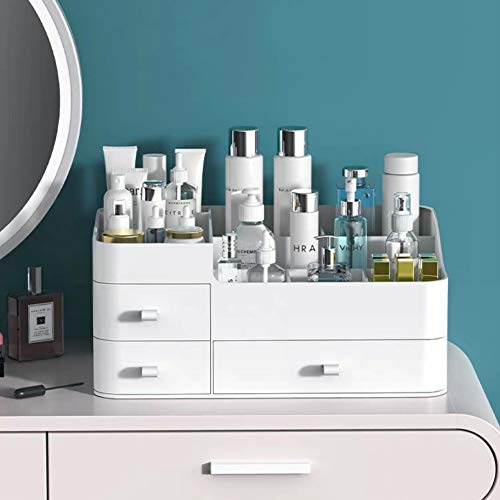
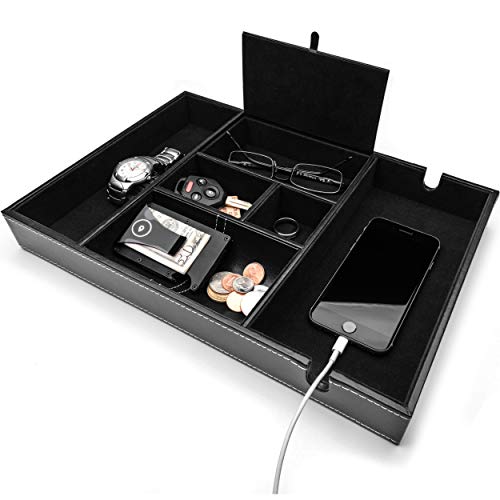
Hossejoy Wood Adjustable Desktop Storage Organizer Display Shelf Rack, Office Supplies Desk Organizer,Black MIUOPUR Makeup Organizer for Vanity, Large Capacity Desk Organizer with Drawers for Cosmetics, Lipsticks, Jewelry, Nail Care, Skincare, Ideal for Bedroom and Bathroom Countertops – Large Whiteduke Valet Tray for Men, Nightstand Entry Table Organizer, Catch All Tray, Dresser Organizer, Black Faux Leather Box, 6 Compartments
What Should Stay and What Should Go?
First things first—let’s figure out what actually belongs on your dresser. To make it easier, ask yourself these questions:
- Do I use this item often?
- If I needed this, is my dresser the first place I’d look?
- Could this be stored somewhere else?
- Is this item just adding to the clutter?
Be honest with yourself as you go through these. The answers will help you decide what deserves a spot on your dresser and what’s better off living somewhere else.
Kitchen Fast Fix Master Closet Fast FixLaundry Room/Linen Closet Fast Fix


Decluttering the Top of the Dresser
Okay, let’s get to it! Now that you’ve got a vision for how you want your dresser to look, it’s time to roll up your sleeves and tackle the clutter. Let’s break it down step by step:
Step 1: Clear the Deck
Start by sorting through everything on your dresser:
- Put away bedroom items. If it belongs in your room but not on your dresser, find its proper home.
- Toss the trash. Get rid of anything that’s clearly garbage—receipts, old tags, random bits of paper. Clearing this out will make it easier to see what’s left.
- Relocate out-of-place items. Gather up anything that belongs in another room (like pens, loose change, or random knick-knacks) and put it where it actually belongs.
D/M Pro Tip: Keep a trash bag and a “put away” basket nearby while you work. This way, you can quickly toss trash and gather out-of-place items without running back and forth to other rooms.
Step 2: Sort What’s Left
Now, it’s time to tackle the remaining items:
- Take one item at a time and sort it into categories—jewelry, accessories, grooming products, etc.
- Keep going until your dresser top is completely clear.
- Wipe down the surface so you’ve got a fresh, clean slate to work with.
D/M Pro Tip: Use small trash bins or sticky notes to mark your categories as you sort. This keeps everything organized and makes it easier to see what you’re working with.
Rubbermaid Spa Works Compact Contemporary Style 9 Quart Indoor Open Vanity Home Trash Container White(16 Pack) Sticky Notes 3×3, Vintage Colors, Sticky Pads, Recyclable, Self-Stick Pads, Easy to Post for Home, Office, NotebookSharpie Permanent Markers, Chisel Tip, Black, 4 Count


Step 3: Organize What Stays
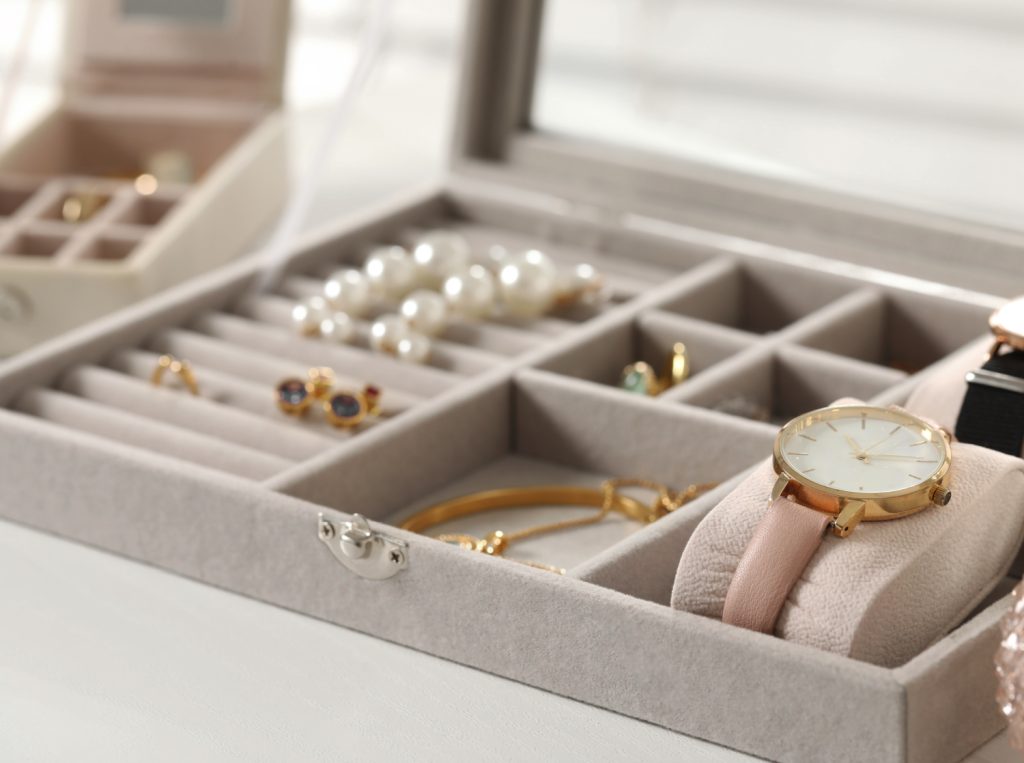
To keep your dresser from turning into a clutter magnet again, use containers and organizers to give everything a proper place. Here are some ideas:
- Containers for categories:
- Organizers for each person:
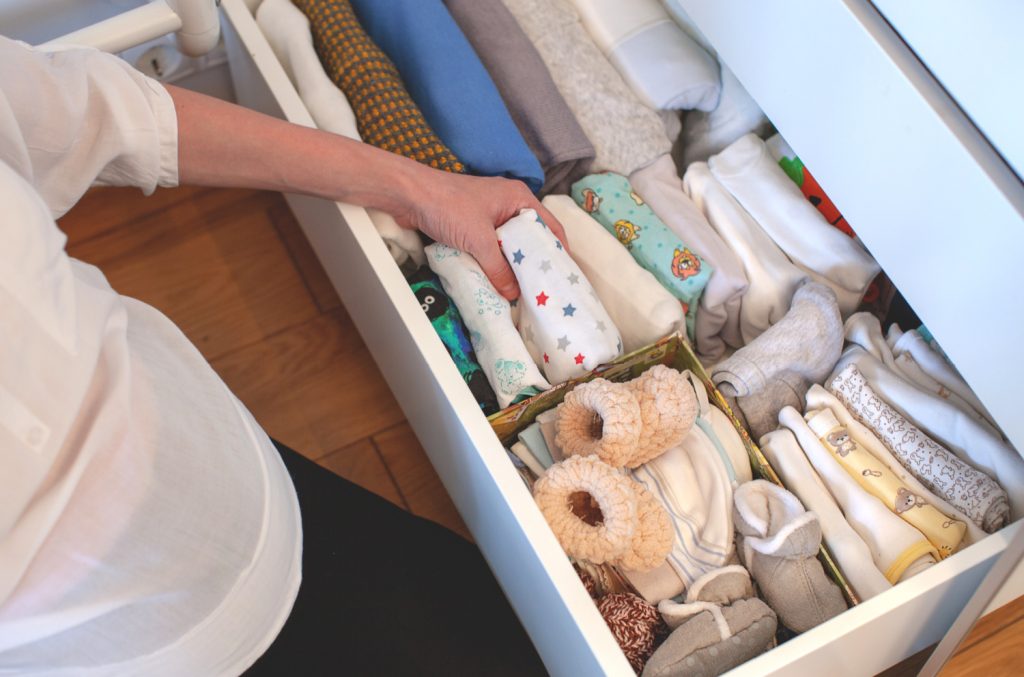
- Maximize storage space:
D/M Pro Tip: Choose organizers that match your style and work for what you want them to hold. If you love a clean, minimalist look, go for clear or neutral containers. If you want a pop of personality, pick colorful or decorative options that make you smile.
Keep Clutter Away for Good
Let’s be real—decluttering your dresser is one thing, but keeping it that way? That’s the real challenge. Don’t worry, though. These simple tips will help you keep your dresser looking neat and tidy for the long haul:
- Only keep what belongs. Make it a rule: if it doesn’t belong on your dresser, it doesn’t stay there. Period.
- Schedule a weekly reset. Pick a specific day each week to give your dresser a quick once-over. It doesn’t have to take long—just a few minutes to clean up and put things back where they belong.
- Decide on a home for new items. Anytime you bring something new into your room, take a moment to decide where it should go. Is it a dresser item, or does it belong somewhere else?
- Adopt a “one in, one out” rule. For every new item you add to your dresser, remove something you no longer use or need. This keeps things from piling up over time.
- Create a “catch-all” container. If you or your spouse has a habit of dropping random items on your dresser, use a small tray or bowl as a temporary holding spot. Just make sure to empty it regularly.
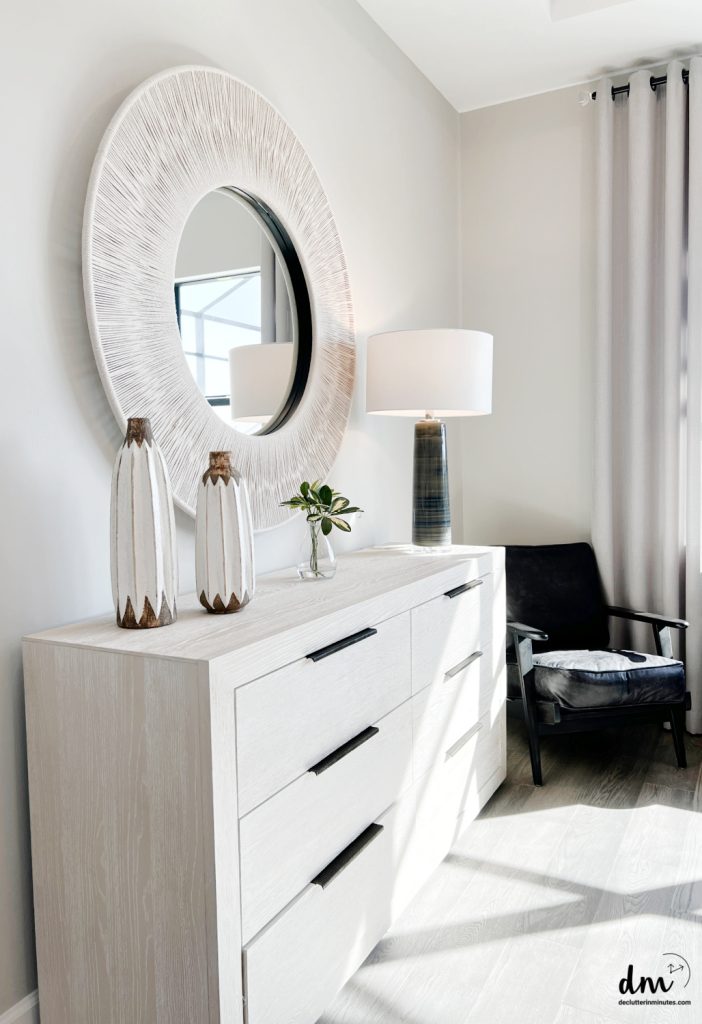
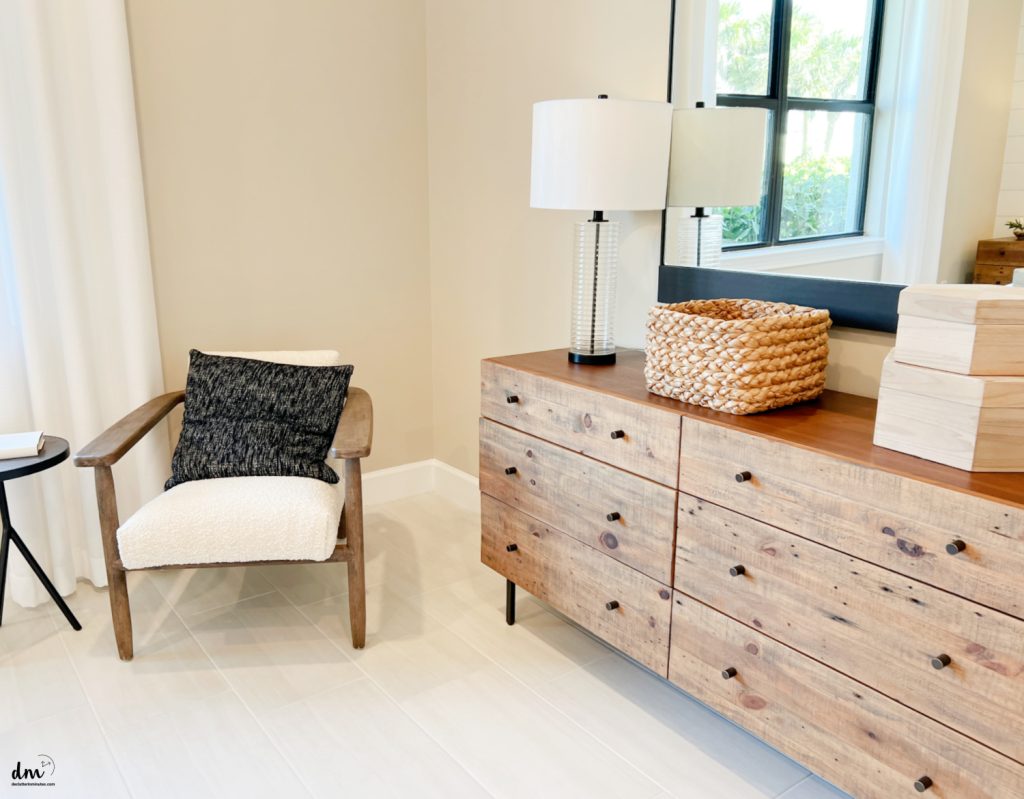
- Keep it visually appealing. Add a decorative touch, like a small plant, a framed photo, or a pretty tray. When your dresser looks nice, you’ll be more motivated to keep it clutter-free.

With these simple habits, your dresser will stay neat and clutter-free—no more piles of random stuff staring you down after a long day. Remember, it’s okay to be a little selfish with your space, especially your bedroom. Keep it neat, cozy, and inviting—a true retreat where you can unwind and recharge.
A neat, organized dresser doesn’t just look good—it makes getting ready a breeze and brings a little extra calm to your space. With these easy steps, you can turn your dresser from a cluttered mess into a functional, stylish spot you’ll actually enjoy seeing every day.
And hey, don’t forget to keep up with the decluttering! A little regular maintenance goes a long way in keeping things neat and stress-free.