
How to Create an Effective To-Do List That You’ll Actually Use
Have you ever wondered how to create the perfect to-do list? Not one that goes on for pages or leaves you feeling overwhelmed, but one that actually helps you get things done.
The truth is, the best to-do lists aren’t the ones with the most boxes to check. They’re the ones that help you focus on what matters most, stop forgetting important tasks, and end the day feeling like you actually made progress.
In this article, I’ll show you how to create an effective to-do list that you’ll actually use, along with a few simple strategies that have helped me stay organized without feeling overwhelmed.

Quick Answer: How to Create an Effective To-Do List
The best way to create an effective to-do list is to stop trying to remember everything in your head. Write down every task you need to accomplish, prioritize what’s most important, and be realistic about what you can actually get done today.
A good to-do list should help you focus on your next step, not make you feel overwhelmed by everything that’s still left to do.
Let’s face it. To-do lists get a pretty bad rap.
It’s not because there’s anything wrong with making a list. It’s because we’ve all experienced writing one that’s impossible to finish. By the end of the day, there are more unchecked boxes than checked ones, and instead of feeling accomplished, we feel like we’re falling behind.
The truth is, a to-do list is simply a plan for your day or your week. When it’s done well, it helps you stay focused, avoid feeling overwhelmed, and spend your time on the things that matter most.
The problem isn’t the list. It’s how we’ve been taught to make one.

What Is the Best Way to Create an Effective To-Do List?
Let me share what completely changed the way I make my to-do lists.
When I was a young mom of 4 very active little boys, I remember how I would look at my to-do list with pride. Crazy, I know, but seeing how many things were on my list wasn’t daunting, but more like a badge of honor. I would tell my friends just how crazy long my list was and how many things I needed to do and, in my head at least, that meant I was doing a great job as a wife and mother.
READ: SIMPLE TIPS FOR BEING SUPER PRODUCTIVE
The funny thing is, the items on that list never got checked off. EVER.
It just sat there day after day until it finally got buried under random papers and mess, never to be heard from again. Back then, a to-do list was a sign of how busy I was and not a tool to help me be LESS busy. That thought never even occurred to me until many years later.
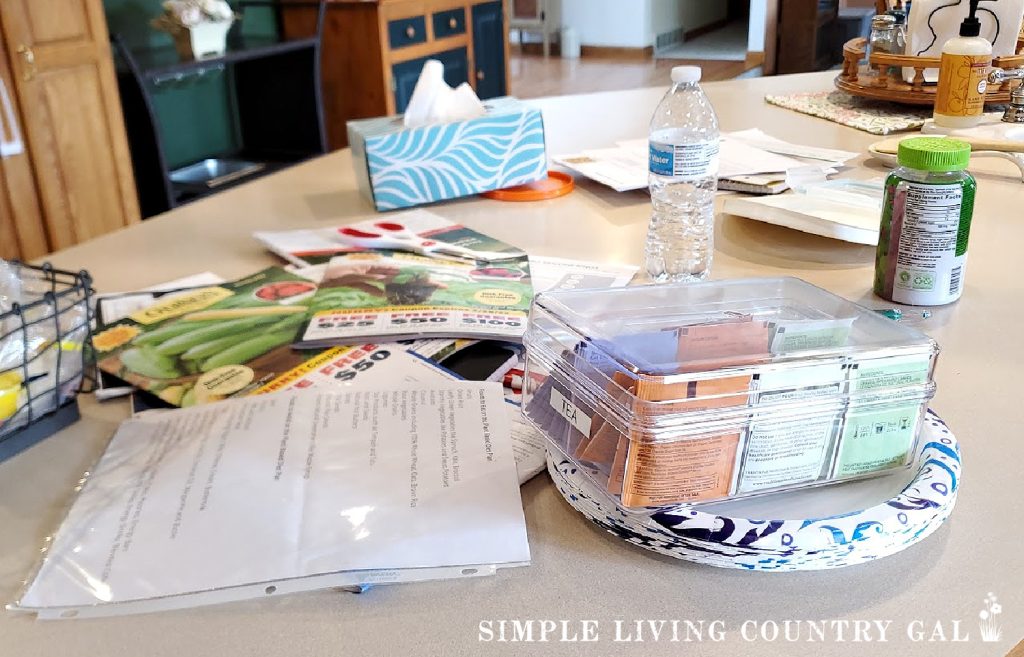
Now I use my weekly list as a map for the next six days.
This list is my guide to keep me working smarter and, in turn, freeing up more time for family and friends. I wish I had these tips when I was a young mother because I know I would have had so much more energy at the end of each day.
How to Create an Effective To-Do List
Before we dive in, I want to give you one quick reminder. Our goal isn’t to create the perfect to-do list. It’s to create one that actually works for you. One that fits your schedule, your priorities, and your life. Because the best to-do list isn’t the longest one. It’s the one you’ll actually use.
Step #1. Get it All Down on Paper
The very first thing you need to do is get all those thoughts out of your head and down on paper. I call this a brain dump, and it may be one of the most important steps in creating your to-do list.
When I talk to people about clutter, we usually focus on their homes. But did you know that our minds can get cluttered too?
We have so many thoughts running around in our heads. To-do lists, appointments, reminders, errands, projects, phone calls…the list never seems to end. The first step in creating an effective to-do list is to get all of those thoughts out of your head and down on paper.
This will become your master list and the starting point for your weekly plan.
How it works
- Grab a notebook or a few sheets of paper.
- Write down everything that’s on your mind.
- Don’t worry about organizing it yet.
- Keep writing until you can’t think of anything else.
- Even if a task seems small, write it down. Every task takes up mental space until it’s captured somewhere.
Don’t worry if your list includes a little bit of everything, from “grab milk” and “do the laundry” to “set up my 401(k) at work.” That’s exactly what you want. Right now, your only job is to get it all down on paper. We’ll organize and prioritize it in the next step.

Step #2. Do an Initial Sort
Now that everything is out of your head and down on paper, it’s time to organize your list. Don’t worry if it looks a little scattered right now. That’s completely normal and exactly what a brain dump is supposed to look like.
Getting everything onto paper gives those thoughts a place to live instead of letting them bounce around in your head. Now you can step back, look at your list objectively, and begin organizing it into groups.
Let’s start by moving a few types of tasks onto their own lists.
#1. Things to buy – Go through your list and transfer any items that belong on your shopping list. If you don’t already have one, now is a great time to start. I like using a small spiral notebook because it fits in my purse, so my shopping list is always with me when I’m at the store.
#2. Errands – Next, go through and transfer any tasks that belong on your errand list. This can also be kept in your notebook mentioned in step number 1.
#3. Calls – Go down your brain dump and look for any calls you listed and add that to your “call list.” Each week Tuesdays are when I make all of my calls. By having a designated day, I can relax knowing all our appointments and confirmation calls will be made on time. I keep my call list right on my calendar, and each Tuesday, I will go down that list, making all the calls needed.
#4. Move Goals to a Different List – Some of the things on your brain dump may be meant for another date in the future and some may even be unattainable. Those are items you can quickly remove.
A few examples might be:
- Add on an addition to your home.
- Buy your dream car.
- Pay off your mortgage.
- Lose 25 pounds.
These are goals and not necessarily tasks, meaning they belong on a completely different type of list.
READ: How to Set Goals and Achieve Them
At this point, your list should begin to take shape.
To Do List Notepad – Undated Daily Planner for Work and Goal Achievement | 52 Sheets, Large Writing Space, Ideal for Home, Office & School, Perfect for Daily Planning & Staying Organized Mr. Pen- Lined Spiral Journal Notebook, A5 (5.7Planner 2026-2027, Jul 2026-Jun 2027 Academic Monthly & Weekly Planner | 6.3


Step #3. Prioritize What Is Left
Now that you have everything out of your head and down on paper, our next job is to identify which tasks are the most important. I find the easiest way to do that is with a yellow highlighter. Work your way through your list and highlight anything you want to accomplish this week. These are your priority tasks, the ones that need to be completed within the next seven days.
I’m a visual person, so I find that using a yellow highlighter really helps those important tasks stand out. Instead of looking at one long, overwhelming list, my eyes go straight to the things that need my attention first.

Step # 4. Estimate Your Time
Now this is where the magic comes in and turns your list into an actionable plan. Go back through your highlighted tasks and estimate how long you think each one will take. Don’t worry about being exact. A good estimate is all you need. Doing this makes it much easier to fit your tasks into your week instead of trying to squeeze them in whenever you happen to have a few minutes.
Time estimating is huge and what I consider the foundation of creating a realistic schedule. No more setting impossible goals, or finding yourself stuck on the hamster wheel.
How it works:
If a task you have highlighted is estimated to take 2 hours, you will want to schedule it when you have two uninterrupted hours free or, at the very least, when you will have your family home to help.
If a task you have highlighted is estimated to take 10 minutes, you can more easily do this first thing in the morning before you dive into your day.
The goal isn’t to fit more into your day. It’s to create a plan you can actually follow.
Step #5. Turn Your List Into a Plan
Okay, let’s talk about the step that most people tend to skip over. Here’s how it usually goes. You write everything down, sort it into categories, even highlight the important tasks. Then you think, “Okay, that’s it. I’m good. I’m done.”
The problem is, a list by itself doesn’t create progress. A plan does.
1. Grab your calendar.
The one that already has your appointments, work schedule, kids’ activities, or anything else you’ve already committed to. This lets you see what your week actually looks like before you start adding more to it.
2. Look at your week day by day.
Block off the time you already know is spoken for. Then look for the open spaces where you realistically have time to work on your to-do list. Those open blocks will show you how much time you actually have available.
3. Match your tasks to the time you have.
This is where the time estimates from Step 4 become so important. If you only have 10 minutes, choose a task that will fit into those 10 minutes. If you have a two-hour block free, that’s a much better time to tackle a larger project.
Now you’re not just hoping everything gets done. You’re giving each task a place in your week.

My Favorite Calendars:
Step #6. Schedule Time for Yourself
When I first started using this system, I made the same mistake every single week. I never scheduled time for myself. Sure, you may think you will remember to grab a bite to eat, but when the day gets going, how many times do you look up at the clock and see it’s 2 p.m., and you haven’t come up for air yet.
By penciling in break times, you are allowing yourself to pace the day at a more realistic rate.
Remember, your to-do list is supposed to help you enjoy your day, not control it. If your schedule is so packed that there’s no time to eat lunch, take a break, or simply catch your breath, it’s time to make a few adjustments.
Block off time to enjoy a tall glass of water and maybe a few minutes outside in the sunshine. Don’t forget to make time for lunch and some extra time to read a few pages in your favorite magazine or to take an energizing walk. Taking time to recharge isn’t wasting time. It’s part of creating a schedule you can actually enjoy and stick with.
Step #7. Review Your Plan Each Morning
Now that you have a plan for your week, take a few minutes each morning to review it before your day begins.
Life happens, and schedules change. That’s why I like to do a quick review before I dive into my day. I look over my schedule and make any adjustments that are needed. If something unexpected comes up, I simply move a few things around to create a more realistic plan for the day ahead.
I like doing this morning game plan because it helps me feel focused before the day gets away from me. If I can see that my afternoon is going to be especially busy, I can prepare for it instead of feeling caught off guard.
Remember, your plan isn’t written in stone. It’s there to help you adjust when life changes, not make you feel guilty when it does.
Step #8. Follow Your Plan
Now that you’ve created your plan for the week and reviewed it for the day ahead, it’s time to put it into action.
As you complete each task, check it off your list. I actually like using a highlighter instead of crossing things out because I can still see what the original task was if I need to refer back to it later.
D/M Pro Tip: Use a highlighter to mark completed tasks instead of crossing them off. You’ll still be able to read the task later if you need to look back.
Your calendar can also become a great record of how you’re spending your time. Looking back over your week makes it easy to spot patterns. Maybe you’re spending too much time working and not enough time recharging. Or maybe you’re trying to squeeze too much into each day. Your calendar can help you see where a few small adjustments could make your weeks run much more smoothly.
Step #9. Start Fresh Each Week
Each Sunday, I like to do a brand new brain dump. Then I compare it to the list from the week before.
Anything I didn’t finish gets transferred to my new list so I don’t lose track of it. But this weekly review does something else that’s even more important.
It helps me spot the tasks I’ve been putting off week after week.
When I find myself writing the same task down every Sunday, I know it’s time to stop pushing it to the back burner and make it a priority for the coming week.
I call these Back Burner Tasks.
Back Burner Tasks: Things we keep pushing off, even though we know they need to get done.
Getting those lingering tasks checked off your list feels amazing. Not only do they stop taking up space on your to-do list, but they also stop taking up space in your mind.
Step #10. Schedule Time to Plan
Last but not least, schedule time each week to create your next to-do list. Just like any other important appointment, your planning session deserves a spot on your calendar.
The first few times you go through this process, it may take a little longer than you’d like. That’s completely normal. But the more you do it, the faster and easier it becomes.
One of my favorite things about planning my week is that it gives me a chance to see what’s coming before life gets hectic. Instead of wondering what I forgot or feeling like I’m constantly playing catch up, I can start the week with a plan that fits my schedule and my priorities.
After you’re finished, don’t worry about the entire week. Simply focus on today’s list. One task at a time, one day at a time. Before you know it, you’ll reach the end of the week feeling accomplished because you had a plan and followed it.

Final Thoughts
Learning how to create an effective to-do list isn’t about filling every minute of your day with work. It’s about creating a plan that helps you focus on what matters most while still leaving room for real life.
The first few weeks may take a little extra time, and that’s okay. Like any new habit, the more you practice it, the easier it becomes. Before long, sitting down to plan your week will feel just as natural as checking your calendar each morning.
So grab a notebook, pour yourself a cup of coffee, and give this system a try. You don’t have to create the perfect to-do list right away. You just need to create one that works for you.
If you’d like even more help, be sure to check out my How to Create the Perfect To-Do List planner and video bundle. It walks you through this process step by step and helps you build a planning routine you can use week after week.
Frequently Asked Questions
Start by getting every task out of your head and onto paper. Next, sort similar tasks together, identify your priorities, estimate how long each task will take, and schedule them on your calendar. The goal isn’t to create a long list. It’s to create a realistic plan you can actually follow.
That depends on how much time you actually have available. Instead of trying to fit in as many tasks as possible, choose tasks that realistically fit into your schedule. A shorter list you can finish is much more motivating than a long list you’ll never complete.
Use whichever system you’ll consistently stick with. Some people prefer a paper planner because they enjoy writing things down, while others like the convenience of a digital app. The best planning system is the one you’ll actually use week after week.
Don’t beat yourself up. Simply review your list at the end of the week and transfer unfinished tasks to your new list if they’re still important. If the same task keeps getting pushed to the following week, it may be time to make it a priority instead of leaving it on the back burner.
Want a little extra help putting this system into practice? My To-Do List Planner and Video Bundle walks you through the entire process step by step and includes printable planning pages to help you create a weekly plan you’ll actually use. Take a look here.
I have never been a scheduler, and I must admit that I am a procrastinator. Being a home-mom most of my adult life, I am still the person a child (my 4 our between 32 and 41 now) can call any time of day to talk to — especially if he/she is upset. This means an hour or more conversation every now and then. Summer can mean conversations with grandchildren too. I can see myself being frustrated that I could not do a chunk of my “to do” list now and then. Am I just extremely resistant to change?
It feels defeating to me. Seems the list never gets done. At least if I don’t but it don’t I haven’t failed. Yet in my head I had a list and didn’t get thing done. But writing them down is like putting them in stone . My husband is the Master list maker and said he would miss important things if he didn’t . He said , “I live or die by that list “ . And I know the feel good feeling of marking things off of a list. With some minor surgery and a bran new puppy , everything is screaming my name.
Feeling like a failure,
Carolyn
I am so sorry you are feeling defeated but please be kind to yourself. As long as you get the basics done each done. Eat, dress, tidy up, work, you are doing amazingly well!
Not everyone does well with a to-do list and if you hate them then do not use them. Life should be as stress-free as we can make it and if we are finding ourselves not feeling comfortable in our own homes we need to focus on that part first.
Maybe instead of a to-do list, create a Fab Five list. This is A list of 5 things to do each day. A few ideas are:
1. Pay the bills
2. make dinner
3. Read a book
4. Make doctor appointments
5. Take a shower
be kind to yourself and create a plan that fits your home, your lifestyle, your daily schedule and YOU!
Best wishes,
Tracy Lynn
This is exactly what I do!😁