Decluttering Paperwork
Get a simple approach to decluttering paperwork and take another step closer to home office organization.
If you struggle with piles of paper throughout your home and wish there was a way to get a handle on things, this is a guide for you.
Is your home buried under piles of paperwork? Are you constantly hunting for misplaced bills or missing receipts?
You’re not alone—most households are drowning in over 300 pounds of paper clutter that is taking up valuable space in drawers, desks, counters, and even cars.
Today, we’re tackling the paper chaos together. With a few simple strategies, you can take control, end the clutter, and find what you need in minutes—not hours of frustrating searching.
Paper Clutter Fast Fix
If you are looking for a quick list for your papers, we have five steps that will get you back on track with your papers.
- Gather any loose papers around your home.
- Sort into simple categories – current to keep in your home office, past papers to keep in storage, and junk papers to shred and toss.
- Create a filing system to keep papers organized going forward. Invest in folders or binders to store your important documents, a basket for receipts, and a bin to toss in daily mail.
- Shred sensitive information: For any documents that contain personal or sensitive information, be sure to shred them before discarding to protect your privacy.
- Set aside a designated time for paperwork. To prevent future buildup of paperwork, set aside a specific time each week or month to go through and sort any new documents that have accumulated.
If you have not decluttered your papers before you will want to jump down below for the complete step-by-step guide that will help you to do a thorough job no matter how much paper you have accumulated over the years.
Decluttering Paperwork Step-by-Step
Imagine a more organized home that feels lighter, cleaner, and totally stress-free. Let’s make it happen with this thorough step-by-step plan that will get you on track without overwhelming you.
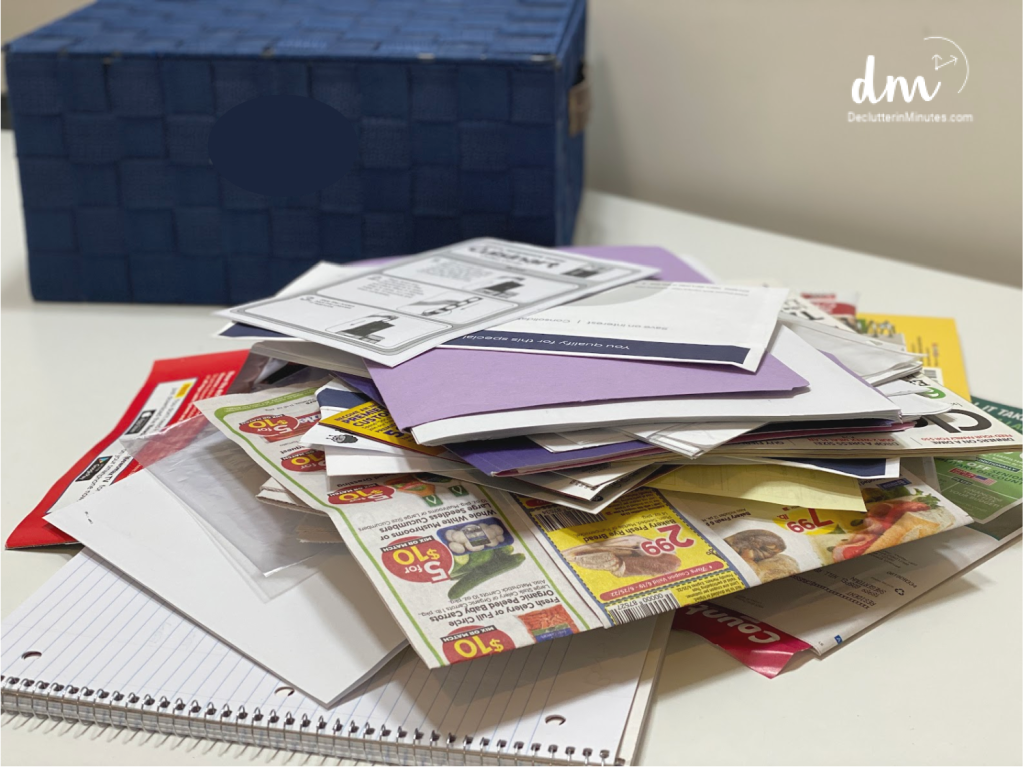
Step #1. Gather up all the papers you have.
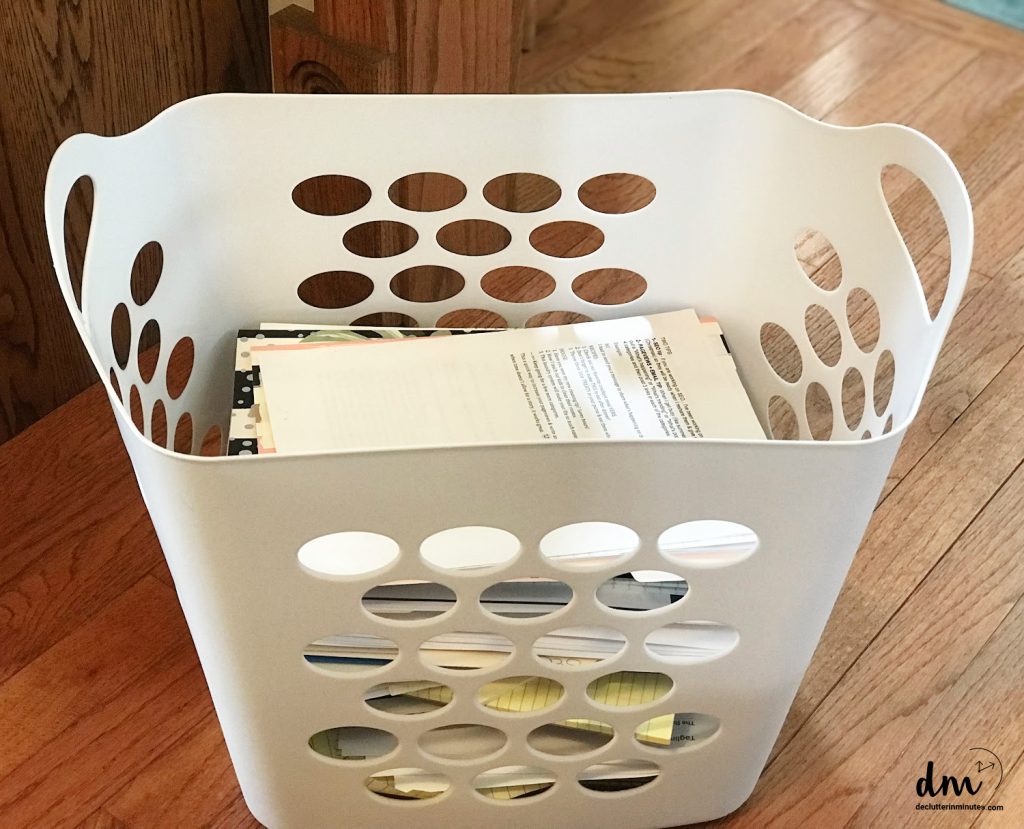
Dealing with papers of all shapes and sizes can get messy fast, so finding the right container is a game-changer. Here’s a simple solution—grab a clothes basket !
It’s big enough to hold a hefty pile of papers, no matter their size, and sturdy enough to carry around if needed. Plus, it keeps everything contained, making the whole process so much easier and more organized.
Where to Find Paper Clutter
Paper can hide in the oddest places. Here’s a quick guide to help you uncover it all:
- Open surfaces like counters, coffee tables, and nightstands
- Your purse, wallet, briefcase, and car.
- The bathroom or open surfaces in the family room.
- Common areas like the office, kitchen, or bedroom.
- Any counter, drawer,
Step #2. Sort.
When it comes to sorting papers, bigger spaces are definitely better. Look for an area that allows you to spread out the piles you need to sort out into.
I prefer to use a bed in a guest room for sorting as it has the room needed for all the piles and allows me to keep things out until I am finished.
Another option is a folding table that you can set up out of the way so your work won’t get disturbed. This makes it easier to stop and start without being faced with a mess.
DM Pro Tip: Grab a stack of index cards and label each pile as you create it. This simple trick makes it easy to pick up right where you left off, no matter how long your break.
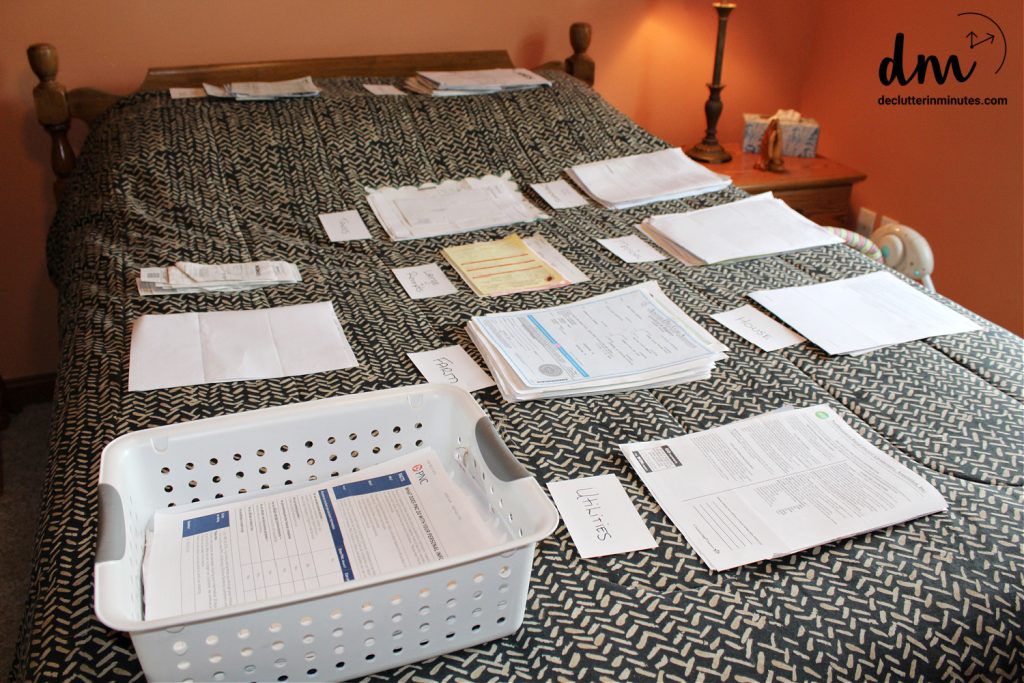
Paper Sorting Piles AKA Categories
When I am sorting, I let the papers decide what categories I need; however, if this is your first time, use this list as inspiration.
- Home – Mortgage or Rent
- Credit card info
- Medical, dental, eye, therapy-both physical and mental, pharmacy.
- Utilities – Heat, internet, electric, propane, solar, water, gas, sewer.
- Investments
- Statements
- Loans
- Schooling
- Legal
- Insurance
- Home upkeep and improvement
- Pet Care
- Misc
- Taxes
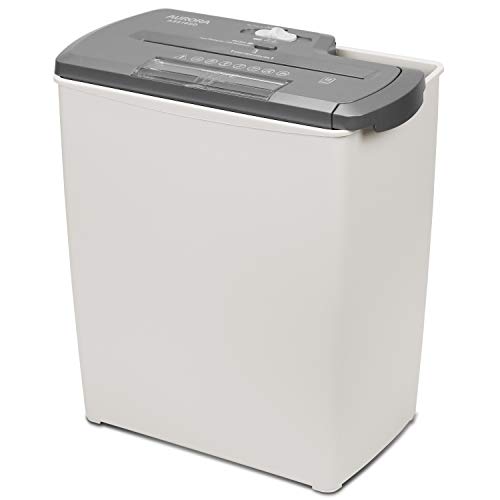
Step #3. Shred
Keep a trash can nearby for papers that need shredding—this way, you can dispose of them as you go. If you need extra space, a plastic tote or even another clothes basket works great for gathering shreddable papers.
For recyclables like old magazines or newspapers, use a sturdy cardboard box to keep them separate and organized.
DM Pro Tip: After each sorting session, shred the collected papers right away. This prevents the shredding pile from growing too large and keeps your workspace manageable.
Amazon Basics 8 Sheet Cross Cut Paper and Credit Card Shredder with 4.1 Gallon Bin, Black Aurora AS810SD 8-Sheet Strip-Cut Paper, CD and Credit Card Shredder BasketHome Office Paper Shredder – Woolsche 10-Sheet Strip Cut with 3.17-Gallon Basket – P-2 Security Level – CD & Credit Card Shredder – Durable & Fast – Jam Proof System – ETL Certified


Step #4. Know your dates
Not every paper needs to stick around forever, so understanding how long to keep each type can make downsizing much easier.
Check the timeline for all your papers to ensure you’re only holding onto what’s necessary.
Remember, this decision is up to you, if you are uncomfortable shredding documents, you can keep them for as long as you like.
Step #5. Store 2 years and older
If you’re keeping papers from two years or earlier, it’s important to store them in a way that’s both organized and easy to access.
Either manila envelopes or a file box labeled with the year work great for this.
Make sure to date your containers and organize them with the oldest files placed in front. Each year, when you add papers to storage, take a moment to shred the oldest ones you no longer need.
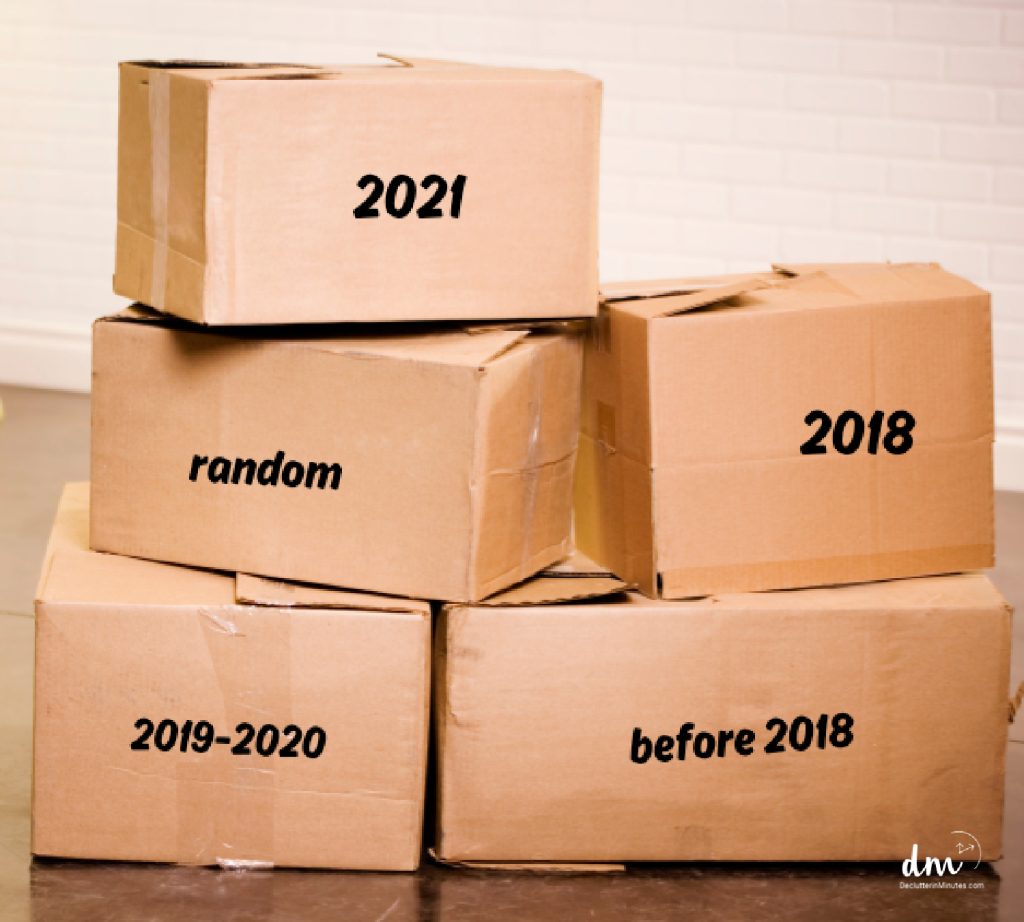
DM Pro Tip: Tackling this project before tax season? Keep last year’s paperwork in a temporary container so it’s handy for filing your taxes. Once that’s done, move those papers into your longer-term storage to keep everything streamlined and clutter-free.
Step #6. Current files
When talking about current papers this will refer to papers for the year you are in right now.
To keep things from feeling chaotic, set up a simple system that keeps everything organized and easy to access.
Hanging file folders are a great option for this. Create a folder for each category of paperwork—like bills, receipts, money, or home care—so everything has its place. This simple setup will save you time and stress throughout the year.
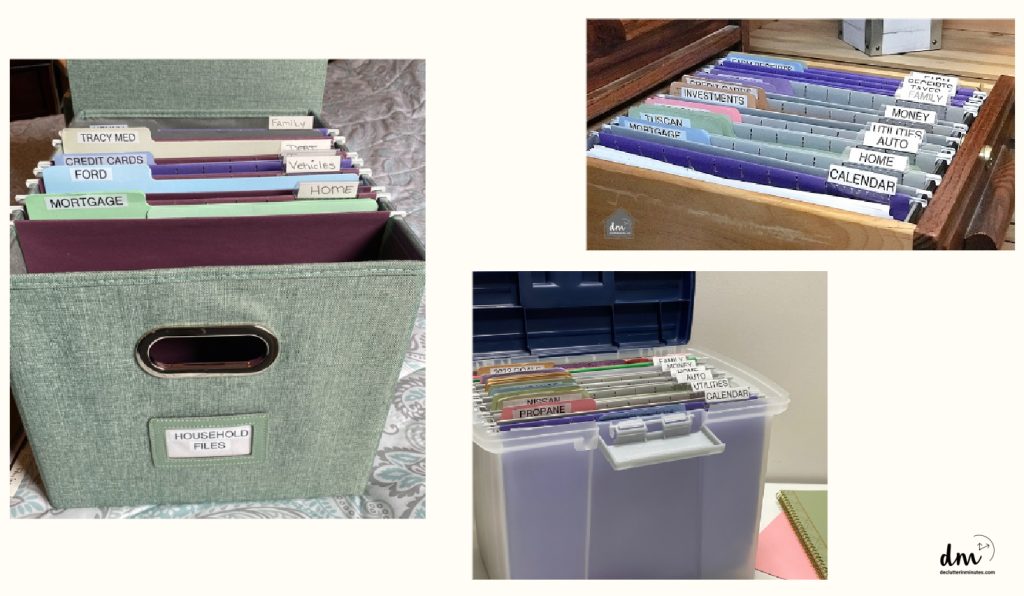
Start out with main category files and filter down from there.
- Home – This includes documents related to your home such as mortgage papers, insurance policies, and utility bills.
- Finances – This category can include bank statements, tax documents, investment paperwork, and any other financial records.
- Health – Any medical records, insurance information, and prescription receipts should be filed under this category.
- Work/Education – Keep track of employment contracts, school transcripts, and any other important work or education-related paperwork in this file.
- Personal – This file can contain documents such as passports, birth certificates, marriage licenses, and any other personal identification.
- Important Documents – This is where you can store important legal documents such as wills, deeds, and power of attorney.
- Receipts – Designate a file for receipts, making it easier to find them when needed for returns or taxes.
- Miscellaneous – For any documents that don’t fit into the above categories, create a miscellaneous file to store them in.
Inside each hanging file folder, you can have individual folders breaking things down in a way that fits your family and stage of life.
So, for example, in the Auto File, you can have a folder for each car that your family owns.
Inside of those files, you can keep all the maintenance receipts and records done to each vehicle keeping the care conveniently all in one place.
Step #7. Managing Incoming Paper Clutter
The thing about paper is that it constantly finds its way into your home—every single day. To keep it from piling up, the key is to manage it the moment it comes into your home.
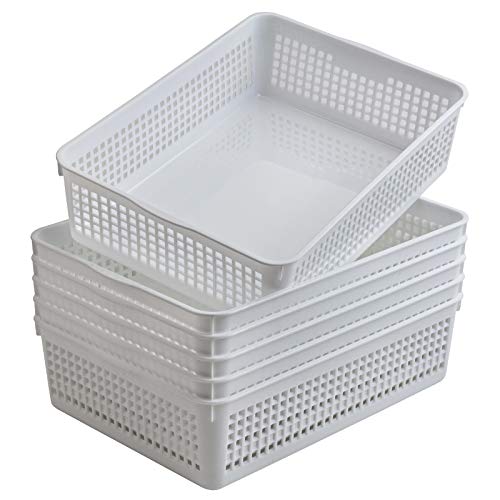
A simple basket works wonders for this. Don’t underestimate how effective a well-placed basket can be for containing papers and keeping them from spreading across your space.
Bright Creations 6 Pack Plastic Turn In Paper Trays for Classroom, Colorful Storage Bin Basket Organizers for School Supplies, 6 Colors (10 x 13.5 In)Aebeky A4 Size Plastic Paper Storage Trays,Desktop File Organizer Baskets,6-Packs (White)Storex Letter Size Flat Storage Tray – Organizer Bin for Classroom, Office and Home, Clear, 5-Pack (62531U05C)


Set up a Home Command Center
Want an upgrade? Try setting up a family command center! It’s a fantastic way to organize all the paper chaos in one spot, making it easier for everyone to stay on top of things. This little bit of effort can make a big difference in keeping your home clutter-free.
- If you usually toss mail and other papers on your kitchen counter, put a basket there labeled papers/mail.
- Put any papers inside of this basket as they come into your home. This tip will keep the papers where they need to be instead of all over the place.
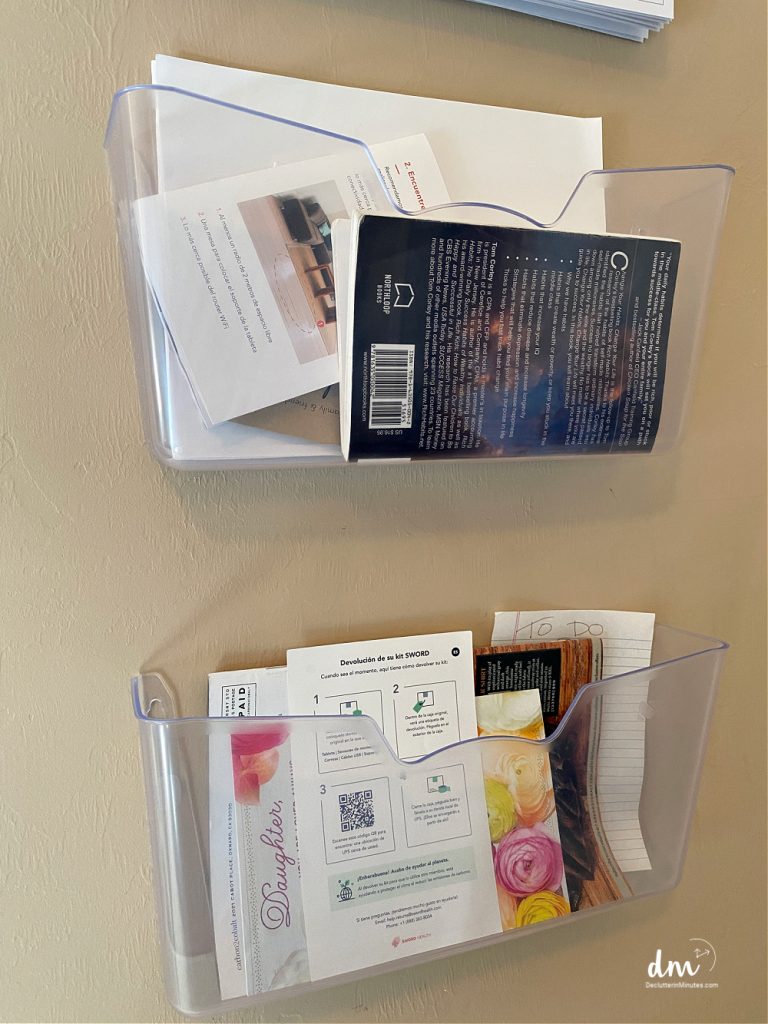
- Hang a file organizer on your wall to put incoming papers into. These work great and hold more than you may realize.
Command Center Resources:
Step #8. Keep it that way
Stay on top of your paperwork game by dedicating one day each week to handle any new papers that come in.
Use this time to sort through your paper basket—toss out the junk, take action on anything that needs a response, and file away what you’re keeping. This simple weekly habit makes a huge difference in staying organized.
By routinely touching and managing your important documents, you’ll never have to worry about missing something again.
Having a plan for papers is the key to an organized home. Save time and money going forward, and always know where important documents are so you can access them whenever you need them.
Decluttering paperwork doesn’t have to be frustrating.
Just keep up with the daily influx, have a system that is easy to keep up with, and set aside an hour each week for upkeep and you will never have to deal with a paper mess again.
More Paper Clutter Resources:

Stress-Free Ways to Declutter Your Paperwork
Overwhelmed by stacks of paper? It's time to organize everything from receipts to important files.
Materials
- Paper envelopes
- Sticky notes
- File boxes
- Storage baskets
- Dividers
- Binders
Tools
- Laundry basket
- Trash bin
- Paper shredder
- Label maker or markers
- Calendar or planner
Instructions
- Walk through your home with a large container, such as a laundry basket, to collect all the papers scattered around.
- Use a large surface, like a bed or kitchen table, to spread out and organize papers into categories.
- Keep a trash bin or box nearby while sorting to dispose of papers ready for shredding. Shred these items regularly to prevent a backlog.
- Familiarize yourself with how long certain documents should be retained. By doing so, you can reduce clutter and keep only what’s necessary.
- Use labeled envelopes, file boxes, or small storage totes for papers older than two years. Mark each container with the year, and rotate out older documents for shredding as you add new files to your system.
- Keep the current year’s papers sorted into a hanging file system categorized by topics like home, auto, finances, or medical. You can use subfolders within each category for further organization.
- Use a basket or wall-mounted organizer to collect papers as they enter your home. Label it clearly and place it where you naturally drop mail or documents.
- Maintain the system. Dedicate a weekly paperwork session to go through the incoming basket, toss junk, respond to what’s urgent, and file the rest.
Notes
- Use a system that works for you, like organizing by category first and then by importance. Adjust as needed, but avoid jumping between methods. A consistent flow will help you stay focused.
- Papers you use often should be easy to grab. Store them in a central spot like a desk drawer or dedicated file.
- Why not scan or photograph important documents instead of keeping physical copies? Many papers can now be stored digitally, helping us save space and reduce clutter.