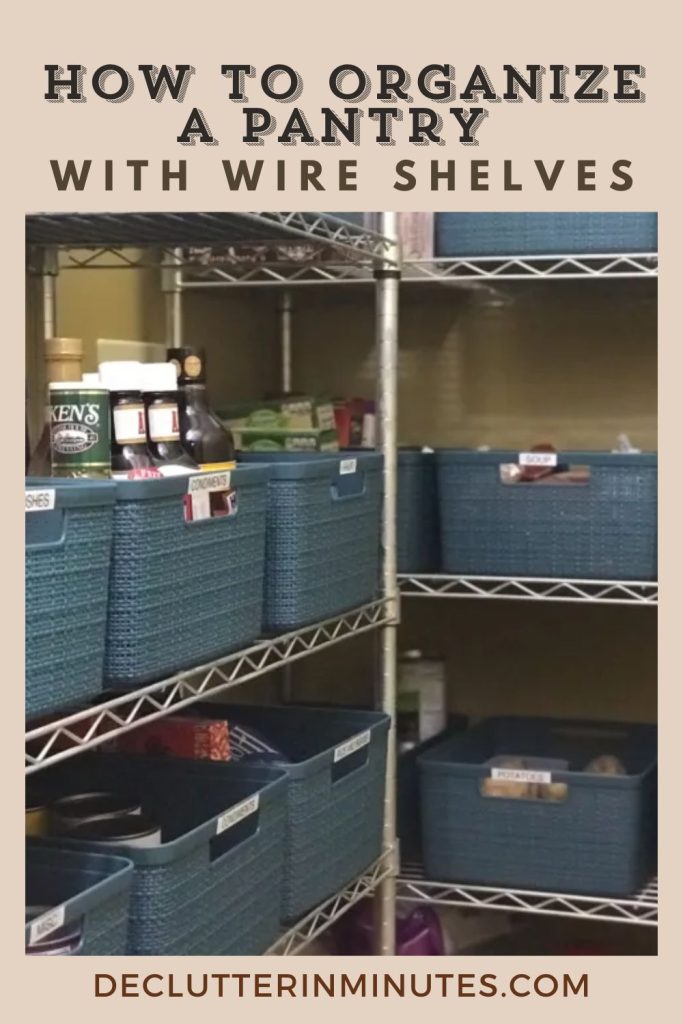
How to Organize a Pantry With Wire Shelves
Get the help you need to finally organize a pantry with wire shelves – a frustrating area to get on track. Just because you have wire shelving doesn’t mean all is lost. Here are some tips that might help you to organize your pantry into one you love.
This is just one pantry organization tip that will help you finally streamline how you store your food helping to give you a more organized kitchen.
Having a dedicated space to store your dry food and ingredients is an important part of a streamlined kitchen.
Keeping food organized is tricky enough, but when your pantry is made with wire shelving, things become trickier.
What Role Does a Pantry Play in a Kitchen
A pantry is an indispensable part of any kitchen. Think of it as the heart of your storage system—a dedicated space where you keep your dry foods, spices, paper goods, and even your favorite dishes neatly tucked away. Beyond just being a storage area, a pantry plays a huge role in keeping your kitchen organized and efficient.
When your pantry is well-organized, it simplifies your life. It helps you keep track of your food supplies, so you can use what you have before items go stale or, worse, expire. No more forgotten pasta boxes shoved to the back or that half-used bag of flour you swear you just bought.
A neat pantry ensures everything is easy to find and ready to use, saving you time and money.
Having a functional pantry also helps you plan meals better. Spotting ingredients at a glance means you can whip up dishes without running out for last-minute groceries. Plus, it makes restocking a breeze—you’ll know exactly what you’re out of and what you already have in abundance.
Organizing Food can be Tricky
At first glance, your pantry may seem fine. After all, you’re only seeing what’s neatly arranged at the front. But if you dig a little deeper, especially if your pantry is fitted with wire shelves, that’s where things can get tricky.
Wire shelving certainly has its own set of challenges. Unlike solid, flat surfaces, it’s not as forgiving, and organizing it takes a little more thought.
This guide is for uneven shelving, wire shelving to be exact, and they can be a little tricky to organize.
The Problem with Wire Shelving
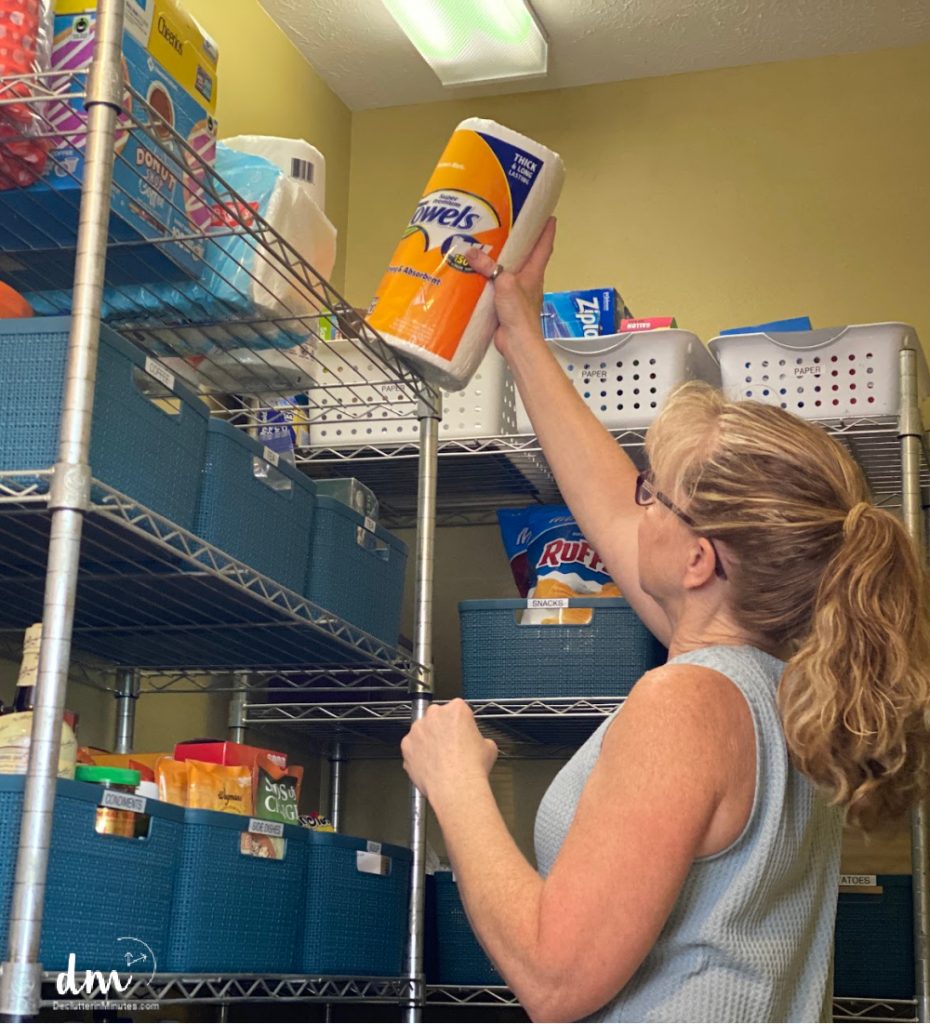
When I finally got my dream walk-in pantry, I was thrilled—until I realized those sleek wire shelves weren’t as perfect as I imagined. To be honest, I didn’t think twice about how wire shelving could add a layer of frustration to my storage game.
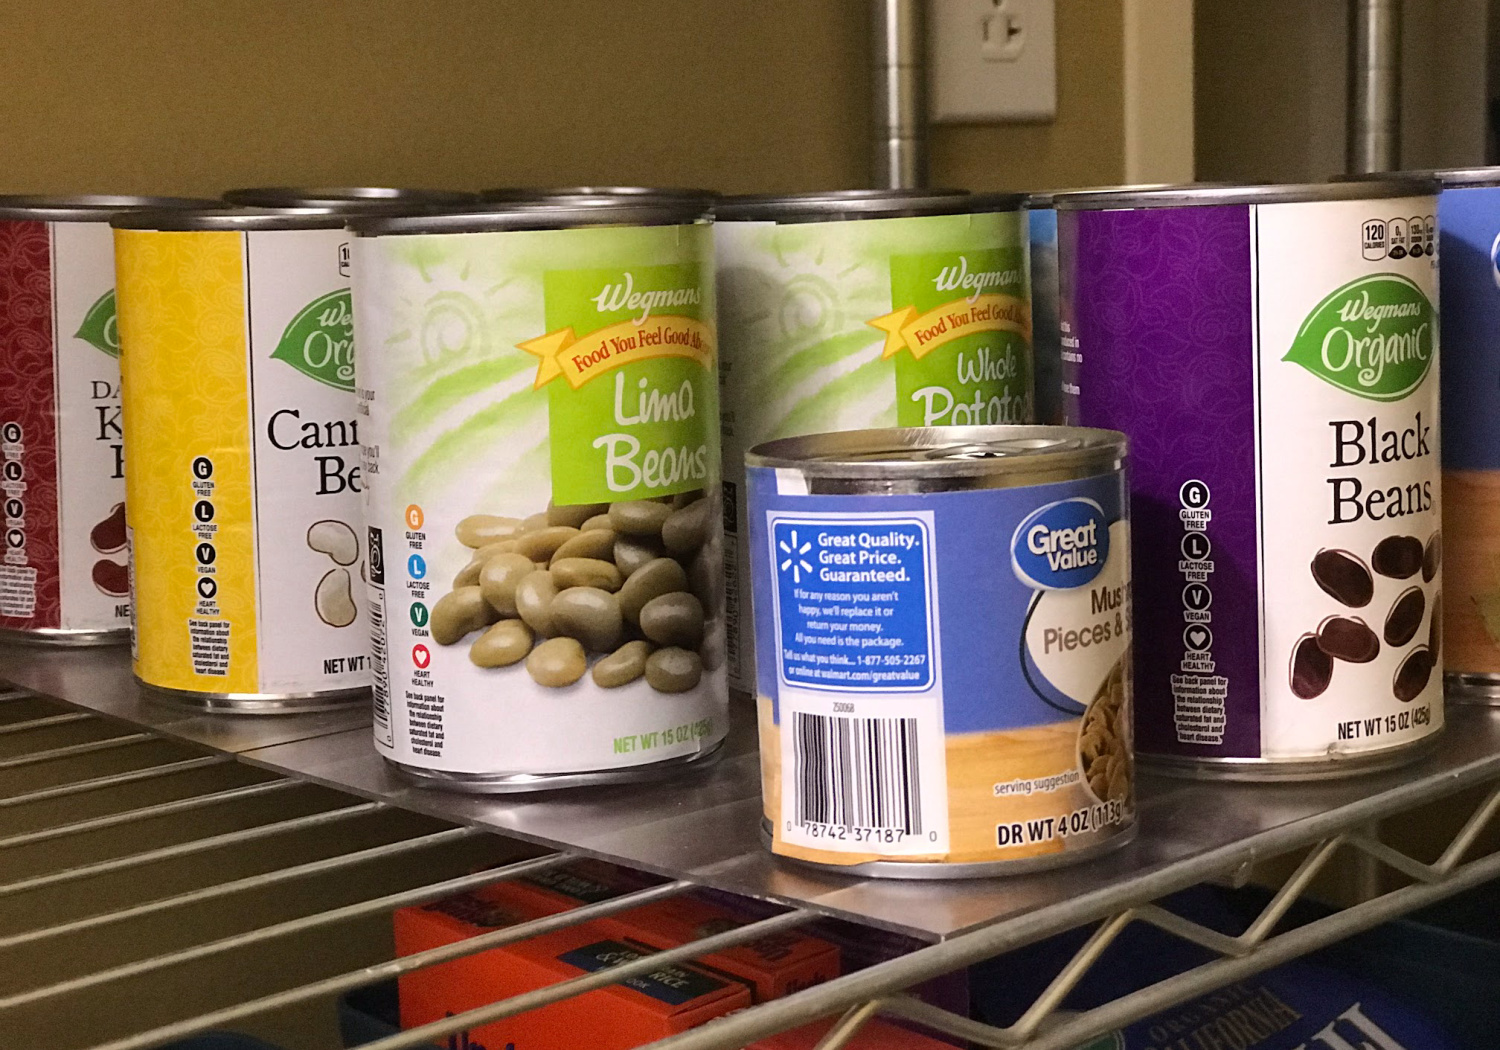
Here’s where it got really annoying—those canned goods. I’d place them neatly one moment, only to have them topple over like dominoes with the slightest bump. It drove me crazy!
No matter how carefully I set them down, they always seemed unstable, as if they were waiting for the perfect moment to crash over.
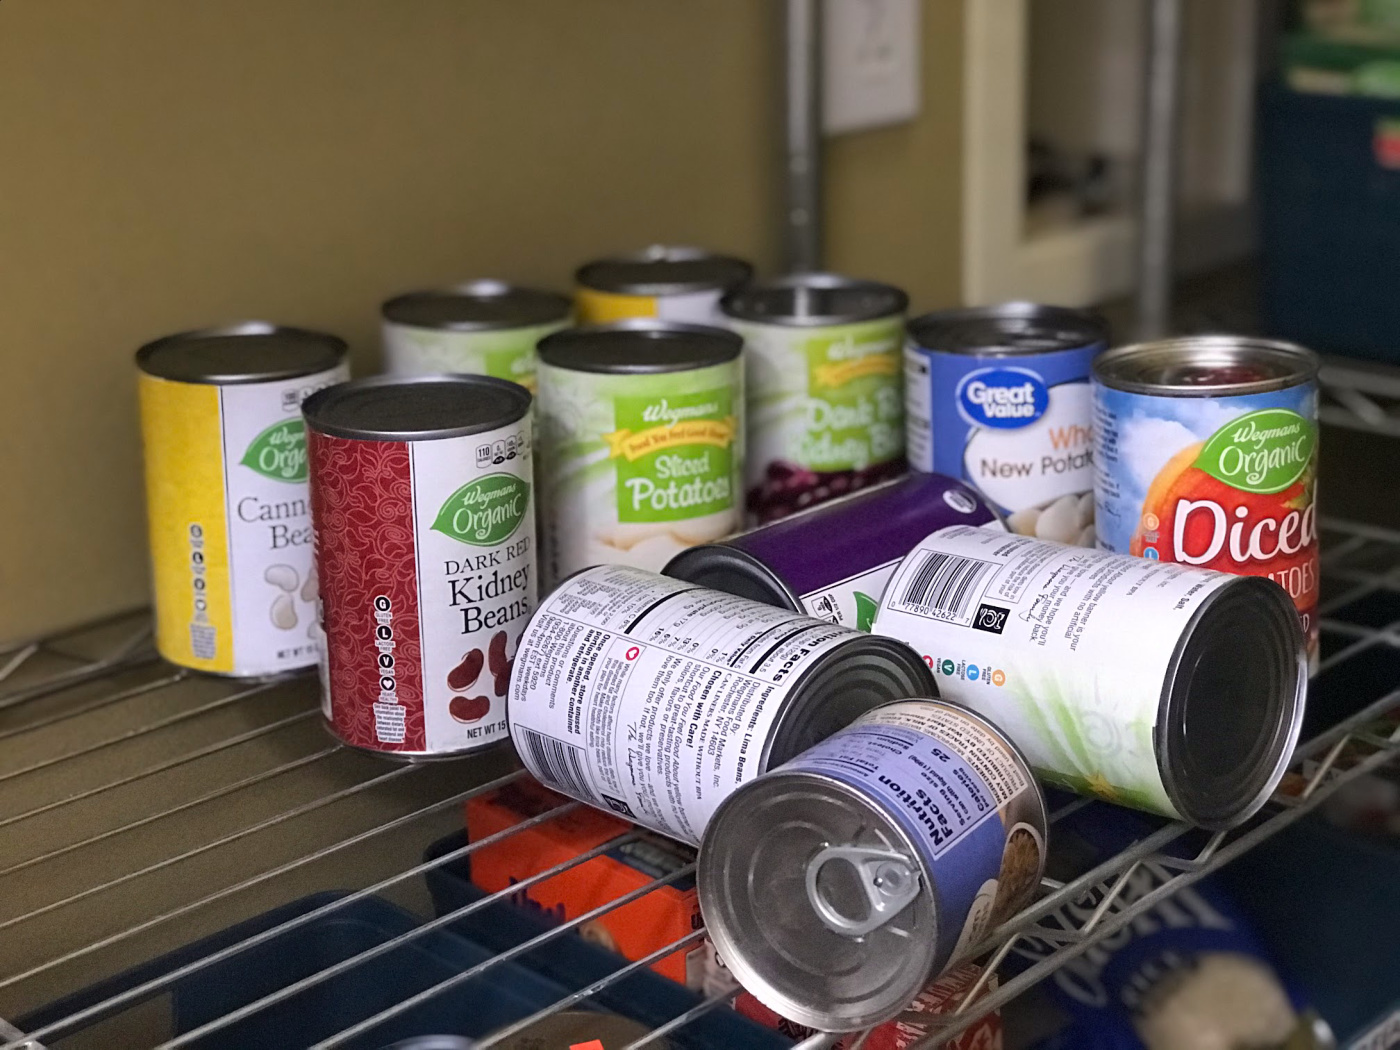
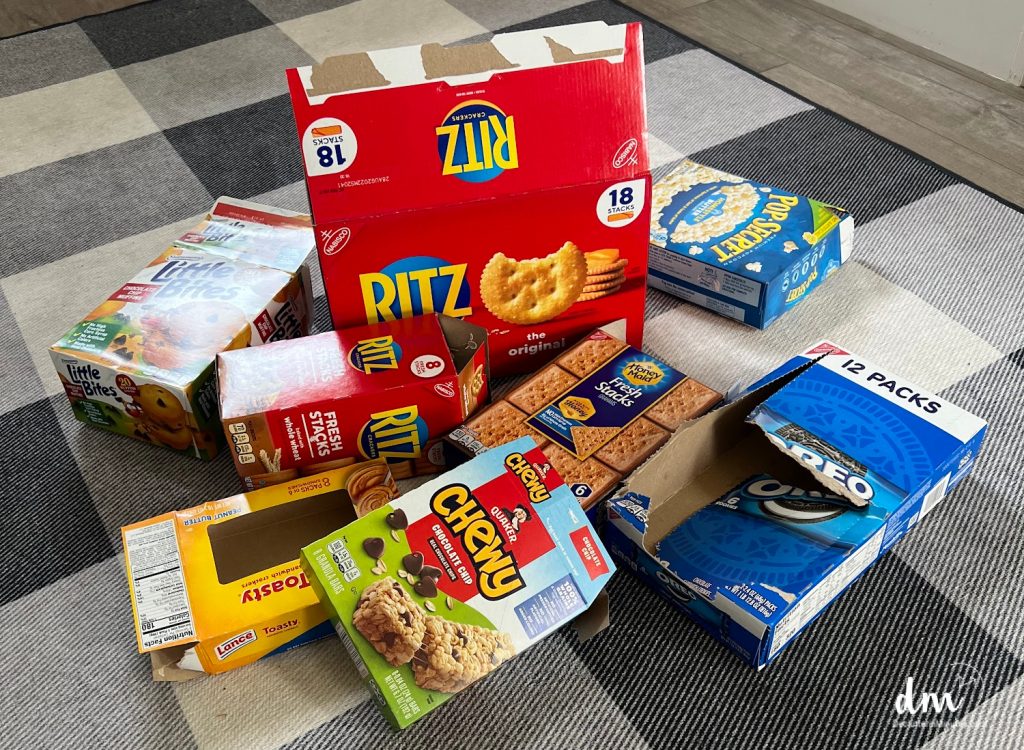
But it was more than those cans that were giving me headaches; the same issues were happening with cereal boxes, boxes of noodles, and even jars of sauce.
Then, there were the seasoning packets that would constantly fall through the rungs all the way down to the floor.
Walking into my pantry was a balancing act that I worked hard to perfect so I would not accidentally bump into anything, causing a cascade of cans and boxes around my feet.
Dealing With Wire Shelving in a Pantry
If replacing your shelving is not in the budget, you can use these tips to organize your pantry into a space that is a dream to store food in.
Over the year, I tried many different solutions, and what I have now is my top winner’s list, my fast and easy way to systemize a food pantry into an organized storage area.
Creating a flat more stable surface
The biggest issue with wire shelves is the uneven surface. If you can solve that issue, you are on your way to becoming organized and streamlined. I have a few ideas that have worked for me over the years.
Solution #1. Plexiglass
This is the best way, in my opinion, to give a more stable surface to wire shelving.
You can purchase plexiglass at any hardware store or you can find it online. It is best to purchase sheets that fit the size of the shelf you have. Cutting plexiglass is not easy, so precut pieces are a better solution.
Pros: Plexiglass is easy to keep clean, lightweight to use, and in most cases, inexpensive to buy. Just a few sheets on each shelf and you will create a more stable surface that will more easily hold just about anything.
Cons: It can be tricky to categorize things. Labeling isn’t the easiest on flat shelving, and you might struggle to keep things in place, remembering what belongs where. Why is this important?
Solution #2. Baskets
Baskets can work well in a pantry with wire shelving but there are a few things to keep in mind.
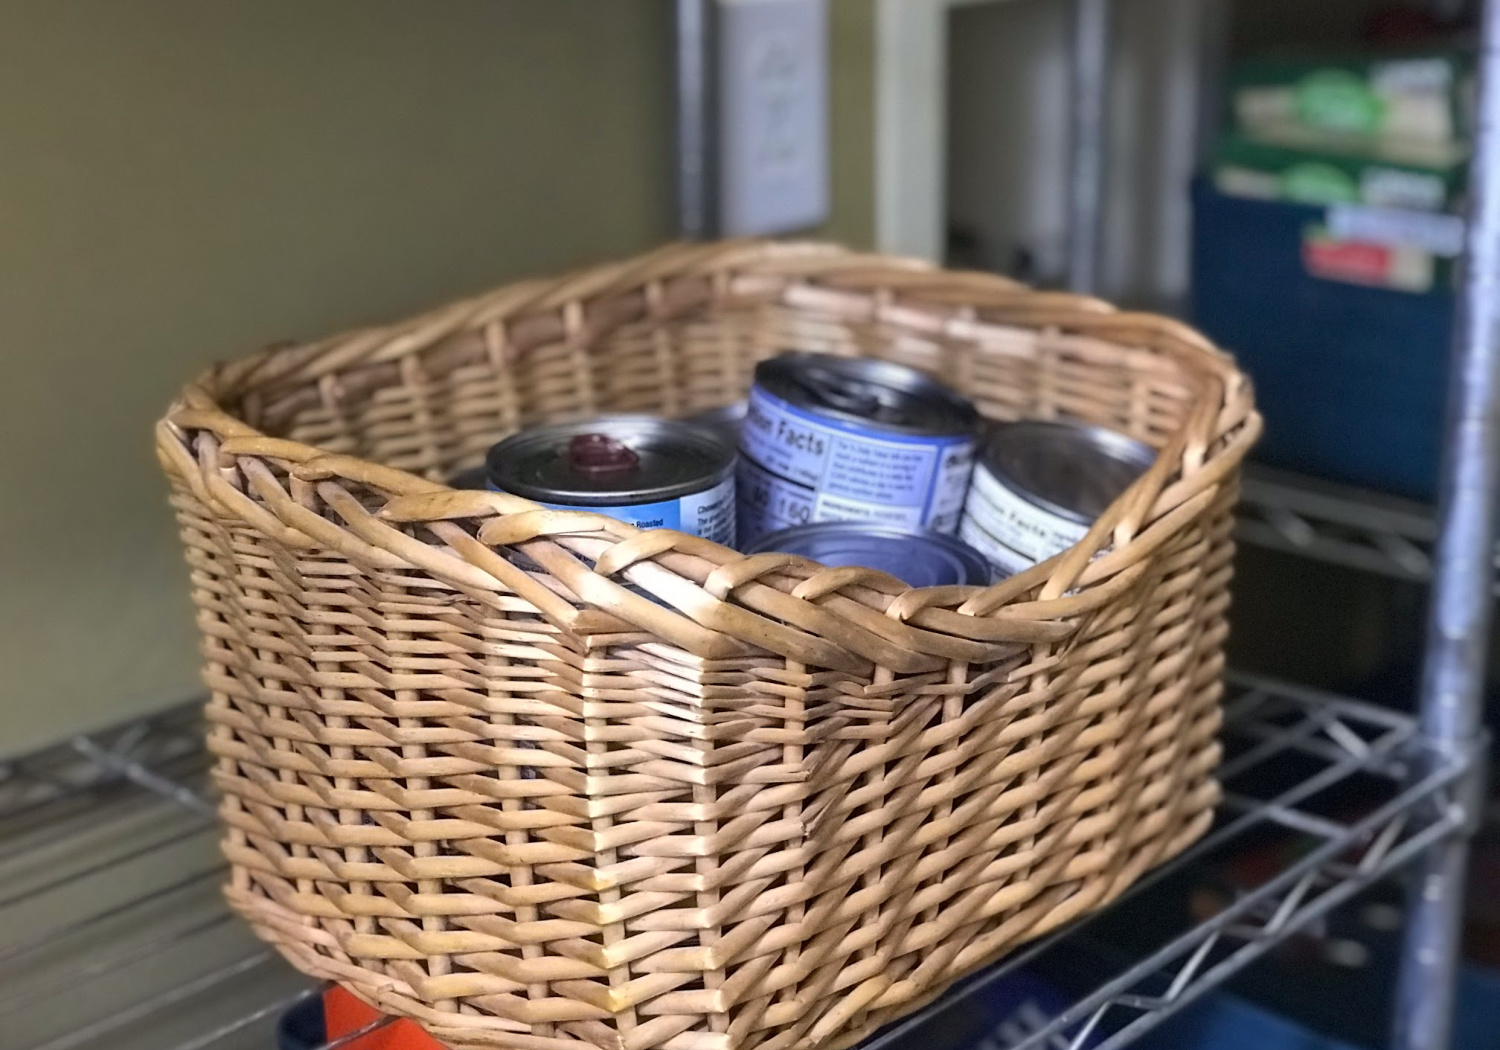
Look for baskets with a smooth bottom to allow you to slide them out more easily. Whicker baskets, for example, are not a good option as they can get caught on the rungs.
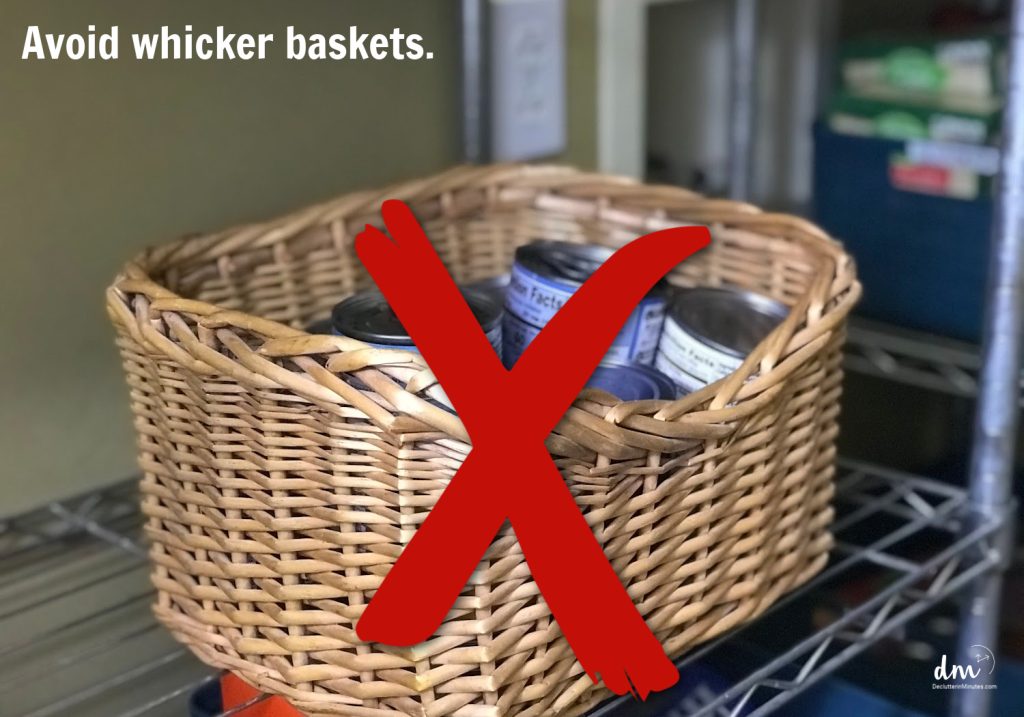
Another thing to keep in mind is the strength of the basket.
Food can be quite heavy, so a sturdy basket will last longer, holding up better to constant use.
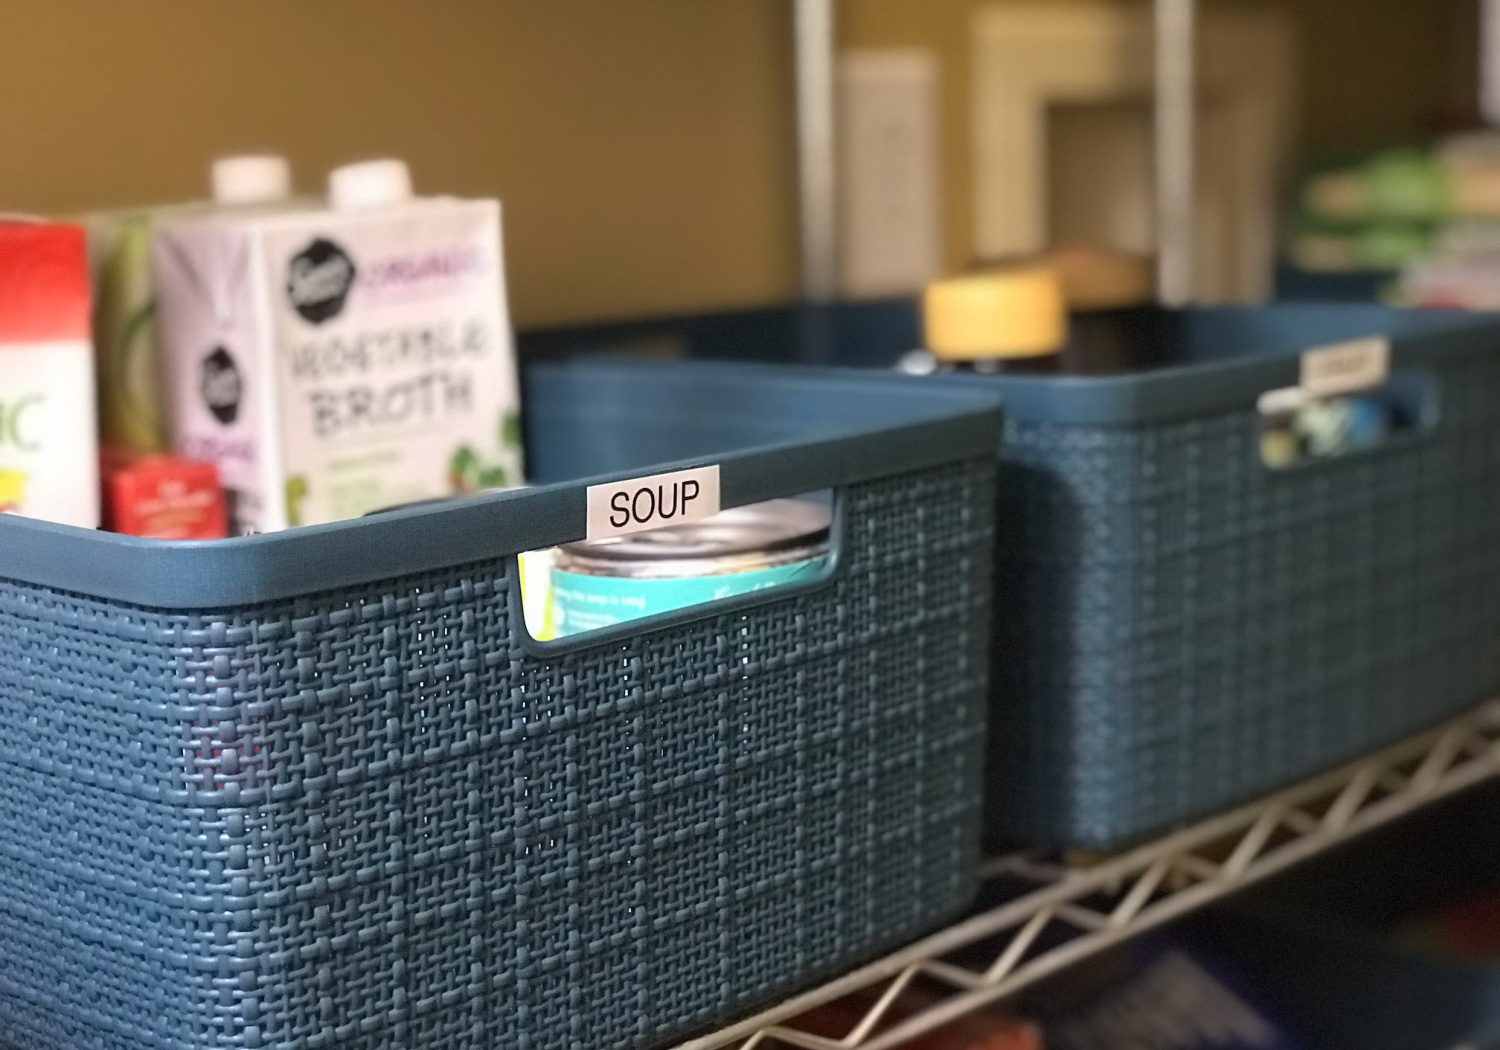
Pros: Baskets are a great way to contain cans and small boxes. You can also organize more easily by keeping like items together in each basket and labeling them by category.
Cons: A downside to using baskets on wire shelves is that they can be tough to slide in and out. To make life easier, choose baskets with a smooth, solid bottom or add a liner to help them glide effortlessly.
Whenever you set up a new basket in your pantry, be sure to put a label on the front telling what is inside. Labels will work great to remind you and your family what belongs where.
Solution #3. Boxes
If you are looking for a cheap and easy DIY solution for your sire shelves, look no further than a cardboard box.
Boxes are a great option, especially if you are testing out a new organizer. When I first tried boxes in my pantry, I used shoe boxes but I found they were not quite sturdy enough for heavy items such as large cans.
Later, I switched to photo boxes that I found empty in my attic, and they worked great.
Photo boxes are sturdier, and they hold up much better to constant use. If you do not have photo boxes, you can use a shoe box and wrap it in contact paper, making it more durable.
Pioneer Photo Albums B-1G Golden Dots Photo Box, Gold Pioneer Photo Albums B-1BW/CHLKF Chalkboard Floral Design Photo Storage BoxLineco Photo Card Box, Museum-Quality Archival Storage, Acid-Free with Removable Lid, Bulk Storage for Negatives, Prints, Films, Photos, 4x6x12 Inches, Tan, 2 Pack


Pros: I am sure most of us have a collection of boxes in our homes, making this another affordable organizing solution. Another plus is the different sizes available which will help you to more easily find a box that fits the size of shelving you have to organize.
Another plus is that you can label boxes more easily using tags or stickers. Too much? Just label by writing directly on the box itself.
Cons: Cardboard boxes are not the sturdiest option and can get damaged quickly, especially if they are being slid in and out often.
Get tips on How to Organize a Pantry Floor for more ideas that will help you to make the most of the space you have available.
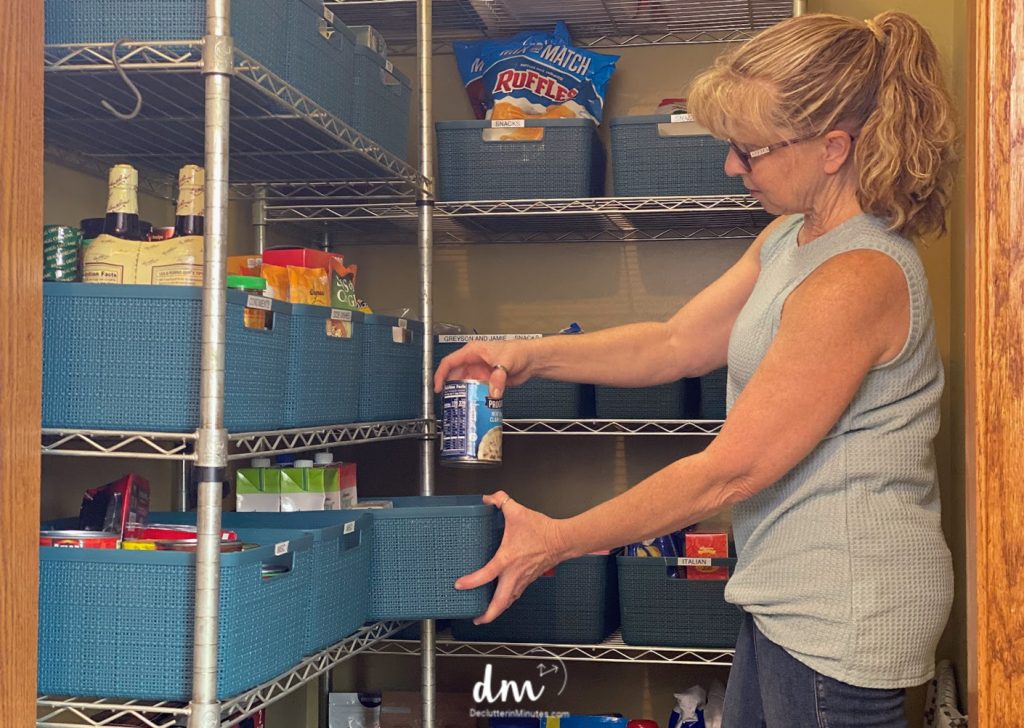
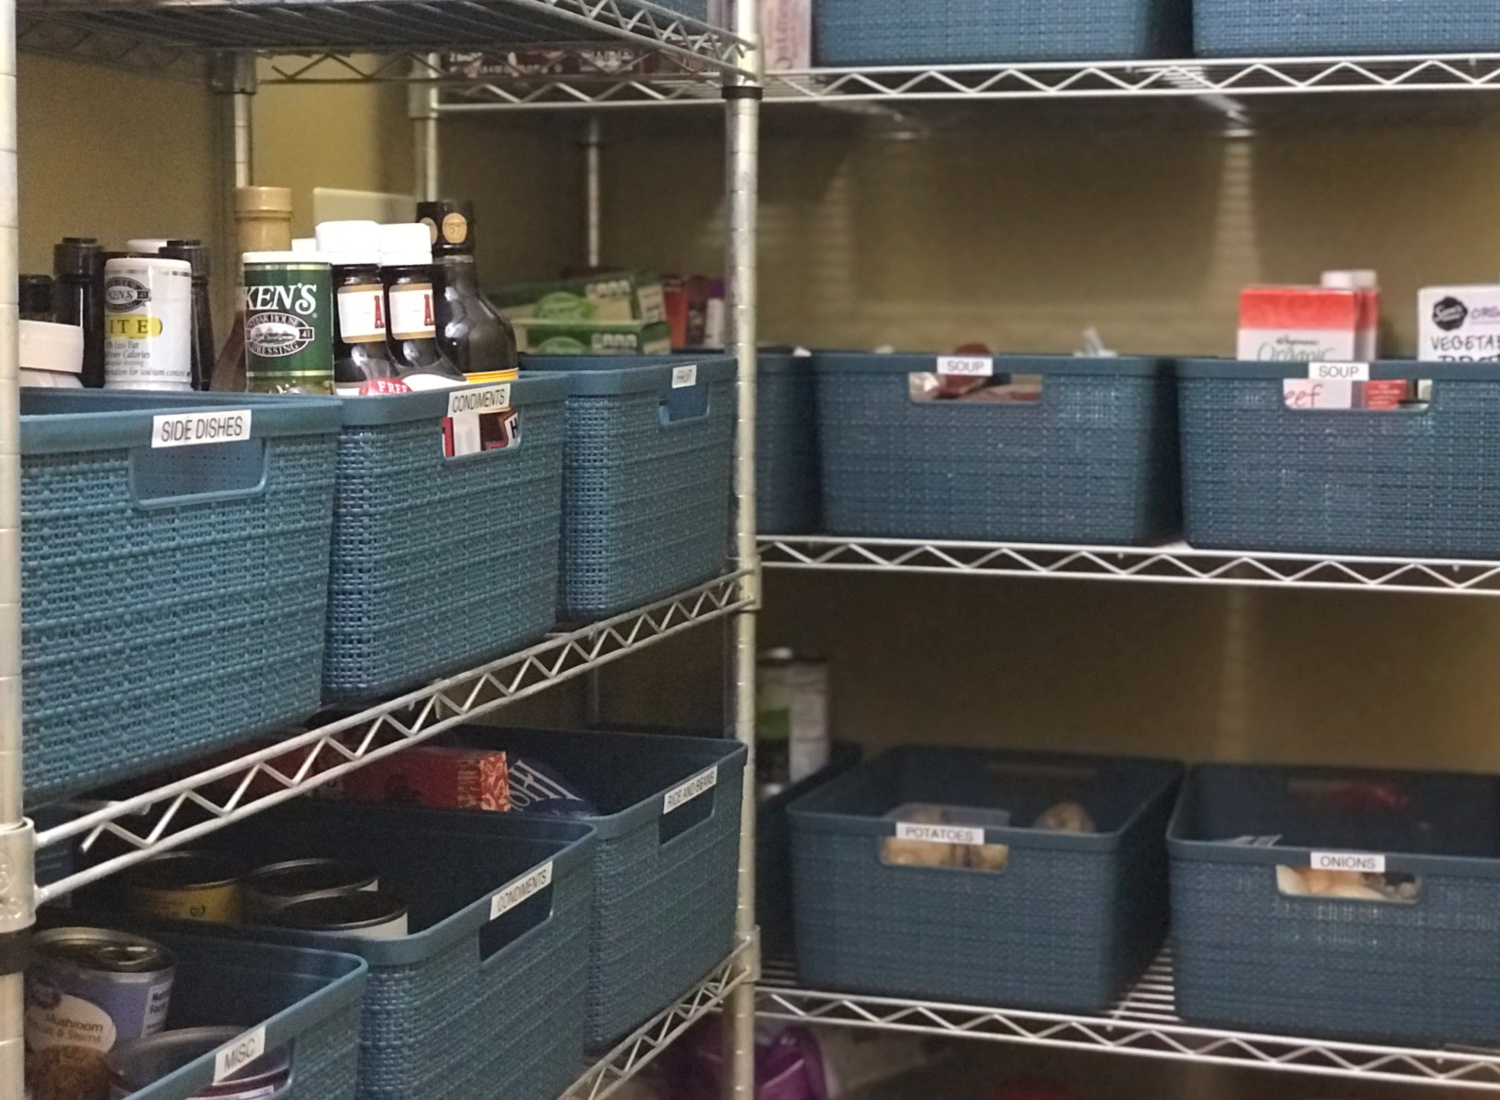
Solution #4. Plastic Jute Bins
Plastic bins and baskets are my favorite organizers to use not only in a pantry but just about anywhere in a home.
Not only are bins sturdy and easy to slide in and out, but there are many styles and options on the market, meaning you can find exactly what you need.
Pros: Plastic bins are a much sturdier option to use, but this all depends on the thickness of the bin itself. Bins will hold up well even when filled with heavy soup cans or large sauce jars.
By getting bins with high sides, you can trust that even those glass jars will not topple out. Most bins come with openings that you can use as handles, making them easy to slide in and out.
MaxGear Organization and Storage 3 Packs, Plastic Storage Bins Organizer Bins, Woven Baskets for Storage, Plastic Baskets with Handles Storage Baskets for Organizing, Basket Organizer for Home, LargeCurver Jute Decorative Plastic Slim Organization and Storage Laundry Room Basket Perfect Bins for Home Office, Closet Shelves, Kitchen Pantry, Bedroom Decor and Bathroom Accessories, Set of 8, BlackCurver Set of 4 Jute Large Decorative Plastic Organization and Storage Basket Perfect Bins for Home Office, Closet Shelves, Kitchen Pantry and All Bedroom Essentials, Grey


Labels can be added easily either with a sticker label or tied on with a string. This again will help you to know exactly what is inside without having to look every time you need something.
Cons: These bins can be a cost investment ranging from $3-$10 each. What you spend all depends on what you are looking for. The bins I use in my pantry were $3 for the small size and $5 for the larger size.
This made the total cost of my pantry organizing project close to $75+. However, the look of the bins is something I love, and for me, the cost was totally worth it.
Remember, I started out using free boxes, and yes, it took me some time to save up the money to invest in this much sturdier option.
Solution #5. Lazy Susans
Lazy Susans, also known as turntables, work well on wire shelves. Another bonus of turntables is that they work great to utilize corners in a space.
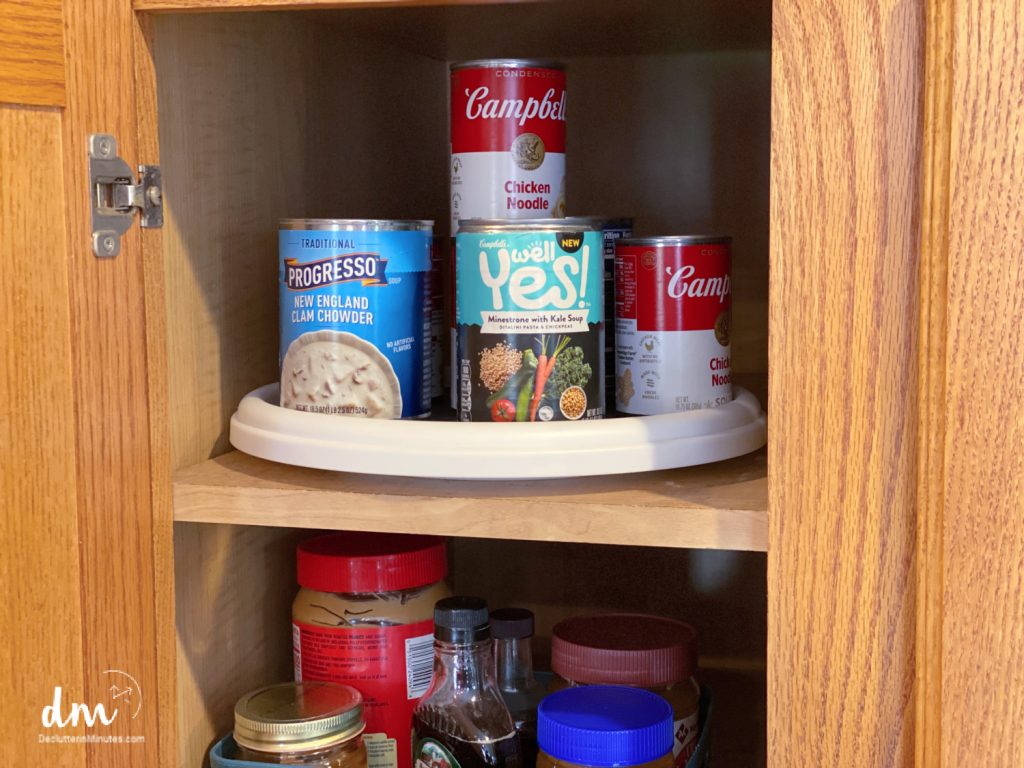
Turntables come in many sizes and even multiple levels allowing you to make the most of your space.
DIY Turntable for a pantry
If you do not want to purchase a lazy Susan, you can easily make one all you need are two round cake pans and a bag of marbles.
- Take one round cake pan, and fill with an even layer of marbles.
- Place the second cake pan on top.
- Place it in the area you are organizing.
The marbles will let the top pan move so you can spin and see what you have stored in the top pan. This is a great way to test this organizer before you invest in buying one that fits your style, as they can get a bit pricey.
LAMU 2 Tier Lazy Susan Turntable Organizer 9.25” Rotating Spice Rack Organization for Cabinet, Kitchen, Pantry, Countertop, Bathroom, Vanity, Medicine Cabinet Organizer, Clear12-Inch Non-Skid Turntable Lazy Susan Organizer [4 Pack] – Spinning Rack for Cabinet Table Top, Pantry Organization Storage, Kitchen, Fridge, Vanity, Countertop, Under Sink Organizing, Spice SpinnerLAMU 3 Pack Lazy Susan Organizer Turntable for Cabinet, Rotating Condiment Organizer for Kitchen Pantry Organizers and Storage, Table Top, Fridge, Countertop, Spice Organization, 9.25” 10.6” 12”

![12-Inch Non-Skid Turntable Lazy Susan Organizer [4 Pack] - Spinning Rack for Cabinet Table Top, Pantry Organization Storage, Kitchen, Fridge, Vanity, Countertop, Under Sink Organizing, Spice Spinner](https://m.media-amazon.com/images/I/41q2l-FL6OL._SL500_.jpg)

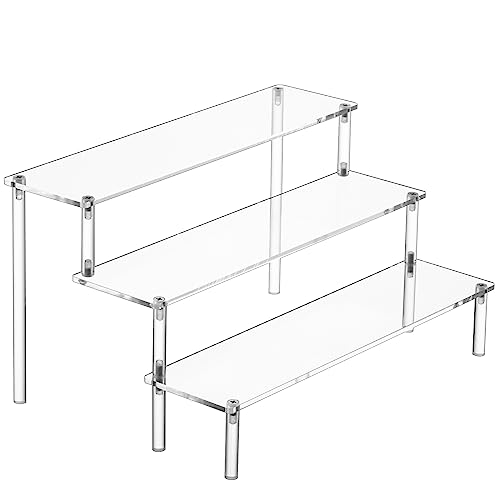
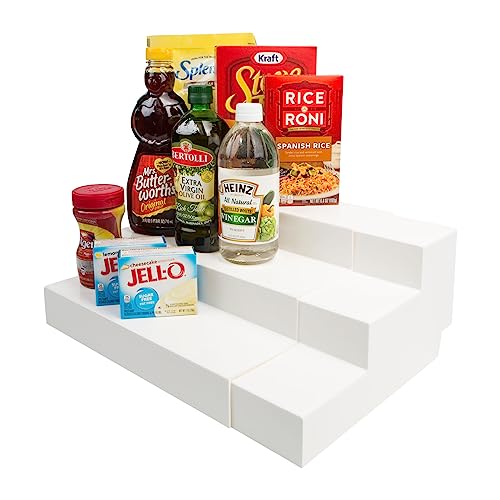
Solution #6. Shelving Risers
I never was a big fan of shelving risers or “stadium shelving” until I tried them myself, and let me say they are a great way to add more space to a shelf or counter.
Risers are also perfect for wire shelving, giving you the stability you are looking for, along with more storage.
The shelves are similar to stairs, allowing you to take advantage of vertical space. This set up also helps you to see all the items you have without having to move and shuffle things around.
HENABLE Large Acrylic Display Risers, Perfume Stand Organizer, Clear Acrylic Shelf Risers for Display Stands for Food, Tabletop Use, Amiibo Funko POP Figure, 3 Tier Clear Cupcake Stand RisersAheroi Large Acrylic Risers, 8 Pcs 2 Set Acrylic Display Set Rectangular Stands Shelf Clear Display Risers for Decor, Cake and Funko Pop Shelves Retail Shoe Showcase(1-3-4-5IN)Dial Industries 3 Tier Adjustable Canned Goods Shelves for Kitchen Cabinet and Pantry Organization, Expand A Shelf, Mega

Why are labels so important in a pantry?
To know the answer to that question, let’s recap why we organize in the first place; so it is easy for us to find what we need quickly and put those items away just as easily when we are done using them.
When things are put away, clutter is eliminated.
Organizing is our way of creating a home for all of our things. Labels are there to remind us what belongs where.
This can be tricky especially at the beginning of a new setup and labels will make it easier to quickly put your things away.
There are many different styles of labels that you can use to map out your shelves, bins, and baskets. The type that you chose will all depend on what you like. If simple is a good fit for you, then stick-on labels from a label maker may be the best way to go.
What is Your Organizing Personality?
When setting your pantry up, there are two ways to set things up. Choose the one that you feel will encourage you to put items away.
Organizing Option #1. Easy
If you require a few steps, you will want to choose tools that help you quickly get what you need.
Organizing Option #2. Pretty
If pretty is more your speed, then looks should be first on your list when choosing an organizer.
Don’t overlook this part of organizing no matter what the size of your project is. If you do not take into account your organizing personality, you may find your new setup too hard to stick to. And if you don’t stick with it you will find your pantry a mess in no time.
Organize Your Pantry by Categories for Maximum Efficiency
Sorting your pantry into clear categories is a simple yet game-changing way to keep everything in its place. When each item has a specific home, it becomes so much easier to whip up dinner, plan meals, or jot down your grocery list without second-guessing. Plus, no more searching aimlessly for that one ingredient you’re sure you bought last week.
Popular Pantry Categories to Get You Started:
- Pasta – Store your spaghetti, penne, and other pasta favorites together.
- Soups & Broths – Perfect for those cozy, one-pot meals.
- Side Dishes – Think rice, mashed potato mixes, or quinoa.
- Snacks – Chips, granola bars, and all your grab-and-go treats.
- Breakfast Items – Cereal, oats, pancake mix, and syrup.
- Italian Essentials – Like marinara sauce, pesto, or canned tomatoes.
- Sauces & Condiments – BBQ sauce, salad dressings, and everything in between.
- Spices & Seasonings – Keep all your flavor-packed jars in one spot.
By sorting items into categories, you’ll not only save time but also avoid buying duplicates, reducing waste in the process. Your pantry doesn’t just look great—it works smarter for you.
Discovering Hidden Storage in Your Pantry
If you’re running out of space in your pantry, it’s time to get creative and think beyond the shelves in front of you. Here are some clever tips to help you uncover hidden storage opportunities and make every inch count.
- The Back of the Door
The back of your pantry door is prime real estate! Install an over-the-door organizer for storing small items like spices, sauces, or snack pouches. It’s a smart way to keep frequently used items within easy reach. - Go Vertical
Add stackable bins or tiered shelves to maximize that vertical space you might be overlooking. Use risers to store canned goods, jars, or smaller containers neatly and visibly. - Add Under-Shelf Baskets
Wire under-shelf baskets are a game-changer. Easily attach them to your existing shelves to create additional spots for lightweight items like napkins, paper plates, or sandwich bags. - Attach Hooks or Pegs
Don’t forget about the walls or side panels of your pantry. Add hooks or a pegboard to hang small items like measuring cups, reusable bags, or even aprons. - Use Clear Containers
Transfer items like flour, sugar, or snacks into clear, stackable containers. Not only does this save space, but it also makes it easier to see what you have at a glance. - Make Use of Floor Space
Don’t neglect the floor of your pantry. Add a small rolling cart or baskets to hold bulkier items like potatoes, onions, or large bags of snacks. - Magnetic or Clip Storage
Use the inside of doors or the sides of shelves to hang small magnetic containers or clips for items like tea bags, labels, or recipe cards.
Now that you have some simple tips on organizing a pantry with wire shelves, you are on your way to a streamlined pantry. This also means you are ready to move on to another decluttering project. So, let’s dive into that kitchen.
Head on over and get ready to clean out your kitchen. The most important room in the home and a great place to begin creating a home you love.
Pantry Organizing Resources:
I definitely love the plexiglass for the wire shelving
I also purchased the plastic bins in the same color you showed
I can’t believe the difference these 2 suggestions made in my pantry
Now I have to get the labels done
Thanks for all your ideas
They are amazing
Yay, I am so glad you are getting organized!