8 Steps in Cleaning the Refrigerator
Need a quick fix for your messy fridge? These 8 Steps to Cleaning the Refrigerator will take it from chaotic to neat and clean in no time.
Groceries are expensive, so keeping your fridge neat and clean helps them stay fresh longer. Turn to these cleaning tips whenever your fridge needs a neatness refresh.

Grocery shopping is one of those unavoidable tasks on everyone’s to-do list. Whether you enjoy it, dread it, shop in person, or order delivery, it’s a chore that just can’t be skipped.
Shortcuts make life easier, helping you breeze through tasks and get back to your day sooner. Believe it or not, keeping your refrigerator clean is one of those time-saving hacks.
The Importance of a Clean Fridge
A clean fridge isn’t just healthier—it makes life so much easier. It allows you to store groceries quickly without dealing with old leftovers or expired milk hiding on the shelves. Plus, it lets you see what you have at a glance, reducing wasted food and saving you money.
It even makes meal prep faster when everything is organized and within reach.
Keeping your fridge clean makes it easier to organize, reduces dinner time stress, gives you fewer sticky condiment lids, and sets you up for a more efficient kitchen.
8 Steps in Cleaning the Refrigerator
Cleaning your refrigerator might feel like a chore, but it’s also one of those chores that are worth the effort. With the cost of food these days, storing fresh apples in a dirty drawer just doesn’t cut it.
Think of this task as an investment—not only in keeping your food fresher for longer but also in maintaining your fridge.
Step 1: Gather Your Supplies
Before you dive in, make sure you’ve got everything you need. Since we’re cleaning a food storage area, stick to natural cleaners—they’re the safest and most effective choice for this job.
- Mild dish soap such as Dawn Free and Clear or Dapple Dish and Bottle Soap.
- Baking soda – for scrubbing stuck-on messes.
- White vinegar – an excellent natural cleaner and deodorizer.
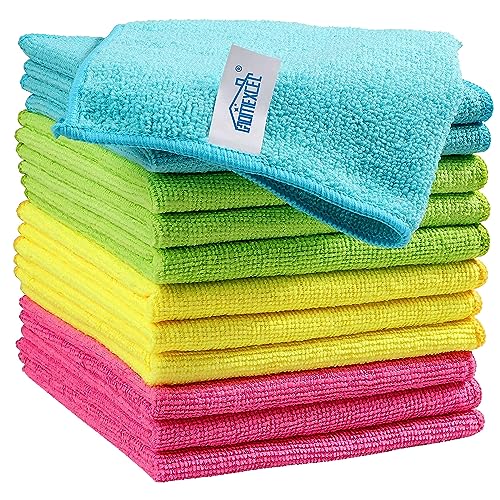
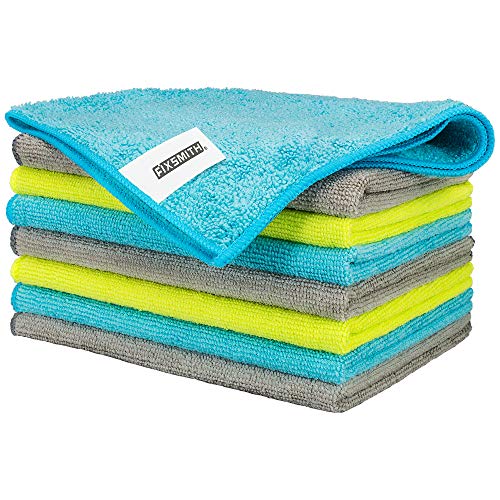
- A microfiber cloth or a non-abrasive scrubber – avoid using sponges that can harbor bacteria and spread it around.
- A small brush (an old toothbrush works well) – for hidden corners.
- A bucket or large bowl
- Trash bags
- A cooler – Optional, for keeping food fresh during cleaning.
- A counter or table – For sorting and organizing food.
Dawn Free & Clear Powerwash Dish Spray, Dish Soap, Pear Scent Refill, 16 Fl oz (6 Pack) FIXSMITH Microfiber Cleaning Cloth – Pack of 8, Size: 12 x 16 in, Multi-Functional Cleaning Towels, Highly Absorbent Cleaning Rags, Lint-Free, Streak-Free Cleaning Cloths for Car Kitchen HomeDapple Baby Bottle & Dish Foaming Power Spray, Hypoallergenic Dish Soap for Baby Bottles, Powered by Plants, Fragrance Free, 16.9 Fl Oz (Pack of 2)


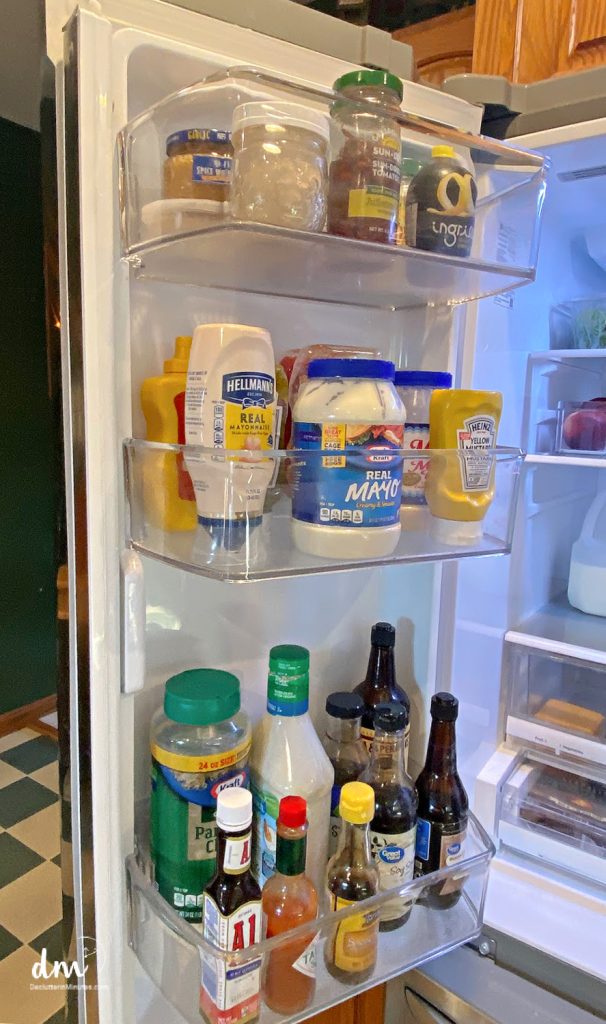
Step 2: Empty It Out
Take everything out of your fridge. Check expiration dates and toss out anything spoiled, moldy, or questionable. If you have perishable food, store it in a cooler to keep it safe while you clean.
As you clear out your fridge, sort items into categories to make organizing a breeze later. Group them by Dairy, Drinks, Condiments, Meat, Produce, and Snacks.
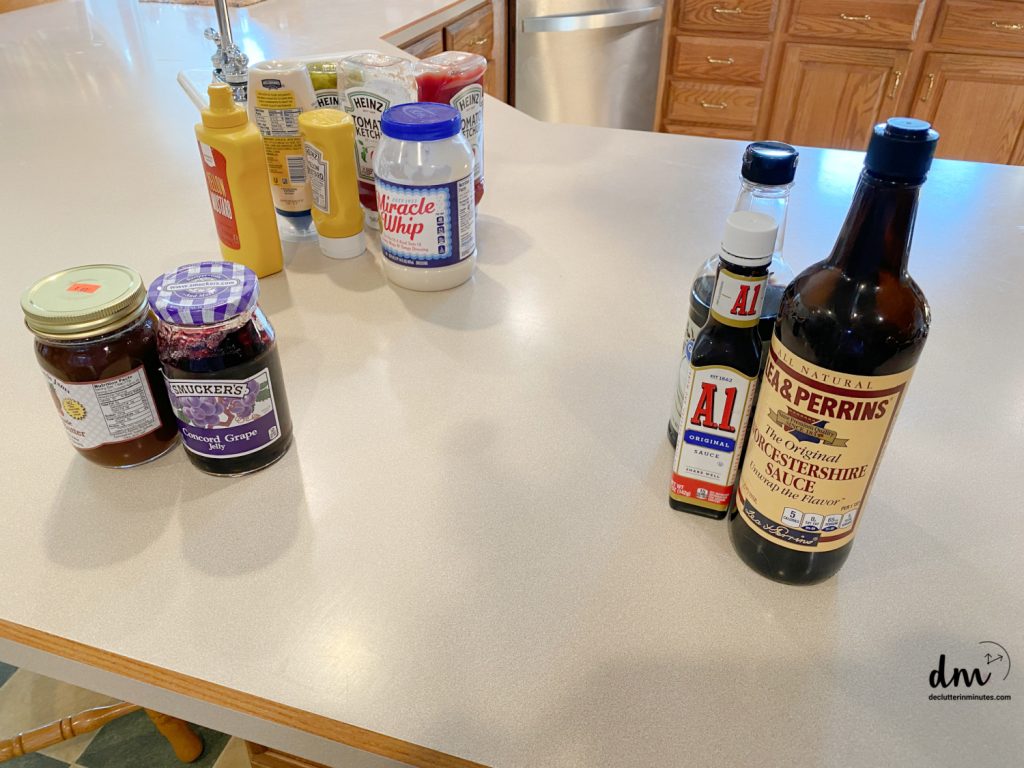
DM Pro Tip: Take note of anything that needs replacing and add it to your shopping list. And if you spot several expired condiments, consider buying smaller bottles next time to prevent waste.
Step 3: Remove and Wash Shelves & Drawers
Once all the food is out, see what you can safely remove for easier cleaning. Take out any shelves, drawers, and removable compartments.
Wash them in warm, soapy water or sprinkle baking soda onto a sponge for stubborn stains. If you find any stubborn spots, let them soak while you work on other areas.
Rinse everything well and dry them completely with a towel before putting them back.
Step 4: Wipe Down The Interior
Mix a solution of warm water and a few drops of dish soap or vinegar. Using a microfiber cloth or sponge, wipe all interior surfaces, including walls, door seals, and corners.
For sticky or hardened messes, apply your cleaner and let it sit for a few minutes before scrubbing gently.
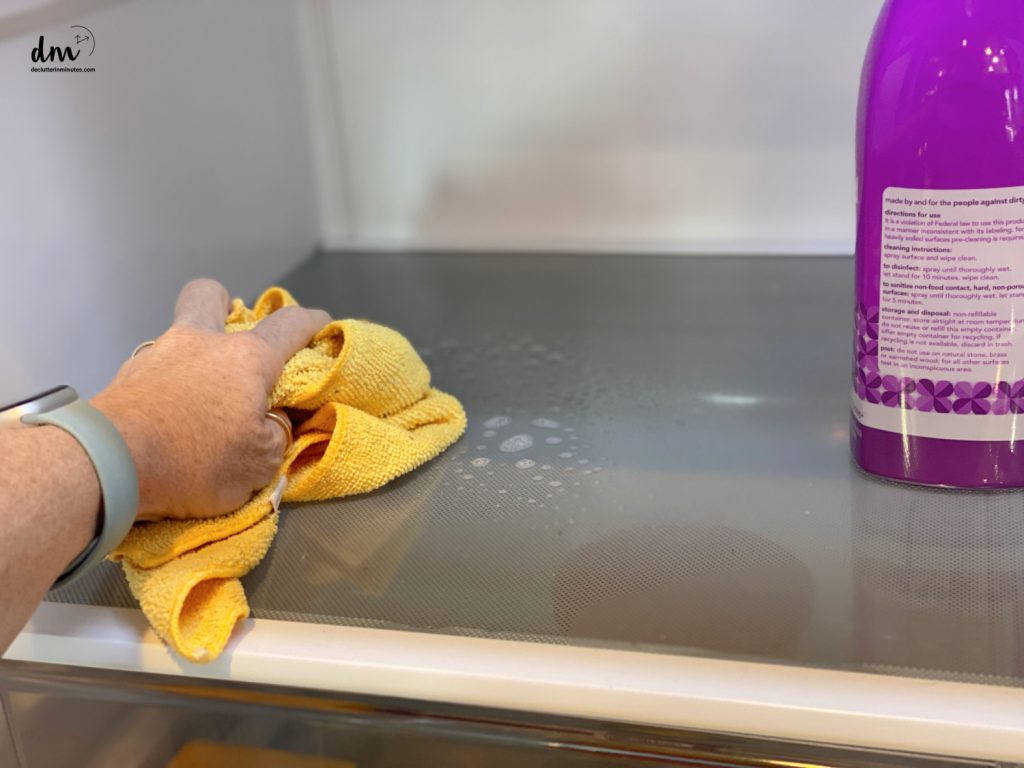
Stick to natural cleaners and skip the harsh chemicals—it might take a little extra elbow grease, but it’s worth it to avoid any unwanted odors in your food.
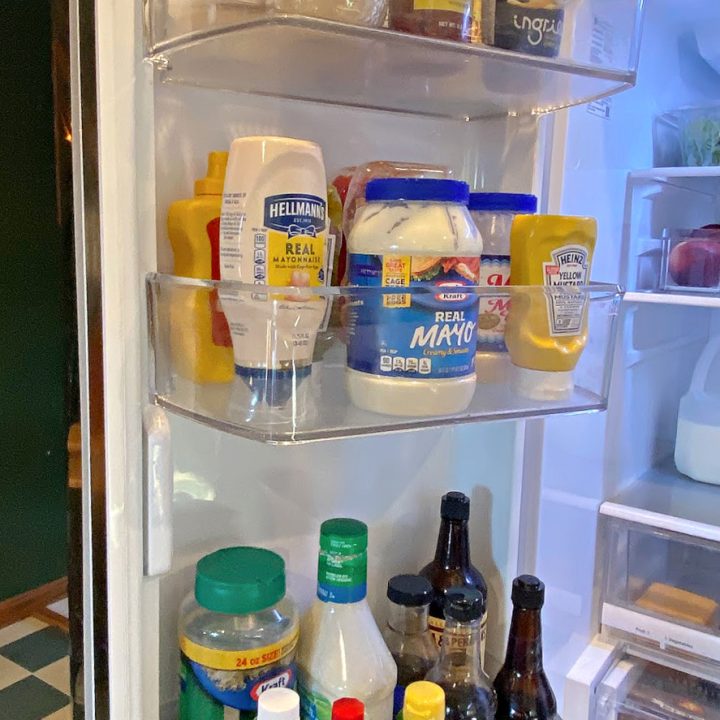
Step 5: Replace Items & Organize
Once everything is dry, reassemble the shelves and drawers, adjusting their positions to make the best us of your space.
Organize food by grouping similar items—dairy on one shelf, drinks on another, and condiments in the door.
Use bins or containers to store produce, snacks, lunchmeat, cheese, or leftovers. An organized fridge not only looks great but also makes cleaning easier!
ZIJUND 14 Pack Fridge Organizer, Stackable Refrigerator Organizer Bins with Lids, BPA-Free Fridge Organizers and Storage Containers for Fruit, Vegetable, Food, Drinks, Cereals, ClearSimple Houseware Soda Can Organizer for Pantry / Refrigerator, Clear, Set of 2Diskary Fridge Organizer, Stackable Refrigerator Organizer Bins, Reusable Food Storage Containers, Fridge Drawer Organizer in Home Kitchen, Barbecue Shop, Restaurant, BPA-Free (2 Drawers, Large)RoskDeewat Egg Holder for Fridge, Automatic Rolling Egg Container for Refrigerator, Stackable Fridge Organizers and Storage with Lid, Clear Plastic Egg Dispenser & Tray (2 Tier)Pomeat 10 Pack Fridge Organizer, Stackable Refrigerator Organizer Bins with Lids, BPA-Free Produce Fruit Storage Containers for Storage Clear for Food, Drinks, Vegetable StorageDeli Meat Container for Fridge,Bacon Lunch Meat Container for Refrigerator Stackable 3 Layers Food Storage Boxes with Lid for ColdCuts, Salami, Deli, Meal Prep Containers,BPA Free,18.60z,3Pack


Step 6: Clean the Exterior
Once the inside is done, keep going with the outside. Wipe down the exterior using the same mixture of water and dish soap or an all-purpose cleaner. For stainless steel surfaces, use a stainless-steel cleaner and microfiber cloth to prevent streaks.
Don’t forget the door handles, seals, and hinges—those spots love to collect grime.
Finish off with a glass cleaner for any mirrored or glass surfaces.
Step 7: Clean the Water/Ice Dispenser
Don’t overlook the water and ice dispenser—it can harbor buildup and bacteria over time. Start by turning off the water supply to your fridge, then remove any detachable parts like the tray or drip catcher. Wash these pieces with warm, soapy water and rinse thoroughly.
For the dispenser itself, use a clean, damp cloth and a gentle cleaner to wipe away residue. You can also use a small brush, like a toothbrush, to scrub in the nooks and crannies.

Run a mixture of white vinegar and water through the dispenser to clear any internal buildup, then flush it several times with clean water to prevent any lingering taste.
Step 8: Clean Under and Behind
Don’t forget to clean the area under and behind your fridge. This is often overlooked but can collect a surprising amount of dust, crumbs, and random clutter.
Pull the fridge out or use a vacuum attachment to access these hidden spots. Wipe down the floor and clean any exposed coils or vents to keep everything fresh and running smoothly.
Bonus Tips for Refrigerator Maintenance
Keep your fridge looking and smelling great with these quick tips.
- Tackle any spills right away to avoid sticky residue.
- Do a quick wipe-down every week of the inside and out.
- Clear out expired items and clean up spills right away to avoid odors and messes.
- Check and replace water filters every six months for fresh-tasting ice and water.
- Place an open box of baking soda inside the fridge to neutralize odors.
- Check the door seals regularly. If they’re loose, it may be time to replace them.
- Vacuum the condenser coils (usually at the back or bottom) every 6 months to improve efficiency.
By following these 8 steps, keeping your fridge clean becomes quick and easy. A clean fridge doesn’t just keep your food fresh and safe—it also makes your kitchen feel more organized and inviting. Plus, regular upkeep means fewer funky odors, less waste, and a longer life for your fridge.
Make it a part of your cleaning routine, and you’ll love having a fridge that’s always fresh and ready on grocery days.
More Cleaning Tips for a Neater Kitchen:
8 Steps to a Cleaner Fridge and a More Organized Kitchen
Save time and reduce food waste with a clean, organized fridge. Try these simple cleaning tips.
Materials
- Mild dish soap
- Baking soda
- White vinegar (for cleaning and deodorizing)
- Warm water
- Trash bags (for disposing of expired items)
- Organizing bins or containers (for food storage)
- All-purpose cleaner or stainless-steel cleaner (for exterior surfaces)
- Glass cleaner (for mirrored or glass surfaces)
Tools
- Microfiber cloths
- Small brush (like an old toothbrush)
- Non-abrasive sponge or scrubber
- Bucket or large bowl
- Cooler (optional, for storing perishables)
Instructions
- Gather your natural cleaning supplies. These may include a mild dish soap, baking soda, and white vinegar, microfiber cloths, and a small brush.
- Remove all items from the fridge and sort them into categories like dairy, meats, and snacks.
- Take out any removable parts such as shelves and drawers. Wash them with soapy water or baking soda for stubborn stains.
- Clean the fridge’s interior with a warm water solution and a few drops of dish soap or vinegar.
- Wipe down the walls, door seals, and corners, and let the cleaner sit on sticky spots for a bit before scrubbing them.
- Once the fridge is clean and dry, reassemble the shelves and organize food by category. Use bins or containers for better storage and accessibility.
- Wipe the outside of the fridge, including handles, seals, and hinges.
- Clean the water and ice dispenser. You can run a vinegar-water mix through the dispenser, followed by plain water, to remove buildup and odors.
- Move the fridge to vacuum and wipe underneath and behind it to get rid of dust and crumbs.
Notes
- Always start cleaning at the top shelves and work your way down. This prevents dirty water or crumbs from dripping onto areas you’ve already cleaned.
- While sorting through your food, make a note of items you’re running low on.
- Make fridge cleaning a regular habit, like once a month or every few weeks.
Recommended Products
As an Amazon Associate and member of other affiliate programs, I earn from qualifying purchases.