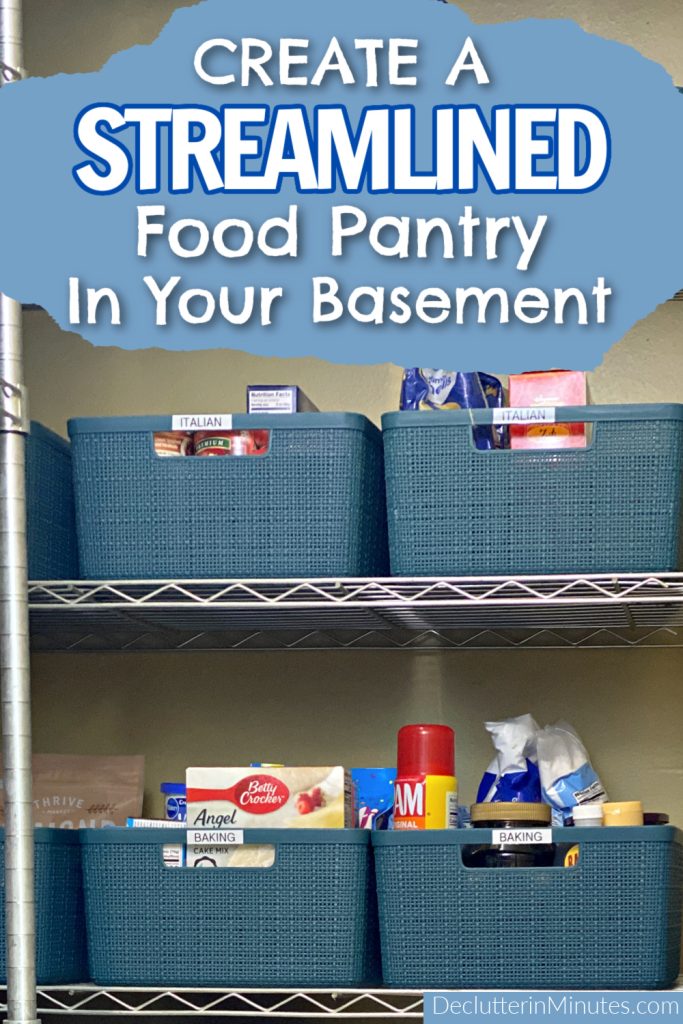
Basement pantry organization
No pantry in your kitchen? Don’t worry, we’ve got you covered. This guide is packed with tips to help you create a functional and efficient food storage space. Whether you’re starting your basement pantry organization from scratch or just looking for fresh ideas, you’ll see how to make the most of this area.
Plus, we’ll share a simple yet powerful trick to level up your pantry organization game.
Not everyone has a kitchen pantry, and I totally get it. When my family moved into our first home, the kitchen barely had enough cabinets to function as a kitchen, let alone hold extra food. Keeping everything in that cramped space just wasn’t going to work.
I mean, not everyone is lucky enough to have one of those dreamy walk-in pantries you see in magazines, right? You know the ones—with built-in cabinets covering every wall and a stunning marble island in the center. I’d love a pantry like that, but unfortunately, it’s never been in the cards for me.
Instead, I had to get creative and find another place to stash our extra food.
Back when my boys were little, I would only grocery shop once a month. It was a fantastic way to save money, but boy, did it mean a lot of food to store all at once. That pile of groceries needed a space big enough to keep everything organized and accessible.
Since our kitchen wasn’t cutting it, I turned to the basement.
My husband got to work and built some sturdy shelves in one corner—no, not the prettiest setup, but it worked for what we needed. Those shelves were strong enough to hold hundreds of pounds of food without a problem, and they became the heart of our basement pantry organization.
If you’re in the same boat and your kitchen doesn’t have room for a proper pantry cabinet or you’re dreaming of a walk-in pantry that’s just not realistic, don’t worry. With a little creativity, we can help you set up a food storage area in your basement that works for you.
Is your basement a good spot for a kitchen pantry?
To figure that out, you’ll need to do a little investigating. First off, is your basement dry? Because dampness and food are not a good mix. Keeping your food fresh means ensuring any storage space is moisture-free.
Here’s a quick trick to test for moisture, straight from This Old House: grab a 12×12-inch square of aluminum foil and tape all the edges down on a basement wall using duct tape. Leave it there for several hours. When you peel it off, if the underside of the foil or plastic is wet, there’s moisture in your walls.
Wood Moisture Meter, BENETECH Pin-Type Digital Moisture Tester, Water Leak Detector for Wood, Building Material, Drywall, Floors, Basement, Ceiling, Paper, Black BLACK+DECKER 3000 Sq. Ft. Dehumidifier for Large Spaces and Basements, Energy Star Certified, BDT30WTBDampRid Hi-Capacity Moisture Absorber Bucket, 2 Pack — Fresh Scent, 2 lb. 15.5 oz.


If you do detect moisture, don’t panic, but it’s something you’ll need to address before moving any food downstairs. Food in cans or glass jars might be okay for now, but anything else won’t fare well in a humid environment.
Once you’ve sorted that out, your basement could be the perfect space to create an organized and efficient pantry.
How to Set Up an Organized Basement Pantry
Using your basement for overflow food storage can be a game-changer. Sure, it might not be the most convenient place to access daily, but that’s okay—we’re going to use this space strategically.
Think of your basement pantry as your personal grocery store. The items you use every day will stay upstairs in your kitchen, while backups and surplus stock will live downstairs. When you’re running low in the kitchen, just “shop” your basement pantry to replenish your supplies.
Here’s how to create an organized, streamlined system that’s not just functional but also easy to maintain.
Step 1: Assess Your Basement Space
Before you start stacking cans and boxes, take a good look at your basement. Is it clean? Dry? If there’s any dampness, now’s the time to address it. Damp basements are a no-go for food storage because moisture can spoil food and attract pests.
How to Test for Moisture
Here’s a quick moisture test suggested on This Old House: that you can do yourself:
- Cut a square of aluminum foil and tape it to a wall, sealing the edges with duct tape.
- Leave it for 24 hours.
- When you peel it off, check for moisture. If the foil is dry, your walls are good to go. If it’s damp, you’ll need to deal with the moisture problem first.
Once your basement is dry and ready, give it a good cleaning. Sweep, dust, and make sure the space is clear of clutter. This gives you a clean slate to start building.
Step 2: Build or Buy Sturdy Shelving
The backbone of any basement pantry is solid shelving. You need shelves you can trust to hold the weight of heavy cans and bulk food items without buckling.
You’ve got two solid options here:
- DIY Shelves: Use 2x4s and plywood to build custom shelves. These are sturdy, budget-friendly, and can be tailored to fit your space.
- Pre-Made Shelving: Invest in commercial-grade metal shelving. It’s durable, adjustable, and easy to assemble.
Yes, sturdy shelving is an investment, but think of it this way: food is one of the biggest expenses you’ll manage weekly. A reliable setup ensures your stock stays organized and safe.
How Big Should Your Shelves Be?
The size of your shelving depends on what you plan to store. Consider both food and non-food items. If you want to store small appliances, seasonal dishes, or entertaining supplies alongside your food, make sure to leave space for those, too.
The more stuff you can move out of your kitchen, the more functional and streamlined your daily cooking space will become.
Step 3: Plan the Layout with Access in Mind
Not all shelf space is created equal. You’ll want to store your most-used items in your “prime real estate”—this is the space between your waist and chest, which is easiest to reach.
Here’s what to store in prime real estate:
- Foods you grab frequently.
- Heavy appliances you use often (no more pulling your back out trying to lift them from the floor).
- Bulk items you dig into multiple times a week.
For less-used items, like rarely-needed appliances or surplus supplies, keep them on the upper or lower shelves. The goal is to make your most common tasks as quick and easy as possible.
Get our tips on How to Design the Best Pantry Layout.
Step 4: Use the Floor Wisely
If your basement is dry, the floor can double as storage space. Use it to keep heavy bulk items like bags of rice, flour, or sugar in sturdy, airtight containers. Clear plastic bins with snap-on lids work great here to protect against pests.
Larger, less frequently used appliances (like a canner or dehydrator) can also live on the floor. Just be sure things are stacked safely to avoid accidents.
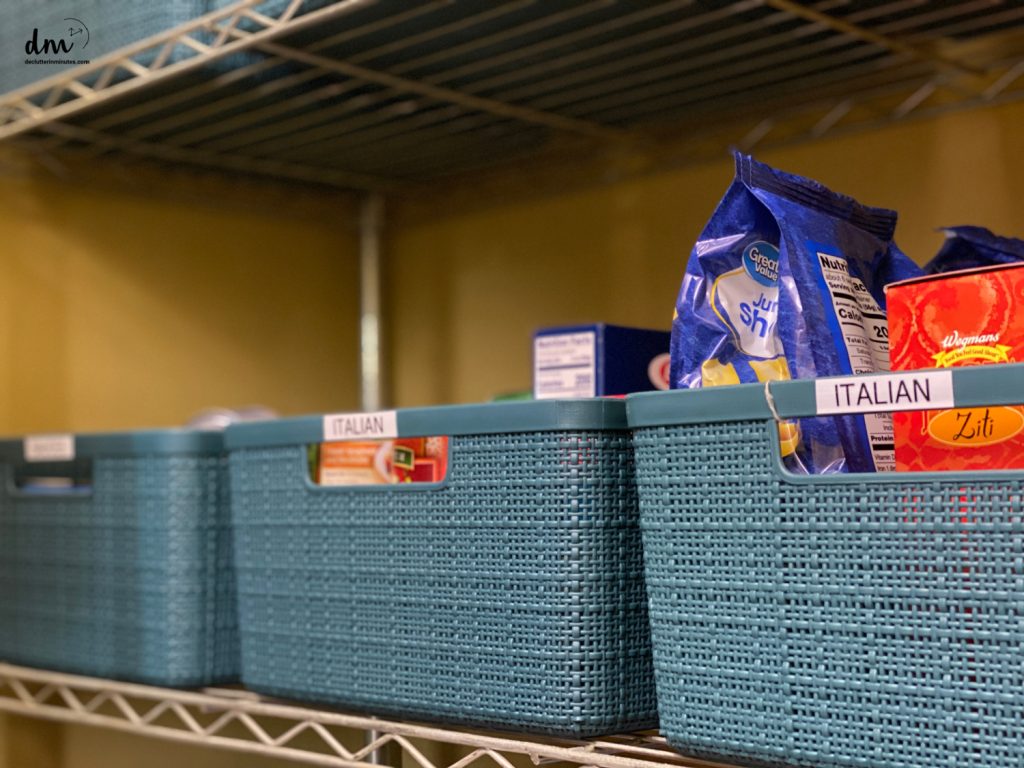
Step 5: Organize with Categories
Now for the fun part—organizing your stash. Categories are your secret weapon to keeping like items together and making it easy to find what you need. Having a Pantry Category List will make it easy to find adn put away items quickly and efficiently.
Here are a few ideas to get you started:
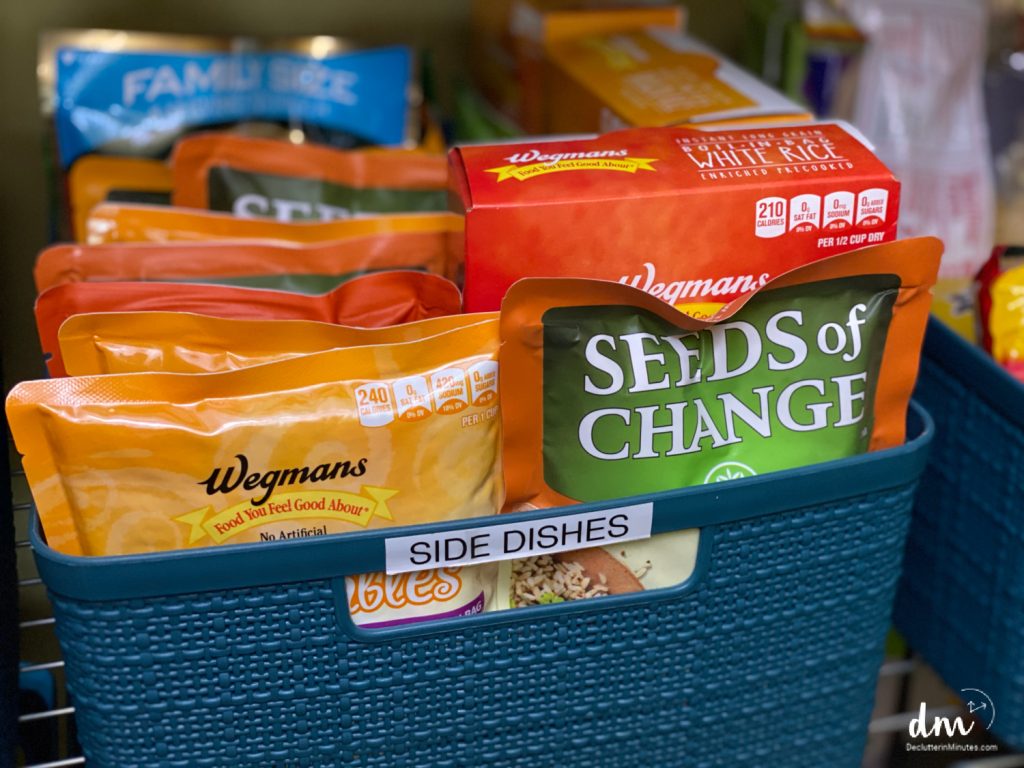
- By Container Type (e.g., canned goods, boxes, jars)
- By Meal Type (e.g., breakfast items, snacks, side dishes)
- By Cuisine (e.g., Italian, Mexican, or baking essentials)
If you’re not sure where to start, ask yourself this simple question: “If I were looking for _____, where would I naturally look first?” This will help you figure out what organizing style fits your brain best.
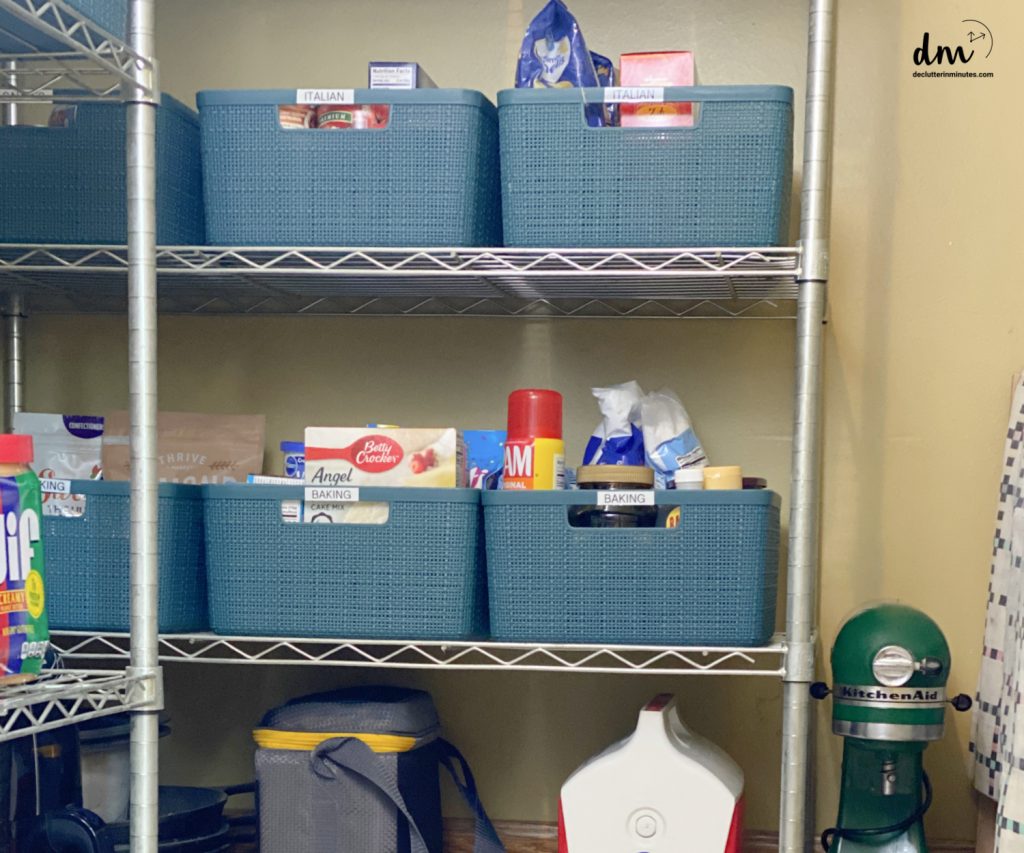
Step 6: Pick the Right Storage Bins
You don’t need to spend a fortune on fancy organizers, but bins and baskets can do wonders for keeping your shelves in order. Here are a few tried-and-true options:
- Large baskets: Perfect for bulk packaged items like rice or noodles.
- Metal or wicker bins: Great for canned goods.
- Shallow plastic trays: Use these for spices or jars to keep them from falling over.
- Lazy Susans: Handy for oils, sauces, or seasoning packets.
- Clear bins with lids: Ideal for protecting dry goods like flour or pasta.
Curver Set of 4 Jute Large Decorative Plastic Organization and Storage Basket Perfect Bins for Home Office, Closet Shelves, Kitchen Pantry and All Bedroom Essentials, GreyVtopmart 6 Pack Clear Stackable Storage Bins with Lids, Large Plastic Containers with Handle for Pantry Organizer and Storage,Perfect for Bathroom,Cabinet,Kitchen,Fridge,Closet OrganizationSet of 2, 12 Inch Non-Skid Lazy Susan Organizer, Pantry Lazy Susan Turntable for Cabinet, Kitchen Cabinet Organizer, Pantry Organization and Storage -White/Gray


Not ready to buy bins? Repurpose items you already have, like shoeboxes, ice cream tubs, or baking pans. This lets you test your setup before committing to new storage containers.
Step 7: Label Everything
Labels are your best friend when it comes to staying organized. Use temporary labels at first, like sticky notes, to figure out what works for you. Once you’re happy with your setup, switch to something more permanent.
Be clear and specific when labeling—think “Snacks” or “Canned Veggies,” not something too broad like “Food.”
Labels help everyone in the house know where things go, which means less mess and no more guessing games when it’s time to restock.
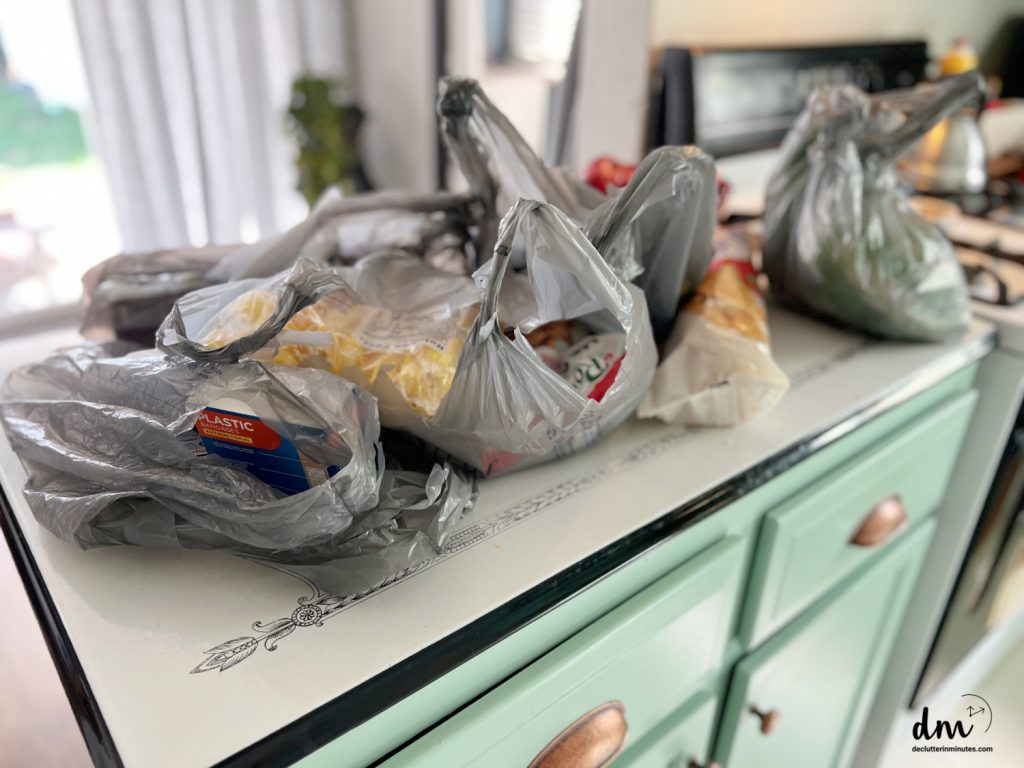
Step 8: Commit to “All the Way Away”
The secret to keeping your basement pantry tidy? Always put things “all the way away.” This means groceries go directly into their designated bins or shelves—not sitting in bags on the floor waiting to be sorted “later.”
It only takes a few extra seconds, but this habit will save you tons of time and stress in the long run. You’ll always know where to find what you need, and restocking the kitchen will be a breeze.
The Payoff of an Organized Basement Pantry
Once your basement pantry is up and running, you’ll wonder how you lived without it. No more wasting money buying duplicates of items you already have. No more struggling to plan dinner because you can’t see what’s hiding behind a pile of clutter. An organized pantry turns chaos into order, giving you peace of mind and saving you time and money.
Take these steps one at a time, and pretty soon, you’ll have a well-organized basement pantry that feels like an extension of your kitchen.
I moved the catering supplies and specialty baking pans and servers into a she-shed.
I added a chrome shelving set into the kitchen for pots, pans, and storage containers.
The cabinets hold my table settings, serving dishes, and food supplies.
Love your idea to move catering supplies & specialty things to the shed. I’m stealing that. I have some vacuum storage bags from the dollar store I can use. The vacuum seal never lasts but they’re nice, big zip close bags, so I can find it later. Cheers!
What is a “she shed”, please?
This, like so many of your posts, is full of useful information. Photos of your spaces would be even more helpful! I am a bit of a “see it, do it” person, so seeing someone elses’ space helps me even if it isn’t a similar set-up..it still helps me imagine my own space
Thanks, and more photos in your posts of what you are describing!