Clean Kitchen Checklist
Finding more efficient ways to tackle cleaning is always a good time investment. This clean kitchen checklist is just what you need to streamline the cleaning of this busy room.
When working on kitchen organization, cleaning plays an important role. Make your room easier to keep neat and put away, and transform your kitchen into a space you love to cook in.

Cleaning a kitchen can be done in just 9 steps each one working with the next to transform this busy room into a place that is neat, clean, and easy to keep that way.
I hate to clean; there, I said it. But I also know it needs to be done routinely so things do not get out of hand making a small job a much bigger one. If you want to make cleaning easier, to get it and get it done in the shortest time possible, then what you need is a Clean Kitchen Checklist.
This is an easier way to remove the grime and mess from your cooking space. Be sure to grab the free checklist below and use those home cleaning tips to put the easy into your cleaning routine.
Kitchen Cleaning Tools
To start off, you will want to prepare the tools you’ll need to clean up your kitchen.
- Clean microfiber cloth
- Dish soap
- Scrub brush or sponge
- Multi-purpose cleaner
- Baking soda (For tough stains, strange smells, burned-on messes, and everything in between)
- Lemon
- Swiffer Dusters
Shortcut Tip: Setup cleaning buckets in your messy rooms so you have the tools you need ready to go whenever you are set to clean things up. Use this video for a bit of inspiration to get started.
Clean Kitchen Checklist
Small steps are my secret way to take a big project and transform it into that is more reasonable. Instead of being faced with a big chore, “Clean the entire kitchen from top to bottom”, you instead have a task, “Wipe the counters.” And if you ask me, wiping counters is easier to face especially if you hate to clean.
Use this list to get started, put your focus on just one step at a time, and watch your kitchen begin to sparkle and shine.
Step #1. Clean heavily used appliances
If you have small appliances that get used daily or more often, start by giving each one a good cleaning. This will ensure that they work properly for a longer period of time.
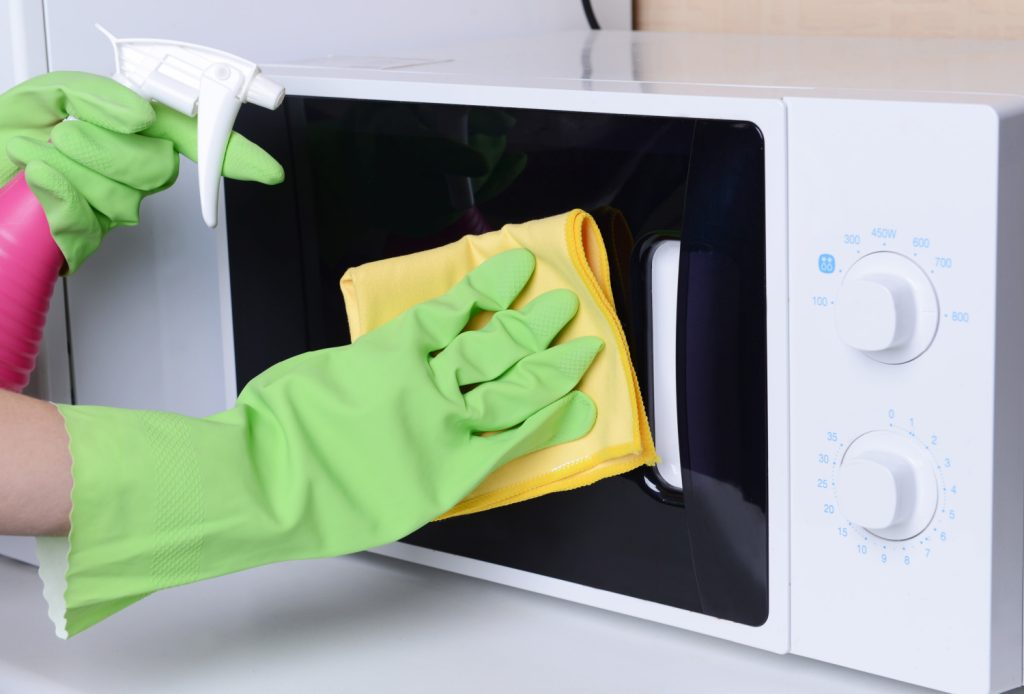
The Microwave
A microwave is one of the most heavily used appliances in a kitchen and because of that, it’s at the top of our list. If your family cooks their own food, you may want to wipe your microwave down daily to keep things more presentable in between cleanings.
Use this tip for easier cleaning.
- Get a microwave-proof bowl and fill it with water.
- Cut a lemon in half, squeeze its juice into the bowl.
- Toss the lemon skin into the bowl as well.
- Microwave for about three minutes.
- Using a warm soapy sponge, wipe the inside of the microwave until clean.
Microwaving the water-lemon combination creates steam to help remove gunk and spills that may be splattered throughout the inside.
The Toaster
Another heavily used appliance is a toaster and having a weekly routine will keep it working longer. Be sure to unplug your toaster before cleaning.
- Remove the crumb tray and clean.
- Wipe down the outside.
- For stubborn stains, you can use baking soda/water mixed into a paste. Be sure to rinse thoroughly.
- Return the crumb tray.
Air Fryer
We love our air fryer and use it almost daily. Use this list to ensure your fryer stays clean and in good working order. Again be sure to unplug your fryer before cleaning.
- Remove the baskets and trays using soapy water to clean thoroughly.
- Rinse and allow to drain and dry.
- Wipe down the outside of the fryer, rinse, and dry.
- Replace the baskets and trays.
The Coffee Maker
We are heavy coffee drinkers and that means our coffee maker needs to be cleaned more often than most. Luckily it is easy to do with our quick clean list.
- Fill with vinegar.
- Let sit for 20-30 minutes.
- Run a brew cycle with the vinegar and nothing else.
- Once done, turn the maker off and let cool.
- Fill with water and run. You may need to do this several times to ensure the vinegar is gone.
- Wipe down the outside of the maker.
- Wash the pot and the grounds container.
Step #2. Declutter and Clean the Kitchen Table
The kitchen table is where we gather as a family to enjoy amazing meals together. By keeping your table free of clutter and mess, you will always have an inviting space to eat.
Start by removing any clutter on your kitchen table. Toss the trash and remove any recyclables. Next, put away any food, dishes, or miscellaneous items. Now you are ready to clean.
- Wipe the surface down, removing any stuck-on food or grime.
- Wipe down the base and underneath the table as well.
- Wipe down each chair.
- Wash any chair pads if you use them.
- Replace your centerpiece.
Kitchen Decluttering Resources:
- 5 Steps to Clutter Free Counters
- Stop Clutter From Showing up In Your Kitchen
- Keep Counters Organized Going Forward
D/M Pro Tip: Start a new clutter-free habit. Designate your kitchen table as a clutter-free zone. This will always ensure your eating area is neat and tidy for you to enjoy dinner with your family.
Step #3. Clean and Declutter the Kitchen Counters
Another area that tends to get messy quickly is our kitchen counters. Let’s get those back in shape. Toss the trash and recyclables. Next, put any food away and take care of the dirty dishes. Put away anything left that doesn’t belong on the counter.
Once the clutter is gone, you can clean your countertops. Be sure to use the best cleaner for the counters you have.
- Wash the counters.
- Be sure to get the backsplash.
- Dry things completely and return any items you move to clean.
To keep your counters neater going forward, use trays, baskets, or other containers to keep things neater.
Step #4. Clean the Sink and Dishwasher
Before you begin cleaning the sink, start by washing all the dirty dishes. If you have a dishwasher, you can load it up, being sure to hand wash any pots and pans or fragile items.
- Clean the sink by spraying a multi-purpose cleaner around the inside, including the outer rim and faucet.
- Using a damp sponge, wipe the inside and rinse thoroughly.
- Clean the drains. Dump a cup of baking soda into the drain and next pour 1-2 cups of vinegar. Allow to sit until all the bubbles are done.
- Finish with very hot to boiling water to rinse down any debris.
- Dry the entire area.

How can I remove grime and stains from my kitchen sink?
You can use baking soda in the sink as a gentle abrasive. Be sure to use a soft rag or sponge to keep from damaging the surface while cleaning.
If you have grout that needs cleaning, a toothbrush will work great in this area.
By using baking soda, you can remove the grease and shine your sink at the same time.
Step #5. Clean the Cupboards and Cabinets
Sometimes, with our busy lives, we tend to overlook cleaning the outside of our cabinets. Unfortunately, this area can get pretty messy with fingerprints, dust, grease, and other specks of dirt.
- Wipe each door down with hot soapy water to remove any grease or grime.
- You can also use a grease dissolving spray and a soft rag. Be sure the spray you choose will not damage the surface of your cabinets.
- If your cabinets are dusty, use a Swiffer duster or a multi-purpose cleaner with a microfiber cloth.
- Be sure to get the handles as well.
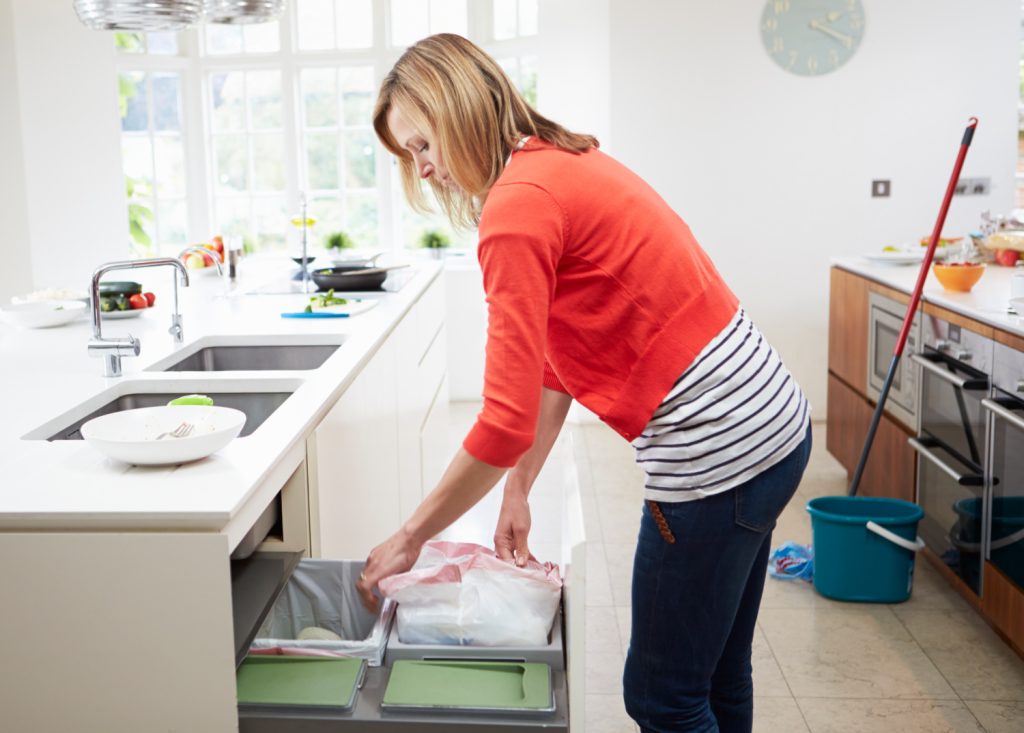
Step #6. Clean The Trash Can
An easy step that will only take seconds and one that is hopefully on your daily routine. Not keeping the trash emptied will not only cause odor but can also invite bugs and pests.
- Take out the trash.
- Clean the inside of your garbage bin and allow dry.
- Sprinkle baking soda inside it to remove any smells.
- Also, use a multi-purpose cleaner to clean the outside of your kitchen trash can.
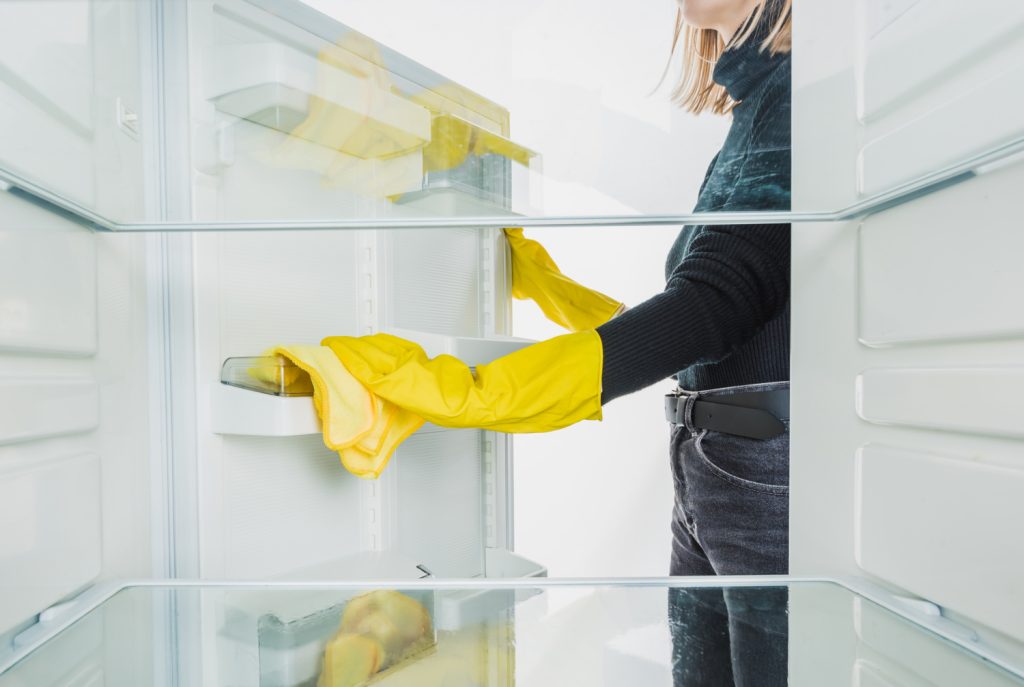
Step #7. Clean the Fridge
Cleaning the fridge is another one of those tasks that you may want to have on your weekly cleaning list. The more frequently you clean the inside of your refrigerator, the easier it is to keep it neat and tidy.
If you want to give your fridge a good deep cleaning, you can do that in a few quick steps.
- Remove the food, inspecting things as you do.
- Toss any outdated or spoiled items.
- Wipe down any containers
- Once everything is removed, using a warm soapy sponge, clean the inside. Be sure to get the doors and drawers and any shelving.
- Wipe down the outside with a multi-purpose cleaner.
- Finally, pull the fridge out and vacuum off the coils.
- Return your food using organizers to help keep things neater.
Make a list of any items you need to replenish the next time you are at the grocery store.
Food Organizing Resources:
Step #8. Clean the Stovetop
Cleaning the stove top varies depending on the type of stove you have in your kitchen. This task can also be challenging since grease and grime can build up here.
- If you have a flat cooktop, whether induction or electric, you can pull off the knobs that adjust the temperature and wipe or scrub them with a sponge dipped in dishwashing soap.
- If you have a stove with non-removable knobs, you can spray a multi-purpose cleaner on your microfibre cloth and carefully wipe each one down.
- For stove tops, use a sponge, dishwashing soap, a soft brush, and water.
- Once done, rinse thoroughly and dry.
- Soak grates to help remove caked-on residue.
- Allow to air dry before returning.
Add to your weekly cleaning list a regular wipe-down of the stovetop to avoid the buildup that may cause a bigger mess to clean.
Step #9. Clean The Floor
Once you have all the areas cleaned in your kitchen you can finish up by cleaning the floor.
- Remove any rugs, shake, and allow to sit out in the sun to air out.
- Sweep the entire floor area.
- Clean the floor using a cleaner that is safe for your specific flooring.
- Once dry, wipe down any trim.
- Replace the rugs.
Daily Kitchen Cleaning tasks
So many times, daily upkeep can keep this busy room neater and much easier to use. Let’s cover a quick list of things you can do each day.
- Do the dishes
- Remove any counter clutter
- Wipe down the counters
- Sweep/vacuum the floor.
- Update your shopping list
After following this 8-step checklist for cleaning your kitchen, you can also go the extra mile in cleaning your kitchen by changing the kitchen towels, decluttering and organizing your food storage areas, mopping the floor, and more!
Always remember: A clean and organized kitchen makes a warm and pleasant dining experience for everyone.