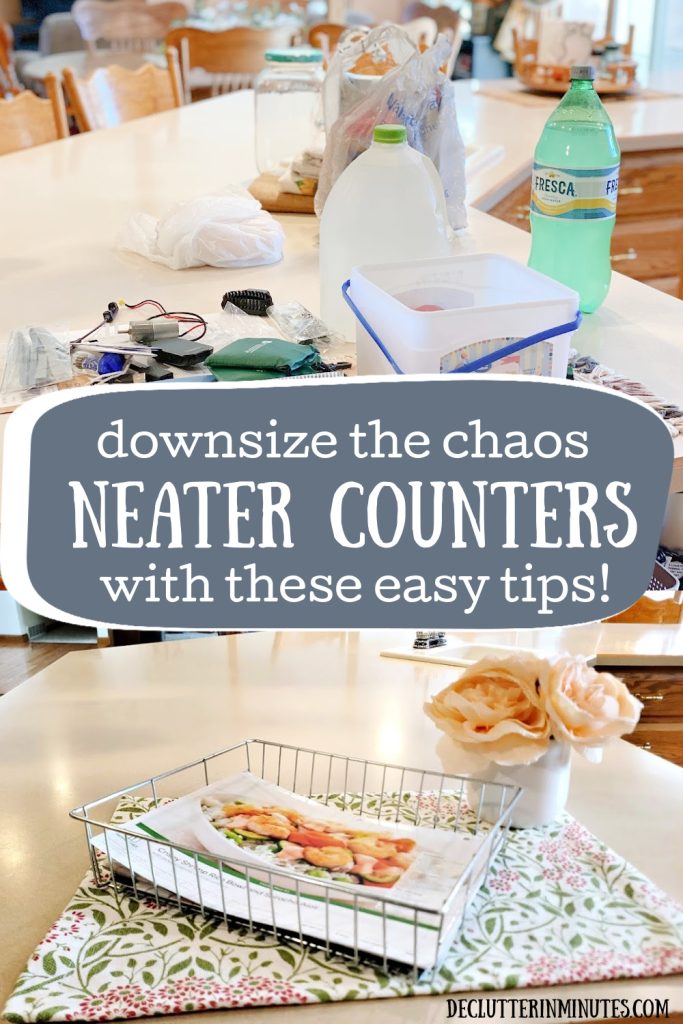
5 Steps to Declutter Your Kitchen Counters
If your kitchen counters seem to attract clutter like magnets, you’re not alone, and you’re definitely not doing it wrong. The kitchen is the heart of the home, but it’s also a hotspot for chaos. That’s why I created this simple, encouraging guide: 5 Steps to Declutter Your Kitchen Counters and finally reclaim those precious surfaces. Whether it’s mail, appliances, or mystery items you meant to put away last week (no judgment here), we’re going to tackle it all, together.
Not only will this help you achieve clear counters, but we’ll also sprinkle in some smart kitchen organization tips to keep things neat and stress-free moving forward. Because let’s face it, cooking is just way more enjoyable when you’re not battling piles of stuff.
When my kids were younger, the kitchen wasn’t just a place to cook, it was the heart of our home. It’s where backpacks were dropped, snacks were grabbed, and conversations happened (usually all at once). No matter how hard I tried to keep the counters clear, the piles always crept back in like clockwork.
And honestly, it wasn’t just the mess that got to me, it was the mental clutter that came with it. Important things started going missing: permission slips buried under coupons, bills that disappeared into the paper vortex, even gift cards lost forever to the black hole of the junk pile.
The clutter wasn’t just visual anymore, it was starting to affect our family’s rhythm. I knew something had to change… I just didn’t know where to start.
Why Mess-Free Kitchen Counters Matter (More Than You Think)
Clear counters aren’t just about looking nice for unexpected guests (though that’s definitely a bonus). When your kitchen counters are messy, it can affect everything, from your mood to your meals. Visual clutter creates mental clutter, and suddenly making dinner feels overwhelming, not enjoyable.
When the counters are covered in papers, lunchboxes, half-used appliances, and that random birthday candle that never got put away, even the simplest tasks feel heavier.
But when your kitchen counters are clear and intentionally organized, it’s like your whole home breathes a little easier. You feel calmer, more in control, and maybe even inspired to cook something besides frozen pizza. Plus, you’re less likely to lose things when everything has a home.
Decluttering your kitchen counters isn’t just about neatness, it’s about creating a space that supports your life instead of adding stress to it.
5 Steps to Declutter Your Kitchen Counters
Decluttering probably isn’t topping your “fun things to do today” list. But you know what is? Finally having kitchen counters that are clean, calm, and actually usable. That’s the goal here. 5 practical steps that will walk you through how to declutter your kitchen counters in a way that feels manageable, not overwhelming.
Whether you’re doing a full kitchen counter overhaul or just tired of the daily clutter pile-up, these steps will help you create a space that works for you and your family.
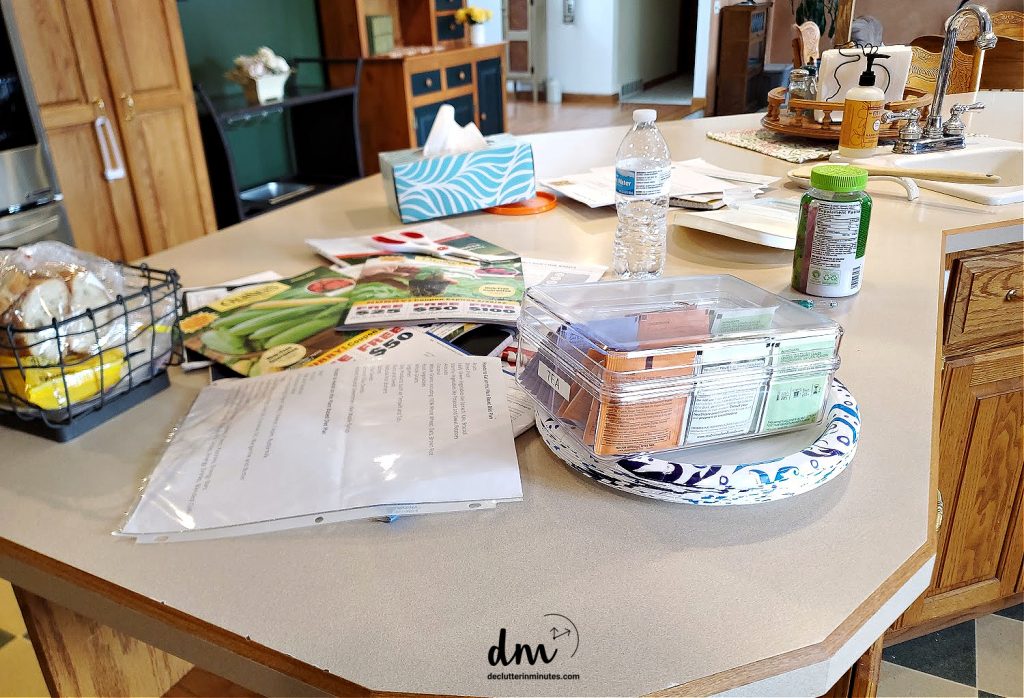
Step #1: Uncover the Clutter
Before you start sorting, storing, or panicking, the first step is to uncover what’s really on those counters. Think of this like detective work, you’re figuring out what is clutter and why it keeps showing up.
There are three mini-steps here that make the big mess feel way less intimidating:
- Remove the Trash – Arm yourself with a trash bag and walk your room. Gather up anything that can be thrown away, empty food bags, napkins, tissues, paper, etc. Take the trash immediately to your trash can.
- Remove the Recyclables – Arm yourself with another bag and gather up any bottles, soda cans, papers, etc. Take what you have to your recycling bin.
- Put Away – Finally, use a laundry basket to gather up any items you see that belong in. another room. Look for dishes, toys, tools, papers, shoes, mail, and anything you know that belongs elsewhere. Once you are done, take the time to walk your home, putting everything inside your basket all the way away.
Action Step: Take everything off your kitchen counters and group them into: daily use, occasional use, and “why is this here?” piles.
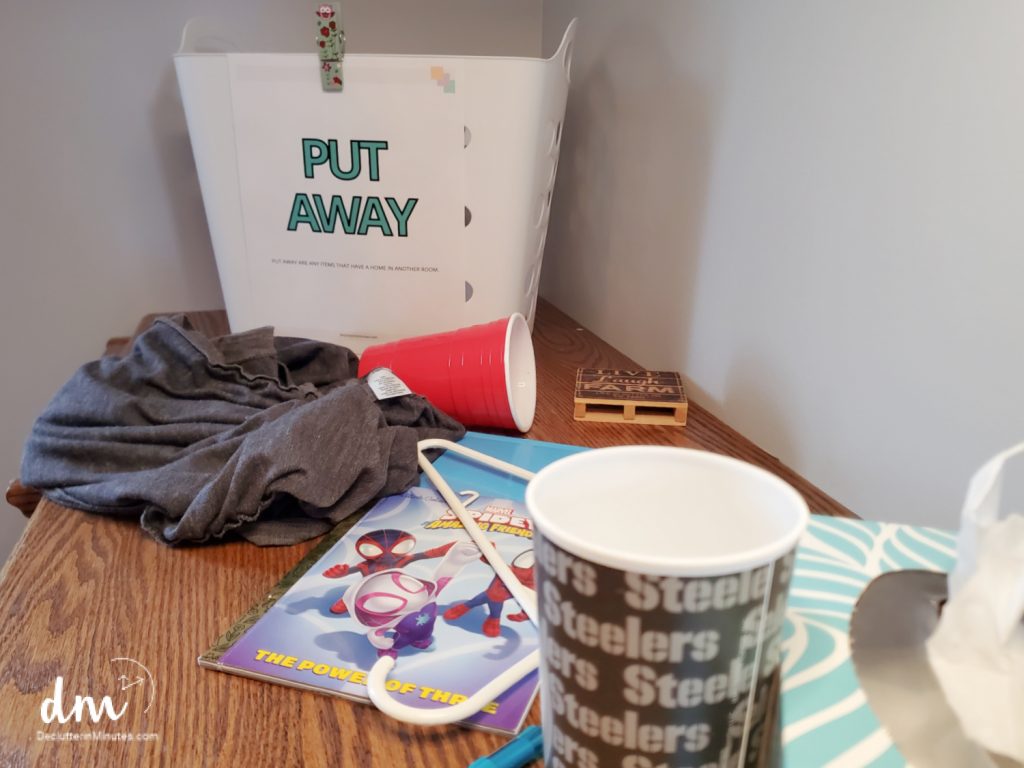
Step #2: Put Things Away
Now that you’ve uncovered the chaos, let’s put things back where they actually belong. Spoiler alert: a lot of what we call “clutter” is really just stuff that needs to be put away.
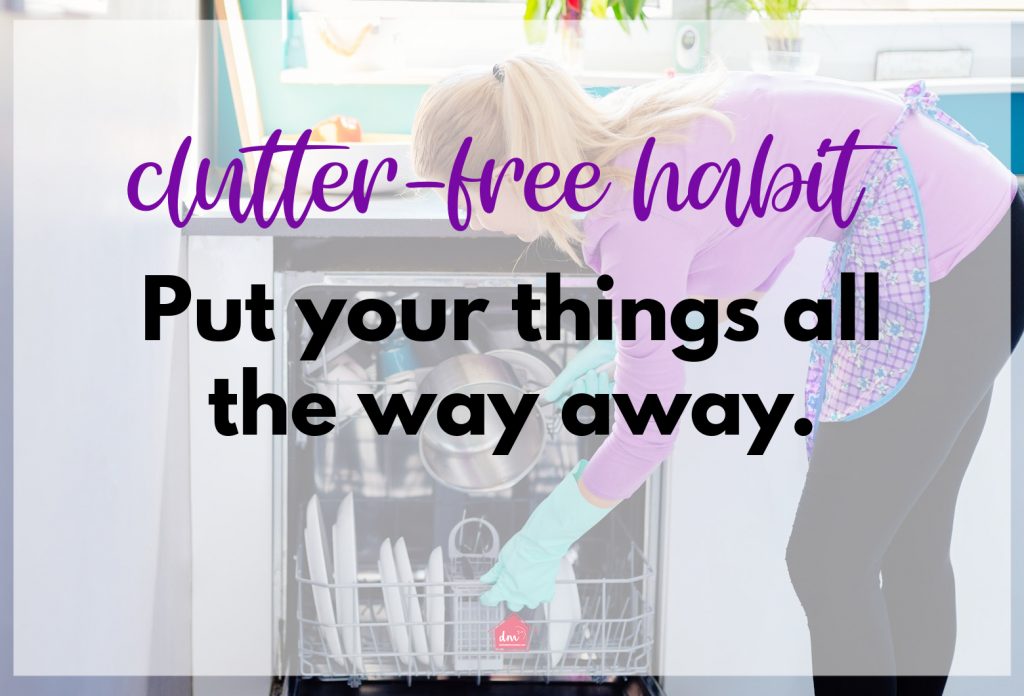
Adopting the habit of putting things all the way away once you are finished using them, can change your life, and your kitchen.

Start with the easy wins:
- Dishes: Into the sink if dirty, or the cabinet if clean.
- Food: Pantry, fridge, or wherever it belongs.
- Towels or rags: Laundry bin or hang to dry.
- Trash or recyclables: Straight to the can.
Look for your “clutter hot spots”:
These are areas where clutter always piles up. Add a cute basket or bin in that area, and you will turn a stress zone into a system.
Action Step: As you put things away, make a note of what items keep reappearing. Use that list to create homes (like bins or drawer organizers) for those items later. Downsizing what you keep on the counters makes staying organized so much easier.
Step #3: Rethink Your Appliances
Ah, appliances, the sneaky space hogs. Even useful ones can make your counters feel jam-packed. Downsizing here doesn’t mean tossing your Instant Pot. It means giving your counters a break by only keeping out what you actually use daily.
Keep out:
- Toaster
- Coffee maker or Keurig
- Can opener
- Microwave
- Toaster oven
Store away:
- Instant Pot
- Air fryer
- Crockpot
- Indoor grill
The less often you use an item, the further away it can be stored. Daily-use items, like your coffee maker, toaster, or favorite skillet, should be kept within arm’s reach, ideally on the counter or in an easy-access cabinet. Items you use weekly can live in a lower cabinet or pantry shelf.
And for seasonal or rarely used items, like holiday dishes or that once-a-year cookie press, store them in out-of-the-way places like the top shelf of a closet, a storage bin in the basement, or even the attic. Think of your kitchen like prime real estate, only the most essential tenants get to live up front.
Action Step: Challenge yourself to store at least two appliances currently living on your counter. Use a pantry floor, lower cabinet, or even a closet shelf.
LIANTRAL 3 Tier Rolling Cart, Brown Kitchen Carts on Wheels with Storage, Multifunctional Utility Cart for Kitchen, Bathroom, Living Room, Bar, Office LYNK PROFESSIONAL® Pull Out Cabinet Organizer, 20Shintenchi Kitchen Island cart with Storage, Portable Bar Cabinet on Wheels, Rolling Microwave Cart Side Table with Workstation for Kitchen, Dinning Room, White


Step #4: Make Room for the Right Extras
Your kitchen counters don’t need to be empty, they need to be intentional. What stays should earn its spot. In our home, a bowl of fruit is always out because it gets eaten daily. For you, maybe it’s a bread basket or a small coffee station.
What doesn’t deserve prime counter real estate? Things like a cluster of vitamin bottles or stacks of unopened mail.
Instead, simplify:
- Use a pill organizer instead of a lineup of bottles.
- Place vitamins in a cabinet near your breakfast spot.
- Move paperwork to a mail sorter or file box.
Action Step: Pick one item currently sitting out that doesn’t need to be. Find it a new home or invest in a container today. Be intentional each time you use that item and put it all the way away when you are finished with it.
Need a little help knowing what to get rid of? Check out: 85 Things to Declutter Without Freaking Out

Step #5: Use Containers to Keep It Neat
Here’s the secret to keeping those counters clutter-free for good: make it easy to put things away.
When everything has a home, and that home is easy to use, you stop thinking about organization and start living in it. This is where downsizing your expectations helps. You don’t need Pinterest-perfect organization. You just need systems that work.
Here are a few ideas to try out:
- A paper basket to hold mail or other papers.
- A small counter basket to toss in things that need to be put into another room. This is called a catch-all basket and it really is a game-changer!
- A shallow basket to hold oils and spices you use daily.
- Bin to hold phone chargers.
- A small plastic basket to hold keys and sunglasses.
- A wire basket to hold fruit or baked goods.
- A bin to hold the dog’s leash for walks.
- A pouch to hold recipes and meal plans.
Other organizers for clutter-free counters:
- A set of hooks on the wall to hold towels and potholders.
- A shelf to hold cookbooks.
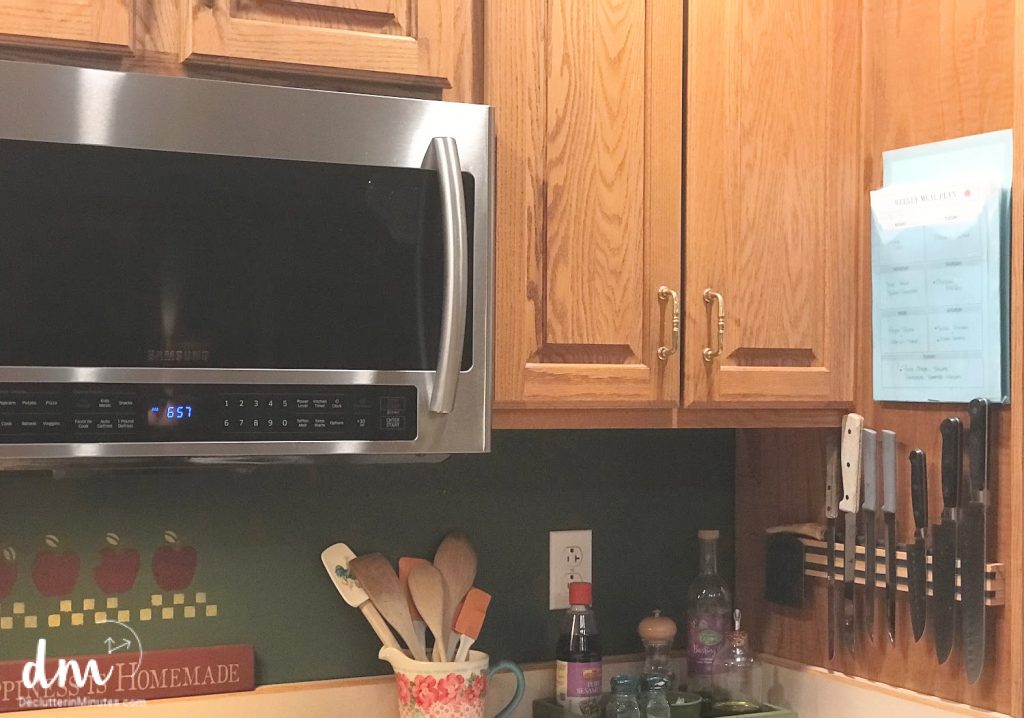
- A magnet bar to hold knives.
- A wall rack to hold spices and seasonings.
- A wall organizer to hold keys and sunglasses.
Action Step: Look at your kitchen counters and identify one type of clutter you see most often, chargers, cooking oils, keys, snack wrappers, you name it. Then choose a container that fits that need and put it in place today.
The goal is to make it ridiculously easy for you (and your family!) to toss things into a container instead of letting them spread across the counters. When the system fits your lifestyle, it actually sticks.
Bonus Step: Create a System for Incoming Mail
Let’s talk about the biggest culprit of counter clutter: the endless stream of paper. Mail, flyers, school forms, bills, it all ends up scattered across the kitchen like confetti you didn’t ask for. But here’s the thing: it doesn’t have to be this way.
Instead of fighting the paper pile every day, let’s create a simple system that works with your daily routine. The key is to give incoming mail a designated home, before it takes over your countertops.
Action Step: Choose one spot near where mail usually lands, like a corner of the counter, a drawer, or a side table, and place a basket or vertical file there today. This will become your new mail drop zone. As mail comes in, toss it inside. Then, set aside time each day or every other day to sort through those papers so you can stay on top of bills, permission slips, and all the little things that tend to get buried.
No more scattered piles, no more missed deadlines, just one simple system to catch the chaos before it spreads.
Dehouse 6 Pack Plastic Storage Basket Trays, Gray A4 Size Plastic Paper Basket for Classroom, OfficeBTSKY Multipurpose A4 File Tray Natural Water Hyacinth Desk Tray Organizer Woven Letter Size Desk Documents Trays Magazine Files Storage Basket Organizer Bin for Office Cosmetics BathroomBTSKY Multipurpose A4 File Tray Wire Desk Organizer – Elegant Letter Size Documents Storage Basket for Office, Cosmetics, Bathroom (Black)


FAQ-Your Top Questions About Clutter-Free Counters
The simplest way is to give everything a “home.” Use a basket, bin, or tray to corral the items you reach for most. Grouping things together keeps them put away and makes cooking, and clean-up, so much easier. The key is to keep your system simple. If it’s quick to toss things back where they belong, you’ll actually do it. Don’t overthink it, just make it functional for you.
Small appliances can be stored in lower kitchen cabinets, on pantry floors, in a hall or utility closet, or even in a labeled bin on a basement shelf. The rule of thumb: the less often you use something, the further away it can live. Daily-use items should stay close; occasional-use items can be stored further away to free up counter space.
Skip keeping things out just because there’s space for them. Your counters should work for you, not against you. Keep only what you use daily within reach, and move the once-a-week (or less) items into cabinets, drawers, or a pantry. When you downsize what lives on your counters, you create more room to prep, cook, and actually enjoy being in your kitchen. The bonus? Your whole space feels calmer and more intentional.
Ready to Downsize the Clutter?
Decluttering your kitchen counters is less about perfection and more about making your kitchen work for you. With just a few intentional decisions, you can transform your space into one that’s easier to maintain, easier to clean, and easier to love.Whether you’re downsizing the number of gadgets on display or finally giving your papers a permanent home, these 5 steps will get you there, without the overwhelm.