How to Clean and Organize a Refrigerator
If you are wasting money tossing spoiled food or old leftovers, I have the help you need with this how to clean and organize a refrigerator quick list.
Put this on your weekly to-do schedule, and never waste food at the grocery store again.
Home cleaning tips are the best way to put the ease back into keeping this busy space in your home clean and mess-free.

Having a daily, weekly, monthly cleaning routine that you can easily keep up with will go along way to creating a home you love.
It is true what they say, an organized home can save you money, and nowhere is this a truer statement than with your food.
From a neat pantry to a clean and organized refrigerator, you might be amazed at how a little tidying in those two areas will save you big at the grocery store.
Before we dive into organizing the refrigerator we first need to give it a good and thorough cleaning.
I know, not the most exciting thing on your to-do list but so worth it in the end. And I promise to make this just as painless as I possibly can.

You may want to set aside some time when you have a block without interruptions.
This will ensure that any food you remove while you are cleaning will be returned in a safe amount of time.
How long will it take?
If you haven’t cleaned things out in quite a while you can plan on a good hour to do a thorough job.
This should get you through all of the empty, declutter, wash and return steps.
Once you have things cleaned out you can then add this to your weekly and monthly cleaning list.
This will not only maintain a clean storage area for the things that you and your family eat it will also keep this job from becoming a big and overwhelming one in the future.
The benefit of a routine cleaning plan
It’s funny when you think of clutter in your fridge but actually more people have a cluttered fridge than you may realize.
Condiments that are expired. produce that is spoiled or leftovers that are hiding in the back long past their “use by” date.
It’s nothing to be ashamed of since we may all be guilty of it to some degree.
Have you ever found a “mystery” pot of something that is no longer recognizable and smells literally like your teenager’s gym bag?

Oh yes, I’ve totally been there and done that, but today, we are going to fix it all. No more mystery dishes.
No more unnecessary purchases, buying what we already have a ton of. And no more throwing away spoiled and expensive food.
How to Clean and Organize a Refrigerator Step by Step
When it comes to cleaning, baby steps are the best way to approach things.
Break it down and tuck these mini projects throughout your day and get another cleaning chore checked off your list.
Step #1. Block off Enough Time
This is one of those jobs you will need to do from start to finish without interruptions.
This will ensure that you have enough time to empty, clean, and replace things without risking the integrity of your food.
I would plan on at least an hour to really do the job justice.
I would announce to your family that the kitchen is off-limits for a bit. This will keep the distractions to a minimum, allowing you to get your work done more quickly.

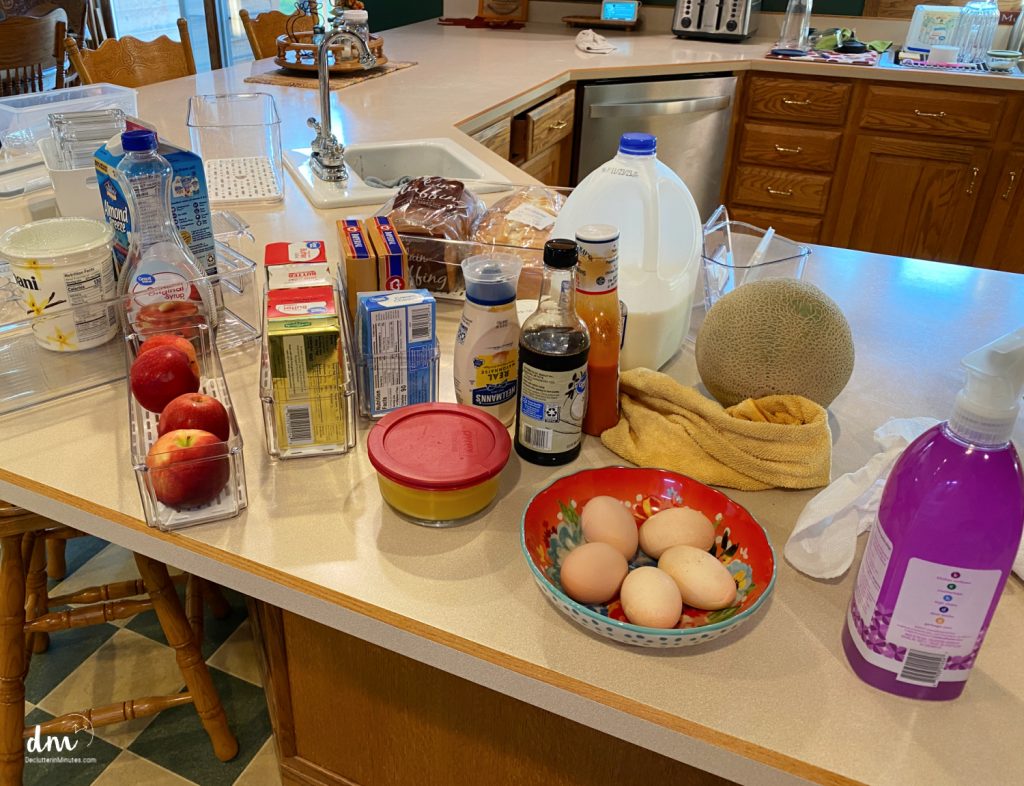
Step #2. Gather Your Supplies
Prepare two buckets of warm soapy water.
One will be used for cleaning off food containers and the other for washing shelves, walls, and drawers. You will also need a few drying rags as well.
Grab your trash can and a compost pail if you have and use one. If you do not use a composter, I highly recommend one.
It is a great way to keep compostable food from going to waste and help your garden all at the same time.
Read Backyard Garden Composting for tips on how to set one up.
Step #3. Set Up Your Sink
Use this area for washing bigger items such as removable shelving and drawers.
Have a large bath towel on your kitchen counter to better allow these larger items to drip dry.
This will keep you from making a wet mess on your counter and floor causing more unnecessary work.
Step #2. Make Space
You will want to be sure you have plenty of room to work. Make space on a nearby counter or kitchen for sorting and cleaning.
If your counters are a mess and cluttered, you might want to tackle that job before beginning this one.
Get tips on How to Keep Your Counters Clutter-Free for more tips.
Step #3. Multi-Task
Have a pen and paper handy for listing items that need to be added to your grocery list.
If you have an Alexa you can simply tell her to add any items to your list.
Keeping you from having to stop and start throughout this job.
4Magnetic Notepads for Refrigerator Grocery List Magnet Pad for Fridge Magnetic Grocery List pad for Fridge 60 Sheets Per Note Pads (4 Fruits – 1) Bliss Collections Grocery List Pad for Fridge, Gold, Tear-Off Magnetic Notepad for Meal Planning, Shopping and Weekly Food Planner, 690 Sheets Fastcheck Grocery List Magnet Pad, 110 Printed Common Food for Fridge and Blank Grocery Shopping Spaces for Home. Size 6”x 9”


Step #4. Begin With the Door
Remove each item checking the expiration date as you go.
If it is expired – toss it and add it to your list for your next grocery trip unless, of course, it is expired because you or your family no longer use it.
Give each bottle/item a good wipe down from top to bottom and place it on the counter.
When the door shelves are completely emptied out, remove them (if possible) and give each a thorough washing in your kitchen sink.
Remember to close the door to keep the food inside cool as you are doing so.
Allow the shelves to drip dry on a large towel.
Before moving on be sure to wash the inside of the door getting all the groves and corners.
Be sure to get the folds on the door seal. It is amazing how much grime can get trapped in those folds.
The easiest way I have found to clean this area is with cleaning wipes. An easy way to clean and disinfect all in one wipe.
Step #5. Replace
Once everything is cleaned on your door you can begin replacing items. I suggest grouping your shelves to keep things organized and easier to find.
This will prevent opening a new bottle of something because the originally opened bottle was hiding behind a myriad of condiments and dressings.
I have found that keeping each shelf in your door area a different and specific category allows everyone in the family to find what they need and quickly put things back where they found them.
A few ideas are:
- Savory Condiments
- Sweet Condiments
- Drinks
- Dairy
D/M Pro Tip: Did you know the refrigerator door has the largest temperature fluctuation, so dairy and other perishables are best stored in the interior.

Step #6. Clean the Interior Shelves
Using the same system above, begin with the interior shelves in the main part of your fridge.
Remove each item and sort them as you go. Toss any spoiled or rotten food. Compost any that is safe to do so.
Once everything is off the shelves, remove the shelves themselves if you are able and take them to the sink to wash.
Rinse thoroughly and allow to drip dry on a towel.
Mr. Clean Clean Freak Multi Surface Cleaning Spray, Deep Cleaning Mist Starter Kit and Refill Bundle, Unstopables Fresh Scent, 64 fl ozMethod All-Purpose Cleaner Spray, French Lavender, Plant-Based and Biodegradable Formula Perfect for Most Counters, Tiles and More, 28 Fl Oz, (Pack of 1)Lysol Power Foaming Cleaning Spray for Bathrooms, Foam Cleaner for Bathrooms, Showers, Tubs, 32oz


STEP #7. Clean the Interior Drawers
As you are waiting for the shelves to finish drying you can begin on the drawers.
Empty out one at a time sorting as you go. Don’t forget to add items to your grocery list as you are working.
When finished remove the drawers if you are able and wash dry like you did the shelves.
Step #8. Wash Down the Interior
Working from top to bottom beginning with the roof of the fridge work your way to the walls and finally the bottom.
Change your water when needed to really ensure you are cleaning things thoroughly.

Step #8. Replace all the Shelves and Drawers
Before you reassemble your fridge, be sure to wash the grids if needed.
If you have an option to change the height of each shelf, you may want to consider doing so to streamline your fridge more efficiently.
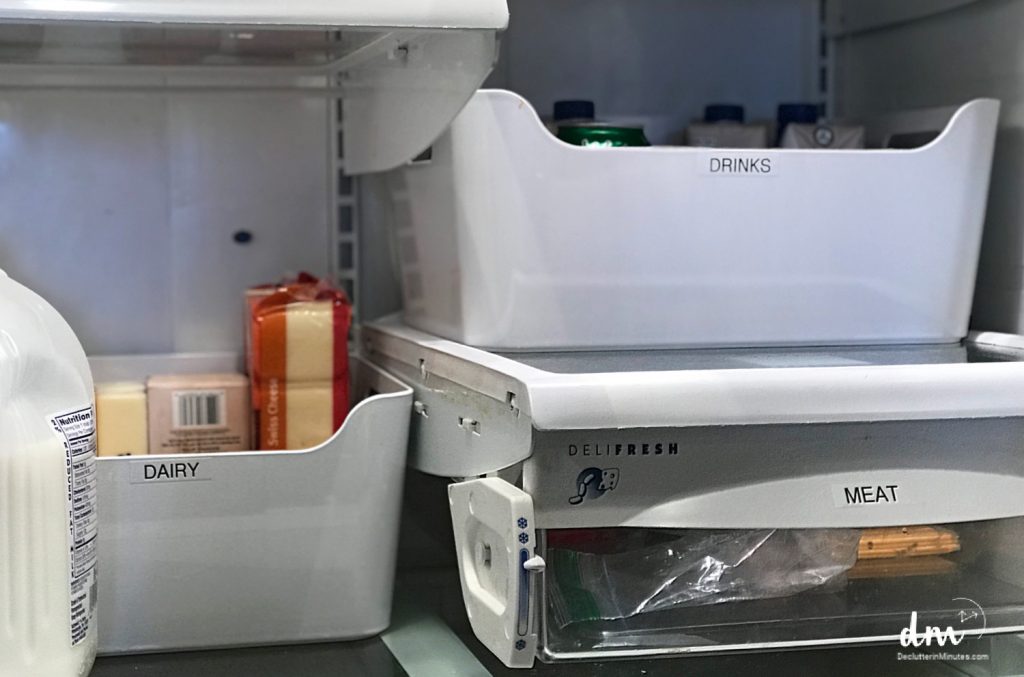
Step #9. Return Items in Categories Using Zones
Remember an organized fridge can save you big money so nowhere is a system more important than here.
Keep things in categories organized into zones that your family will understand.
For example, if you have young children at home, then a section for healthy snacks that are easy for them to reach or a bin of juice drinks may be something to add.
Some ideas are:
- Produce drawer – Fruit and/or Vegetables
- Dairy drawer – Cheese, butter, margarine. Organize each with smaller containers.
- Lunch items – Preportioned snacks or leftovers all in their own bin for easy access.
- Meat drawer – Deli meat is dated so they are used up before they go bad.
- Leftovers – Store on a specific shelf and date them for efficient use. Have a weekly “leftovers day” on your menu.
- Ready to eat foods – Yogurts, cheese, and protein shakes are all stored in an easy shelf bin.
- Drinks – Milk, juice, water. Keep together on the same shelf.
- Ingredients for upcoming dishes – Be sure to note items on your weekly menu or calendar. Pre-chop onions, celery, and other ingredients for faster more efficient meal prep.
- Misc – Bread, eggs, hummus. All together on the same shelf.
D/M Pro Tip: Use organizers to keep things sorted so they are easier to find. Be sure to label things clearly so your family will use these convenient containers as well.
ZIJUND 14 Pack Fridge Organizer, Stackable Refrigerator Organizer Bins with Lids, BPA-Free Fridge Organizers and Storage Containers for Fruit, Vegetable, Food, Drinks, Cereals, Clear5-Pack Fruit Storage Containers for Fridge with Removable Colanders, 4 in 1 Produce Storage Containers with Lids, Leakproof Fridge Organizer Bins for Salad Berry Lettuce Vegetables Meat Keeper FreshLAMU 3 Pack Lazy Susan Organizer Turntable for Cabinet, Rotating Condiment Organizer for Kitchen Pantry Organizers and Storage, Table Top, Fridge, Countertop, Spice Organization, 9.25” 10.6” 12”Simple Houseware Soda Can Organizer for Pantry / Refrigerator, Clear, Set of 2Utopia Home Egg Container With Lid and Handle for Refrigerator – Pack of 2 – Clear Stackable Egg Holder for Kitchen Storage and organizationDeli Meat Container for Fridge, Lunch Meat Container for Refrigerator Airtight Fridge organizer,Food Storage Boxes With Lid Transparent Bacon Cheese,Meal Prep Containers,Cold Cuts,BPA Free,3pcs

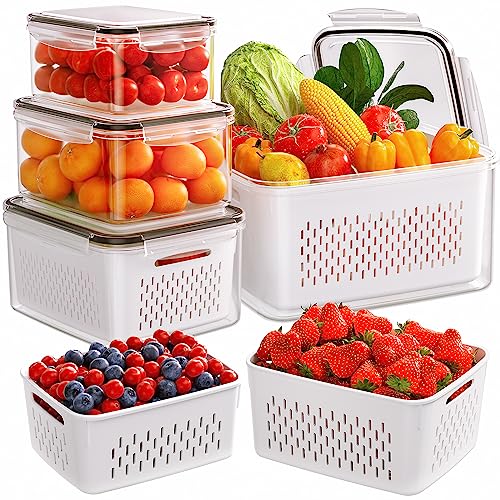


Step #10. Use Containers to Corral Awkward Items
Nowhere are sturdy plastic bins more of a help than inside of the refrigerator.
Hold like items, place them on a shelf, and label them clearly and you have the ingredients for a tidier fridge.
I have tried many different containers, and these solid bins tend to hold up the longest.
D/M Pro Tip: Tight on money? Then shop your home first.
Find any storage containers you are not using to fill in until you can upgrade to something a bit sturdier.
Now that you have the inside cleaned out, cleaned up, and completely organized let’s give just a little attention to the outside.
Cleaning the Outside of Your Refrigerator
Before you can call this task done, let’s be sure the outside is cleaned and ready to go.
Step #1 Remove Everything
Clean it all off. Get the photos, magnets, and takeout menus from 1992. Make piles so you can sort as you go.
There is nothing that gets cluttered quite as much as the front of the fridge, and now is your chance to really use its surface for good.
Step #2 Wash and Clean
Using a nice warm and soapy sponge and give the front a good and thorough wipe down.
Get the top, sides, and door hinges. Wash the handle and make notes of anything that needs to be repaired as you go.

Step #3 Don’t Forget Below
With some help carefully pull your fridge out from the wall. Sweep then wash the floor trying not to freak out too badly at what you see.
Get down with a bucket of water and a good brush and do a thorough job of things.
Step #4 Clean the Back
Now that you have things where you can more easily reach them take the time to clean and inspect the back of your fridge.
Gently remove any dust and debris wiping down surfaces with a dry rag as you go.
If you need to clean the coils or other parts please be sure to unplug them first. Read more on how to clean the refrigerator coils so you are sure to do things safely for both you and your appliance.
Step #5 Push Things Back Into Place
Once you have everything cleaned you can slowly and carefully return your fridge back into place. Be sure to do this evenly so it sits level.
Step #6 Decide What Belongs on the Front
Before you begin filling up the freshly cleaned and clutter-free surface, decide what you want to use it for.
Is it going to hold your calendar? What about your kid’s sports schedules? It is there where you hope to keep a photo board of your family and friends.
Know how you want to use the front of your refrigerator so you know what items can stay and what items need to go.
By giving a purpose to everything in your home you will be better able to keep the clutter from returning again.
Keeping a neat, cleaned, and organized refrigerator is a great way to not only save money but time too.
When you can find all the ingredients you need to prepare a meal you may find dinner time less stressful.
Set up zones, use tools to keep things corralled, and place a weekly reminder on your cleaning schedule so this routine task doesn’t get turned into a large chore again.
More Cleaning Resources:
