How to Clean a Freezer
Is your freezer a chaotic mess? Don’t worry, you’re not alone. Freezers often become a graveyard for forgotten food—but it doesn’t have to stay that way. This guide will show you how to clean a freezer step by step so you can get it spotless, organized, and ready to use.
Add these simple home cleaning tips to your routine, and you’ll turn this once-daunting chore into a breeze.
“I’m so thrilled to clean a freezer this weekend!” said no one, ever.
It’s one of those chores that falls squarely into the “ugh, I hate this, can I just not?” category—which is why it keeps sliding further down the to-do list.
But here’s the deal. Ignoring your chest freezer (or any freezer) doesn’t just make it worse over time; it can actually shorten the life of this pretty pricey appliance. And don’t forget, it also puts hundreds of dollars’ worth of frozen food at risk. Yikes.
How to Clean a Freezer
Big projects can feel overwhelming, but the trick is to take it one step at a time. When you focus on just the small task ahead of you, the whole thing becomes much more manageable. Cleaning your freezer is no different. Follow these simple, practical steps, and you’ll have it spotless and organized before you know it!
Step 1. Pick the Right Day
Timing is everything when it comes to cleaning your freezer, since you’ll need to take out all the frozen food. If possible, pick a cooler day so you’ll have extra time before your items start thawing.
If you can, save this task for the winter because then you can keep things outside while you clean inside. The colder weather works like a natural freezer to keep your food frozen while you work. Just make sure everything is stored in sealed containers to keep any critters away.
If it’s not winter or the weather is on the warmer side, no worries. You can still get this done by keeping an eye on the time and using coolers to help keep everything frozen while you sort and clean.
Step 2. Gather Your Supplies
Having everything ready before you start makes this project much smoother (and quicker). Here’s what you’ll need:
- A large table: This will be your sorting station. If you’ve got a sore back like me, a table is a back-saver, making it easy to sort food without bending over constantly.
- Several coolers: These are a must if you’re not doing this in winter. Coolers will keep everything frozen while you work. If you have enough coolers, label them on the outside with some or all of these categories:
- Meat/Pork
- Poultry/Fish
- Produce
- Desserts
- Bread
- Leftovers
- Pen and paper: Use this for writing down anything you want to add to your shopping list.
- Freezer inventory sheet: Use this to make a list of the foods you have in your freezer. This is a big time saver when you are planning meals for the week.
- Large trash can and sturdy garbage bags: Freezer cleanouts often uncover expired food lurking in the back. Be ready to toss anything that’s no longer good.
DM Pro Tip: Don’t feel bad about tossing any food you need to. The goal here is to get your freezer clean, set up a system that helps you use what you have more efficiently, and make better choices moving forward.
Step 3. Unplug Your Freezer
Unplugging your freezer is all about keeping things safe. Since water and electricity don’t mix, it’s a good idea to cut the power before you start cleaning.
Keep in mind, once it’s unplugged, you’re on the clock. Make sure you’ve set aside enough uninterrupted time to get everything sorted and cleaned without feeling rushed.
Step 4. Protect Your Floors
Before you start, take a minute to think about your flooring. If your freezer sits on concrete, you’re probably good to go. But if it’s on tile or another surface, it’s best to have a plan to catch any water that might leak.
Grab a few towels and maybe some cardboard to put down under the freezer. This extra prep step will keep your floors safe and save you the hassle of dealing with any unexpected mess.
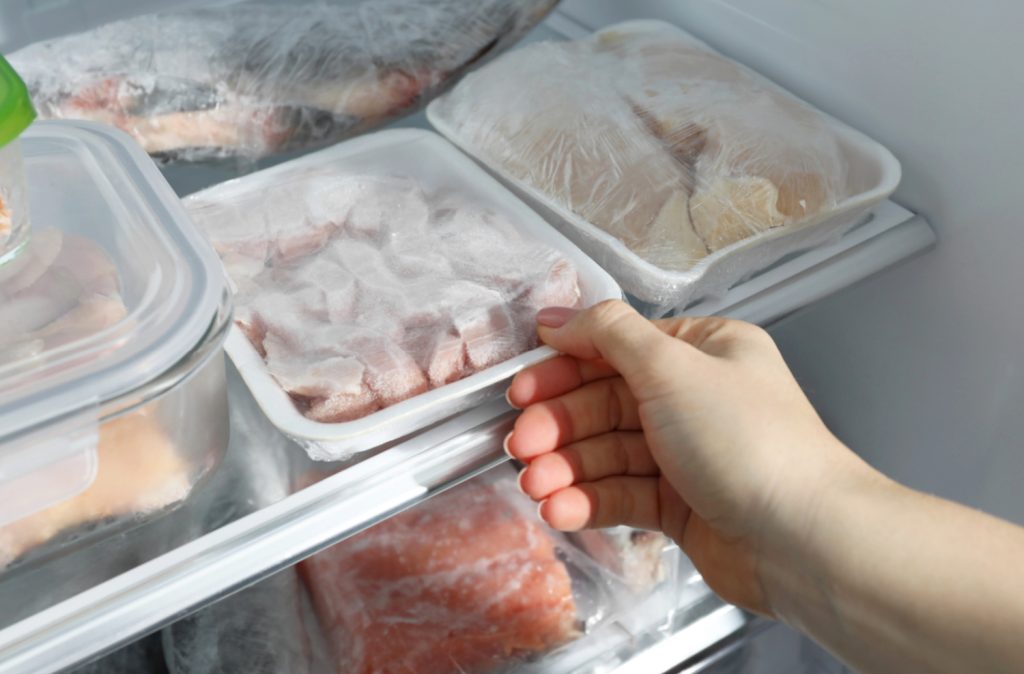
Step #5. Sort and Purge Your Freezer Food
As you take items out of the freezer, give each one a quick check. Look at the date and inspect the packaging. If something is expired, has freezer burn, or the packaging looks damaged, it’s probably time to toss it.
For everything that’s still good, sort it into your labeled coolers. Make sure they’re open and ready to go to keep the process smooth.
DM PRO TIP: Keep a pen and paper nearby. This is a great chance to write down everything you’re keeping so you have a clear inventory of what’s in your freezer. It’ll make meal planning so much easier later on.
Signs Your Freezer Food Might Not Be Good
Not sure if your food is still good? Here are a few signs that it might be time to toss it:
- The food has weird discoloration.
- It has a sour or off smell when you check it.
- There’s a thick layer of ice or frost inside the container.
- It’s been sitting in the freezer for what feels like forever.
If you’re unsure about how long certain foods can be stored, you can always use a food storage app to double-check. It’s a quick and easy way to stay on top of things.
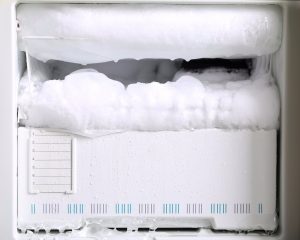
STEP #6. Defrost Your Freezer
Once all the food is out, it’s time to defrost your freezer. This step is super important in giving your freezer a proper clean, so don’t skip it.
Defrosting can take a bit of time, but there are ways to make the process quicker and easier while keeping the mess under control. Start by placing a container of very hot water inside the freezer and closing the door or lid. The steam will help loosen up the ice, making it easier to remove. To speed things up even more, you can replace the water once it cools down. Just make sure to use a sturdy container that can handle the heat and avoid placing it directly on any plastic surface.
Some people use a hairdryer to help melt the ice faster, but this method comes with extra risks. If you go this route, keep safety in mind by making sure the hairdryer stays far away from any water or moisture. Always unplug the dryer when it’s not in use to avoid accidents.
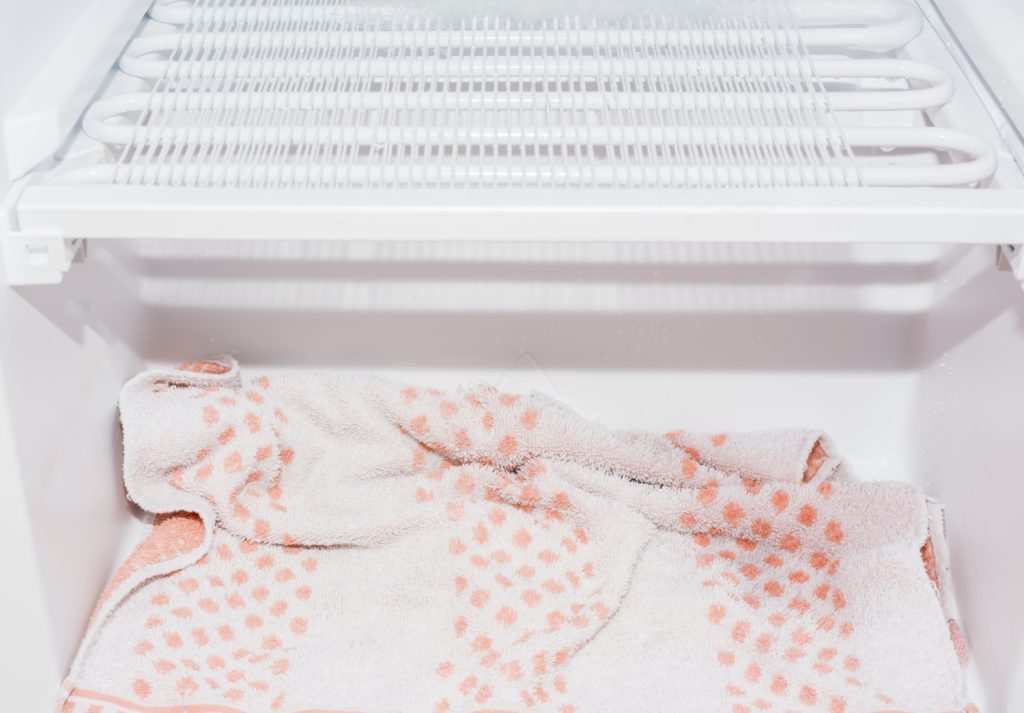
To keep the mess under control, line the bottom of the freezer with thick towels or an old blanket to catch the melting ice. Have extra towels handy so you can swap them out as they get wet. If you’re dealing with a lot of ice buildup on certain shelves, place additional towels directly underneath to soak up water as the ice melts.
Once the ice starts to loosen, use a plastic spatula or scraper to gently remove it. Avoid using anything sharp or metal, as this could scratch or damage the interior walls of the freezer. Take your time and work carefully to avoid breaking any of the freezer’s surfaces.
Step 7. Deep Clean Your Freezer for a Fresh Start
Now that all the ice is gone, it’s time to give your freezer a good, thorough cleaning. Honestly, it’s always surprising how messy a freezer can get. At my house, there’s been this mysterious pile of red “goo” in our chest freezer for ages. I have never had anything red in there, so every time I see it, I’m left totally puzzled. (Seriously, how many times can you feel baffled by the same thing?)
Anyway, now’s your chance to tackle any frozen, caked-on spills or messes that might be hiding in your freezer.
Start by removing any shelves or baskets. Wash them in your kitchen or utility sink with warm, soapy water. Once they’re clean, lay them out on a towel to dry before putting them back.
How to Clean the Inside of the Freezer
- Use a mild cleanser like Dawn dish soap or a DIY mixture of baking soda, vinegar, and water.
- Grab a rag and wipe down every surface inside the freezer, including the sides, floor, and ceiling.
- If needed, use a second clean rag to rinse away any soap residue.
- If there’s a lingering smell you can’t quite get rid of, pop an open container of baking soda in the freezer. Close the door and give it some time to absorb the odor.
Defrosting Spray For Fridge Freezer, Refrigerator Cleaning Defrost Spray Frost Remover for Cleaning Inside Refrigerator, 4 oz Defrost Spray for Fridge and Freezer, Quickly Removes Ice (1, 4oz.) PayPie Plastic Refrigerator Ice Shovel Ice Scraper Snow Remover Cleaning Freezer Frost Shovel Ice Remover Scoop Set of 3Arm & Hammer Baking Soda Fresh-n-Natural 12oz


DM Pro Tip: Keep an eye on your coolers while you work to make sure your food stays frozen. If it starts to melt, toss some ice into freezer bags and add it to the cooler. This keeps things cold and your food dry.
When you’re done, consider keeping an open container of baking soda in your freezer going forward. It’s a simple trick to prevent smells from building up in the future.
Step 8. Reset Your Freezer Layout
Now that your freezer is clean and ready, it’s time to focus on putting the shelves, bins, and baskets back in place. Make sure everything is securely reinstalled so it can handle the weight of your food.
When restocking your freezer, think about where specific types of food will work best:
- Chest Freezer: Place frequently used items at the top or in easily accessible bins. Bulkier or less-used items, like frozen meats or backup meals, can go at the bottom or along the sides where they’re out of the way.
- Upright Freezer: Take advantage of clear shelves and drawers. Store heavier items, like large cuts of meat, on lower shelves for stability. Use the middle shelves for commonly used items, such as frozen vegetables or leftovers you want to grab quickly, and place smaller or infrequently used items higher up.
By setting up your freezer this way, you’ll save time when grabbing what you need and keep it running efficiently.
Step 9. Organize and Restock Your Freezer
Now comes the fun part! This step is all about setting up your freezer so you can find the food you need more quickly. The more thought you put into it now, the easier it will be to keep track of what you have and actually use it before it gets lost in the cold abyss.
Keeping track of what’s in your freezer might sound like overkill, but trust me, it’s a total game-changer. Before you put everything back, take a minute to count your food and note it down, either on a list or in an app. Knowing exactly what you have makes meal planning so much simpler and helps cut down on food waste. Plus, who wouldn’t love to save a little time and effort during the week?
Use Containers to Make Life Easier
If you’ve got a deep chest freezer, containers can truly be a lifesaver. I’ve been using sturdy recycling bins for years, and I swear by them. They’ve never cracked, they hold a ton, and even when they’re full, I can easily lift them in and out to grab what’s underneath. Bonus? They’ve saved my back more times than I can count when I need to reach the bottom of the freezer.
If you’re shopping for bins, be sure to check the measurements. These recycling bins are what we use in our chest freezer, and they are the perfect way to keep things organized. They stack well, are sturdy enough to stand up to the cold, and are easy to lift out even when full.

Freezer Organizers:
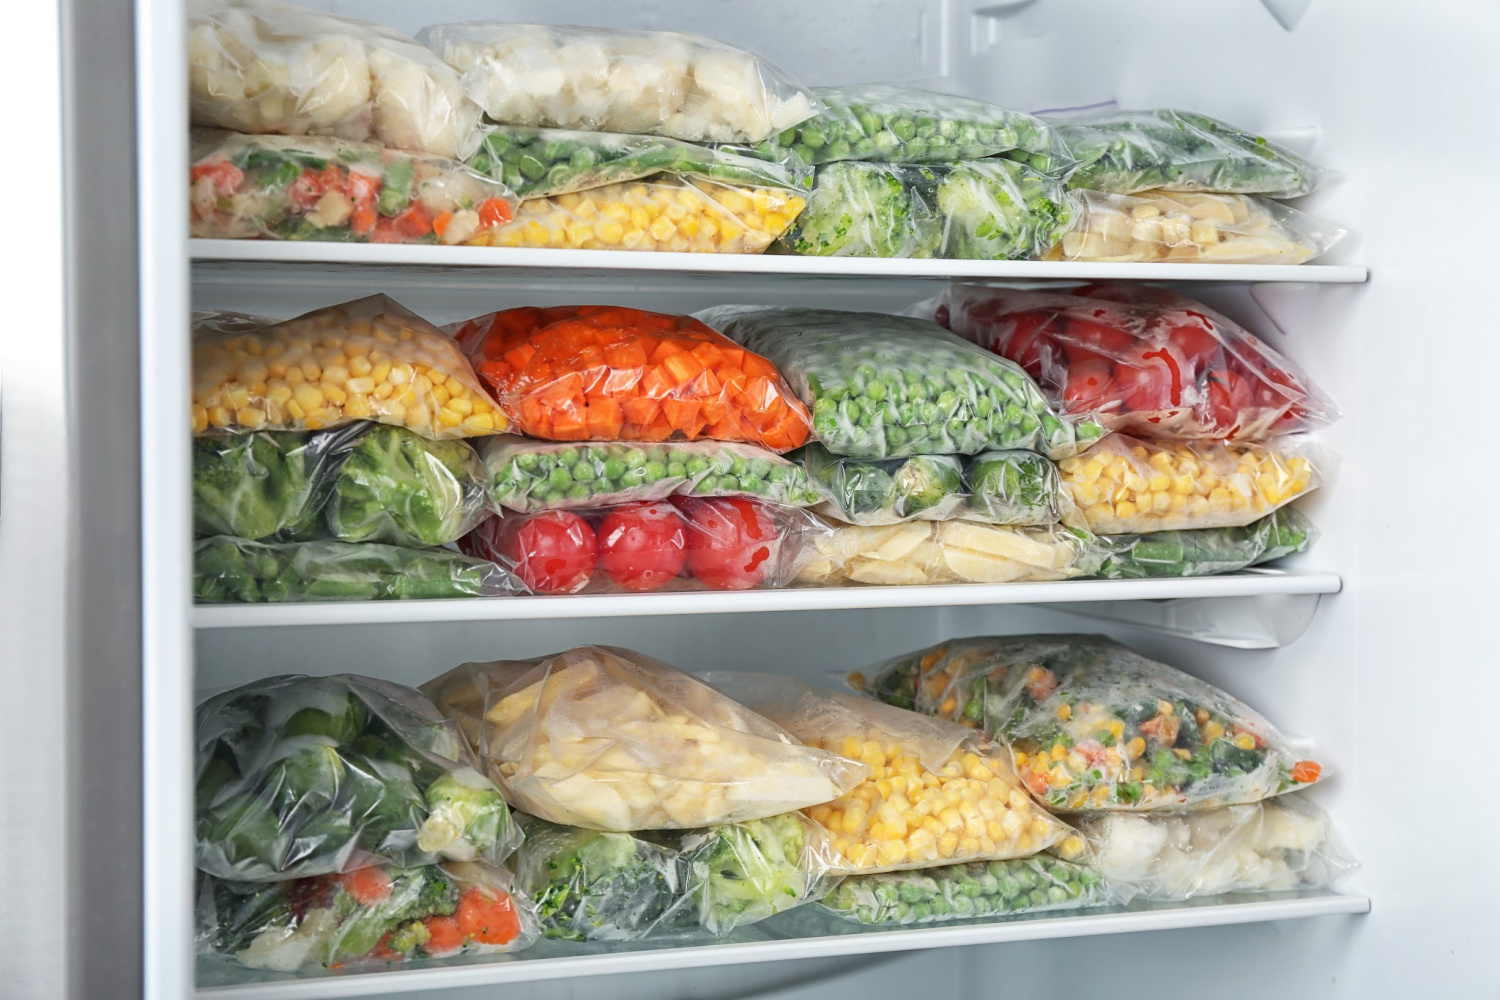
- Stacking Clear Bins: Perfect for keeping bags of frozen fruits and veggies tidy.
- Freezer Bins: A genius way to double the space in a drawer-style freezer.
- Freezer Wire Baskets: Great for keeping smaller bags or loose items corralled.
- Freezer Stands: Awesome for organizing boxed meals neatly.
SUNALLY Freezer Organizer Bins, 4 Pack Stackable Chest Freezer Organizer for 5-7 Cu.FT Deep Freezer Sort Frozen Meats and Food, Freezer Storage Baskets with Handles Easy Reach from Bottom, BlackSURETIVIAN Freezer Organizer 12” Visible Fridge Organizer Rack with Removable Dividers and Handles, Freely Adjustable, Fits Refrigerator Frozen Meals, Lunch Meat Box, Cheeses(White)Freezer Organizer Bins, Deep Chest Freezer Organizer Bin for Food Storage, 2 Pack Small Stackable Freezer Storage Organizer Bins for Meats or Veggies without Digging, Fruit Containers to Keep Fresh


The main goal here is to make sure everything has its place, so you can grab what you need quickly and keep cold air loss to a minimum. Less time digging means your food stays fresher longer.
Pro Tip for Long-Term Storage
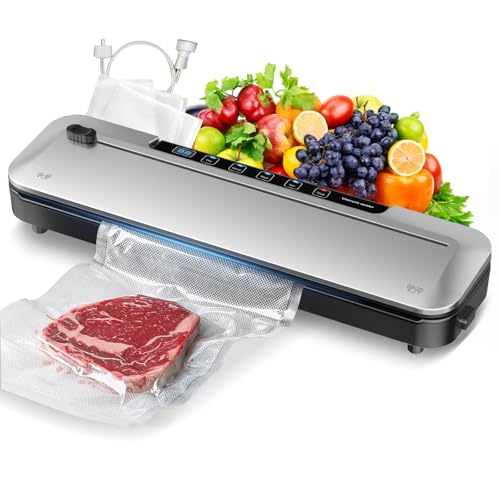
If you discovered a lot of food with freezer burn or damage during this whole process, it might be time to think about investing in a vacuum food sealer.
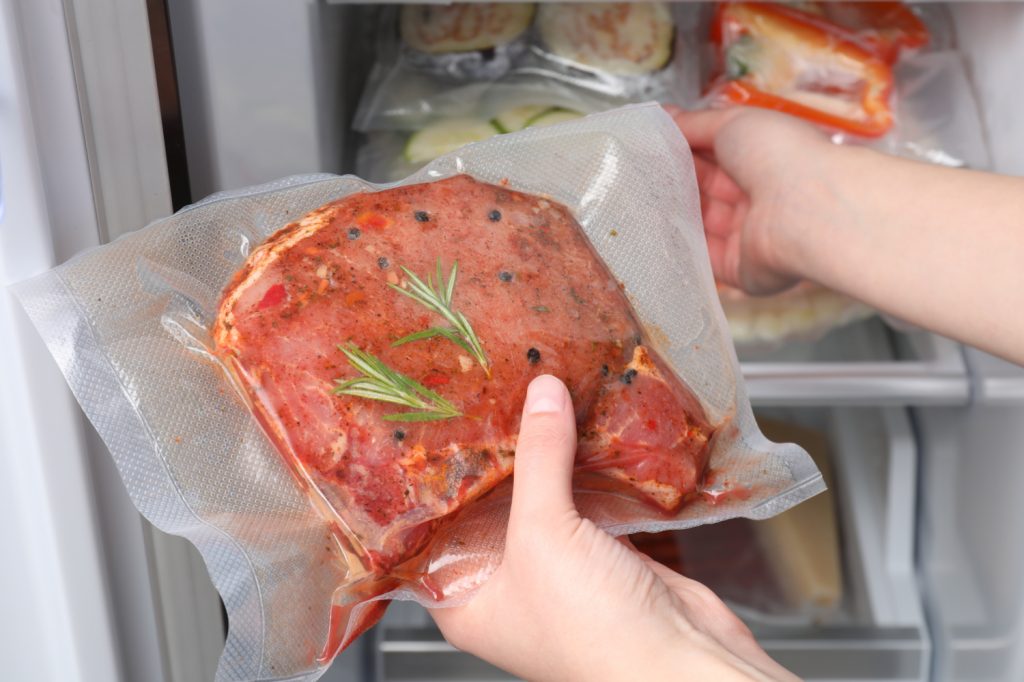
They’ve become super affordable, and the amount of money you’ll save by reducing food waste will more than make up for the cost. It’s definitely worth considering.
95Kpa Powerful Precision Pro Vacuum Sealer, with 10-in-1 Functions, Easy-Lock Handle, Double Heat Seal & Double Pump, Vacuum Sealer Machine for Food with Bags Storage, Built-in Cutter, Stainless SteelBonsenkitchen Vacuum Sealer Machine Multi-Functional Food Sealer with 10 Vacuum Bags, Fast-Compact Design, External Vacuum System & Accessory Tube for Freshness PreservationVacuum Sealer for Food,75 Kpa Precision Suction Power 6-in-1 Food Sealer with Digital Timer, Dry & Moist Food Modes, Compact Design with 10 Vacuum Bags & Built-in Cutter(Sliver)


Step 10. Don’t Forget the Outside
You might think you’re done by now, but hold on—there’s one more important step! It’s time to give the outside of your freezer some love. Grab a cloth and wipe down the top and sides to get rid of any dust, grime, or fingerprints.
While you’re at it, take a closer look. Check for any signs of rust or damage, and don’t forget to inspect the door seal. If it’s ripped or worn out, now’s the perfect time to tackle repairs while the freezer’s empty. A good seal is key to keeping the cold air in and saving energy in the long run.
Taking a few extra minutes for this step will keep your freezer looking great and working like a charm.
When it comes to learning how to clean a freezer, the most important thing you can bring to the table is a little bit of time. You’ll need enough to empty it, defrost it, give it a proper clean, and then organize everything so you’re ready to go. Taking it step by step not only makes the process faster but also keeps it from feeling overwhelming.
Make your life easier by adding this task to your annual cleaning schedule. That way, you’ll tackle it every 12 months, keeping your freezer running smoothly and set up in a way that actually makes life simpler for you.

I read this at just the right time. I got something out of the freezer beforehand and immediately starting thinking about how I needed to schedule time to do that dreaded task of defrosting and cleaning the freezer before I buy groceries again. Perfect timing and some great tips. This post will be a feature this week at the first party of 2023! #HomeMattersParty