Toaster Oven Cleaning Hacks
If you think toasters are particularly tricky to clean in your kitchen, don’t worry – that’s totally normal. Toasters and toaster ovens can accumulate stuck-on crumbs over time, making them difficult to get clean.
Luckily, there are some effective toaster oven cleaning hacks that you can use to properly and safely tackle a commonly used appliance in your kitchen.
Home cleaning tips will help you to put some of your tasks on auto-pilot, like keeping your toaster crumb and fingerprint-free!

Having a daily, weekly, monthly cleaning routine that you can easily keep up with will go along way to creating a home you love.
Toasters and toaster ovens are wonderful things to have in the home. They have so many purposes now, other than just toasting bread.
They can cook, warm up, defrost, and heat food when you are short on time.
But keeping them clean isn’t always so easy — all that crumbled toast spills from pizzas and other random messes that can be hard to scrub off. Fortunately, there are some toaster oven cleaning hacks to make the job a bit simpler.
How often should you clean your toaster?
Cleaning your toaster regularly is important to keep it in good condition and ensure it functions properly. How often you should clean your toaster depends on how frequently you use it. Here are some suggestions to help you determine the cleaning frequency:
- If you use your toaster every day, it’s recommended to clean the crumb trays once a week. This helps prevent buildup and keeps your toaster clean and hygienic.
- If you use your toaster less frequently, you can opt for cleaning it once a month. This should be sufficient to maintain its cleanliness.
- If you have a toaster oven, cleaning up any spills immediately is best to keep them from hardening.
Remember, always unplug your toaster before cleaning it to ensure safety. It’s also helpful to refer to the manufacturer’s instructions for specific cleaning guidelines tailored to your toaster model.
Regular cleaning will not only help prolong the lifespan of your toaster but also ensure that your toast comes out perfectly every time. Happy toasting!
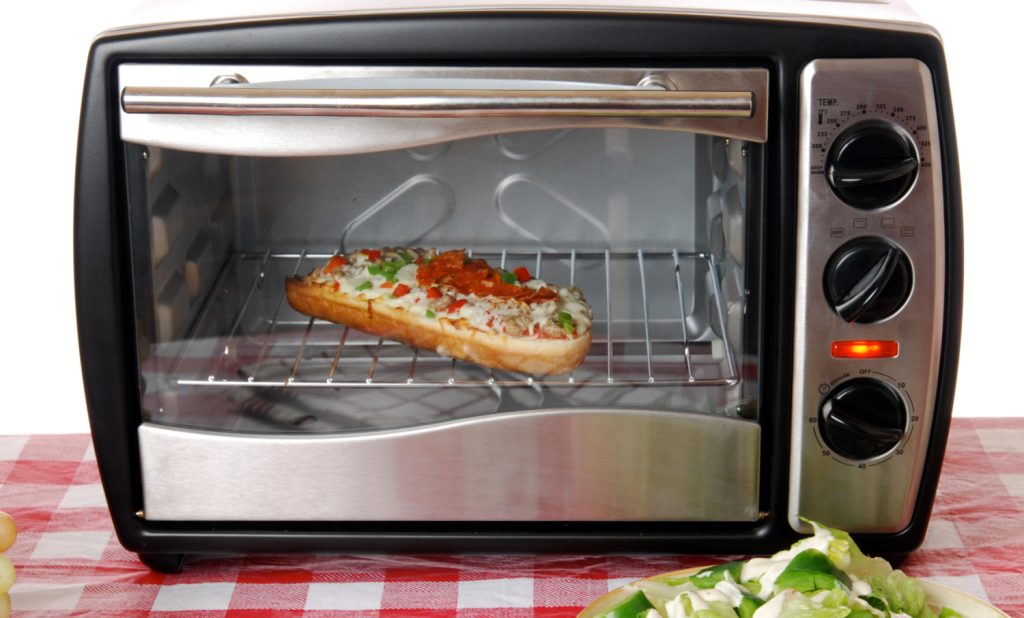
Toaster Oven Cleaning Hacks
Keeping your toaster oven clean is important especially if you want it to last. Routine cleaning each week can make a big difference not only with some of the spills that can get really caked on but also with the appliance’s safety. Luckily, the actual cleaning of your toaster oven is quite easy.
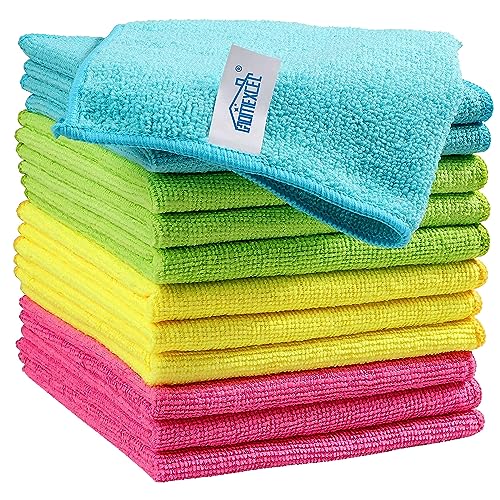
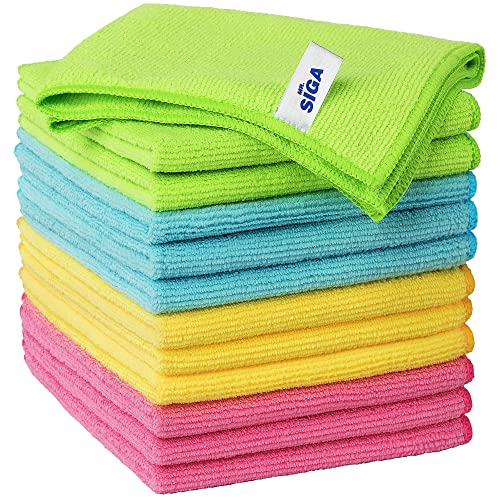
5 PCS Hand-held Groove Gap Cleaning Tools, FANDAMEI 4PCS Window Door Sliding Track Cleaning Brush + 1PCS Dustpan Cleaning Brushes, Home Kitchen Cleaning Brush Tool MR.SIGA Microfiber Cleaning Cloth,Pack of 12,Size:12.6Method All-Purpose Cleaner Spray, French Lavender, Plant-Based and Biodegradable Formula Perfect for Most Counters, Tiles and More, 28 Fl Oz, (Pack of 1)


Tools to Clean a Toaster:
- Damp cloth or sponge
A damp cloth or sponge is perfect for wiping down the exterior and crumb tray, removing dust, grease, and crumbs without scratching the surface. - An old toothbrush or oven brush
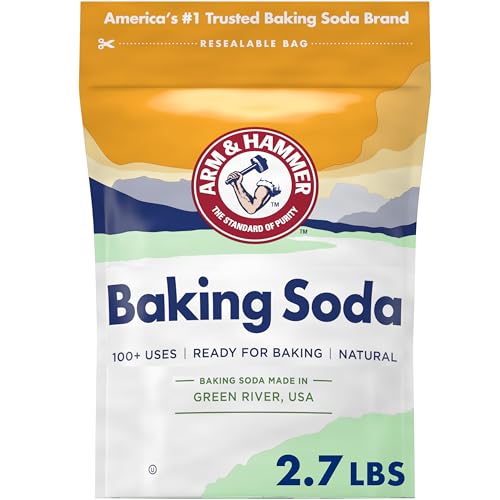
The bristles of an old toothbrush or oven brush can reach into the small crevices and slots to dislodge stuck crumbs and residue. - Baking soda
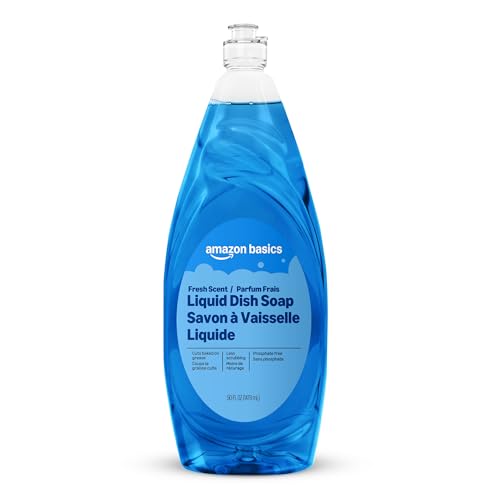
Baking soda works as a gentle abrasive to scrub away tough stains inside the toaster without damaging the materials. - Dishwashing soap
Dishwashing soap breaks down grease and grime, making it easier to clean oily or sticky spots on your toaster.
Step #1. Unplug and cool
Before you start to clean your toaster oven, make sure to unplug it as a safety precaution. Although toaster fires are infrequent, it’s always better to be safe rather than sorry.

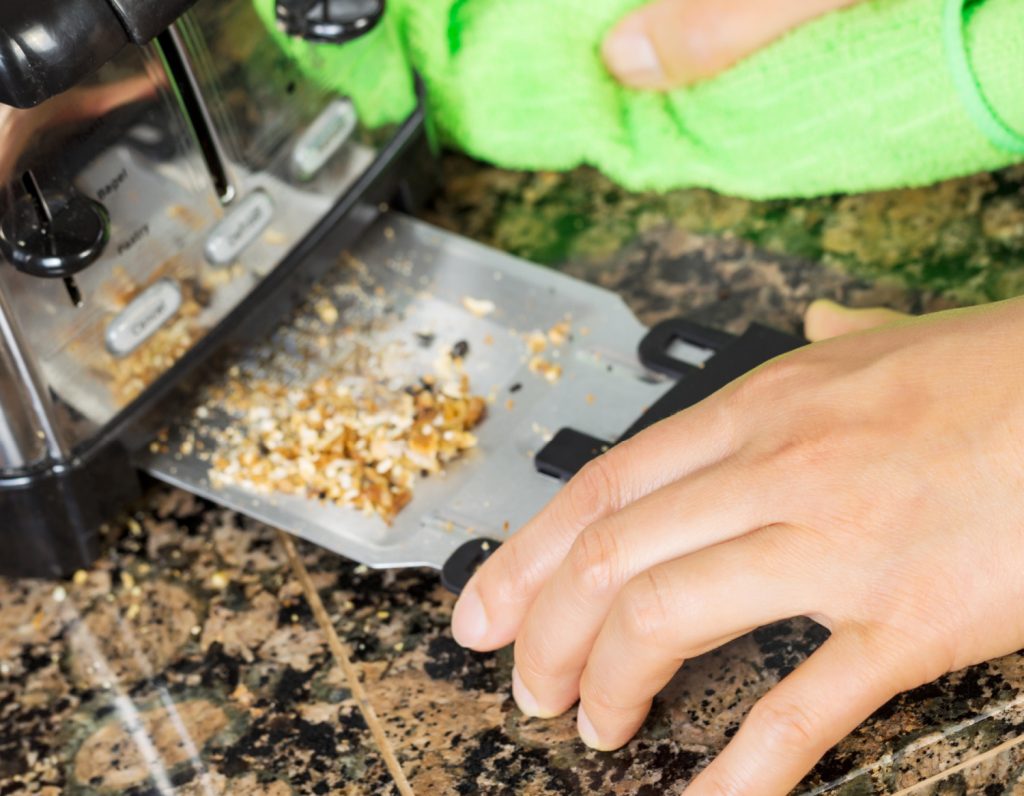
Step #2. Clean the Crumb Tray
Place a cookie sheet or similar tray underneath to catch any loose crumbs and prevent a bigger mess.
- Shake off any crumbs, then gently wipe the tray with a damp cloth to avoid bending it.
- If there’s stuck-on residue, soak the tray in warm water mixed with dishwashing soap for a few minutes.
- Use a rubber spatula to carefully scrape off any stubborn bits, then rinse and clean it once more.
- Make sure the tray is completely dry before sliding it back into the toaster.
Step #3. Clean the inside
While the tray is drying, work on the rest of the inside areas.
- Wipe the toaster’s interior surface using a damp sponge—sides, bottom, and top area.
- For any areas that are hard to reach, use a toothbrush that you have just for cleaning.
- Gently scrub the corners or other hard-to-reach areas.
This hack is a great way to remove any crumbs or gunk that may have gathered in between the component parts rather than having to shake your toaster to remove crumbs.
Step #4. Use a Cleaner for Stuck-On Food
For tough, baked-on messes, try a commercial cleaner or a heavy-duty sponge like Mr. Clean or Sponge Buddy.
If you prefer a DIY option, try this:
- Mix baking soda with water to create a thick paste.
- Apply the paste to the messy spots in your toaster oven and let it sit for 15–20 minutes.
- Afterward, scrub the area gently with a soft brush or sponge to lift the residue.
- Rinse and repeat as needed until the surface is clean.
Scrub Daddy 4 Scrub Daddy Sponges & 4 Scrub Mommy Kitchen Sponges – Scratch-Free for Dishes & Multipurpose Cleaning – BPA Free & Made with Polymer Foam – Stain & Odor Resistant (8 Pack)Mr. Clean Magic Eraser Original Cleaning Pads, Multi Purpose Cleaner, Bathroom Cleaning Supplies, All Purpose Cleaner, White, 6 CountScrub Daddy Sponge Daddy – Scratch-Free Multipurpose Dish Sponge – BPA Free & Made with Polymer Foam – Stain & Odor Resistant Kitchen Sponge (4 Count)


Step #5. Clean the Exterior
Once the inside is done, move on to cleaning the outside of your toaster oven.
- Use a damp sponge to wipe down the top, back, and sides, just as you did for the interior.
- After cleaning, polish the surface with a microfiber cloth to give it a nice shine.
- For a glass front, use the baking soda and water mixture from Step #4 to remove smudges and grime, following the same steps used for cleaning the glass door.
- If the control knobs are removable, soak them in a bucket of soapy water, then scrub them gently with a toothbrush.
- Make sure they’re completely dry before reattaching.
Once your toaster oven is fully cleaned and dry, plug it back in and it’s ready for use.

Cleaning a Pop-up Toaster
Routine cleaning of a pop-up toaster is also an important task to have on your weekly to do list.
Step #1. Unplug and Cool the Toaster
To avoid electrical shock or fire hazards, always be sure that the appliance you are working on is unplugged from an electrical outlet.
Step #2. Clean the Crumb Tray
Place a cookie sheet or similar tray underneath to catch any loose crumbs and prevent a bigger mess.
- Make sure the tray is completely dry before sliding it back into the toaster.
- Shake off any crumbs, then gently wipe the tray with a damp cloth to avoid bending it.
- If there’s stuck-on residue, soak the tray in warm water mixed with dishwashing soap for a few minutes.
- Use a rubber spatula to carefully scrape off any stubborn bits, then rinse and clean it once more.
Step #3. Remove Crumbs from the Interior
- Use a small brush to sweep out any crumbs from the interior of the toaster.
- For loose crumbs, gently tilt the toaster on its side or upside down to shake them out.
Take care to avoid damaging any internal components while cleaning.
Step #5. Clean the Exterior and Reassemble
- Use a damp sponge dipped in soapy water to wipe down the exterior of the toaster, focusing on the dials, levers, and handles.
- After rinsing, dry the surface with a microfiber cloth and polish it to remove any smudges or fingerprints.
Once everything is clean and dry, reassemble your toaster, and it’s ready to use.
Your kitchen appliances deserve a better home than a tangled pile in the corner. Learn How to Organize Kitchen Appliances in a Pantry while keeping them neat and accessible.
Clean and Organize Your Kitchen Counter
Once your toaster is clean, take a moment to clean up the area where it sits.
- Wipe down the counter and backsplash to remove any crumbs or stains.
- Clean nearby cabinets if they’ve gotten messy.
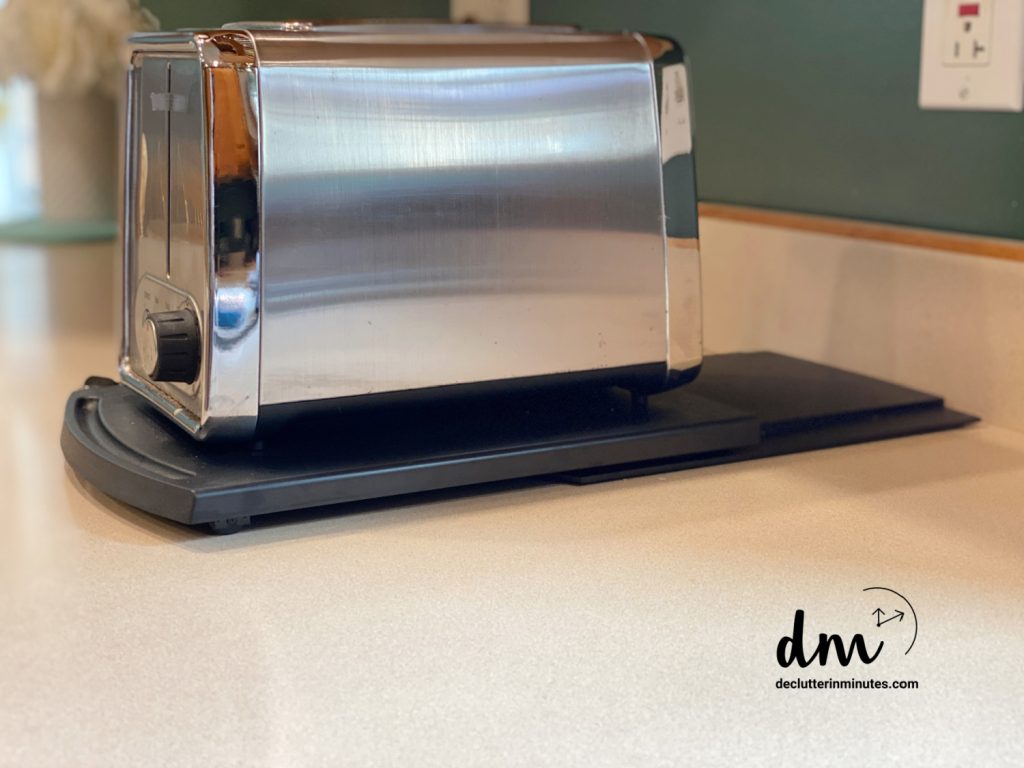
- Consider using a counter slider for your toaster. Sliding the toaster out for each use can help keep your counter cleaner and more organized.
Cleaning and organizing your kitchen counter is a great way to keep your entire kitchen streamlined and organized.
Bonus Tips
Use these tips to keep your toaster working well and safely throughout it’s lifetime.
How to Remove Food Stuck in a Toaster
Never use a fork or knife to dislodge food from your toaster, as it can damage the appliance and pose a risk of electric shock.
Instead, turn the toaster upside down and give it a few gentle shakes. This should loosen the stuck food, allowing it to fall out through the top.
Know When You Need an Upgrade
It is important to be mindful of when your appliances are ready for replacement.
Toasters, blenders – almost any appliance in your home eventually reaches a point where an upgrade may be necessary.
Knowing when that point is will not only save you money – by avoiding paying for unnecessary repairs – but it could help prolong the life of your kitchen tools too.
If you’re unsure if you need to upgrade, you can ask yourself two simple questions:
- Is my current appliance running as well or better than when I got it?
- If not, is it worth investing in repairs?
You can also observe these signs that signify when it’s time for a replacement:
- Worn wires, uneven heat, or other obvious issues.
- Loud noises from the device.
- Poor energy efficiency.
Understanding when appliances need upgrading is crucial for saving money and increasing energy conservation in the long run.
Whether your toaster is new or old, cleaning it regularly will help keep it working properly and protect you from fires. By following these simple hacks, you can quickly and easily clean your toaster without any special supplies or equipment.
And if your toaster is beyond repair, don’t be afraid and use this as an opportunity to upgrade to a newer model with features that better suit your needs. I hope you found these toaster oven cleaning hacks helpful for using on your own appliance.
Turn kitchen cleaning into a simple routine. This Simple Checklist can help you break it down so it never feels like a big job.
More Cleaning Resources:
- 3 Brilliant Microwave Cleaning Hacks
- Organizing Small Kitchen Counters
- Brilliant Ways To Organize Your Kitchen
The Best Toaster Oven Cleaning Hacks
A messy toaster oven can make cooking frustrating. These easy cleaning tricks will help you get it back in top shape.
Materials
- Warm water (the base for most cleaning solutions)
- Dish soap
- Baking soda
- Vinegar
- Commercial oven cleaner (if you prefer a store-bought cleaning solution)
- Paper towels or dry cloth
Tools
- Sponge
- Soft-bristle brush or toothbrush
- Microfiber cloth
- Scrubbing pad
- Small brush or pastry brush (useful for sweeping out crumbs from corners)
- Bowl or small container (for mixing a DIY cleaning paste)
Instructions
- Always unplug your toaster oven before cleaning to avoid electrical hazards. Even if the appliance is off, it’s best to wait until it’s completely cool before starting.
- Place a tray or cookie sheet underneath to catch loose crumbs before removing the crumb tray. Shake off debris, wipe it with a damp cloth, or soak it in soapy water for stubborn residue.
- While the crumb tray dries, use a damp sponge to clean the inside walls, top, and bottom.
- For tough stains, use a commercial cleaner or a DIY baking soda paste. Apply the paste to problem areas, let it sit for 15 to 20 minutes, then scrub gently with a sponge or soft brush.
- Wipe down the outside of the toaster oven with a damp sponge, including the sides, top, and back.
- If your toaster oven has removable knobs, soak them in soapy water before scrubbing them clean. Dry them completely before putting them back to prevent moisture buildup.
- Once everything is dry, reassemble your toaster oven and plug it back in.
Notes
- Use a dry toothbrush to loosen crumbs before wiping them away. This helps lift debris stuck in tight corners that a sponge might not reach.
- Be very careful not to submerge any electrical parts in water. Even if the toaster oven looks sealed, water can seep into tiny openings and cause issues.
Recommended Products
As an Amazon Associate and member of other affiliate programs, I earn from qualifying purchases.