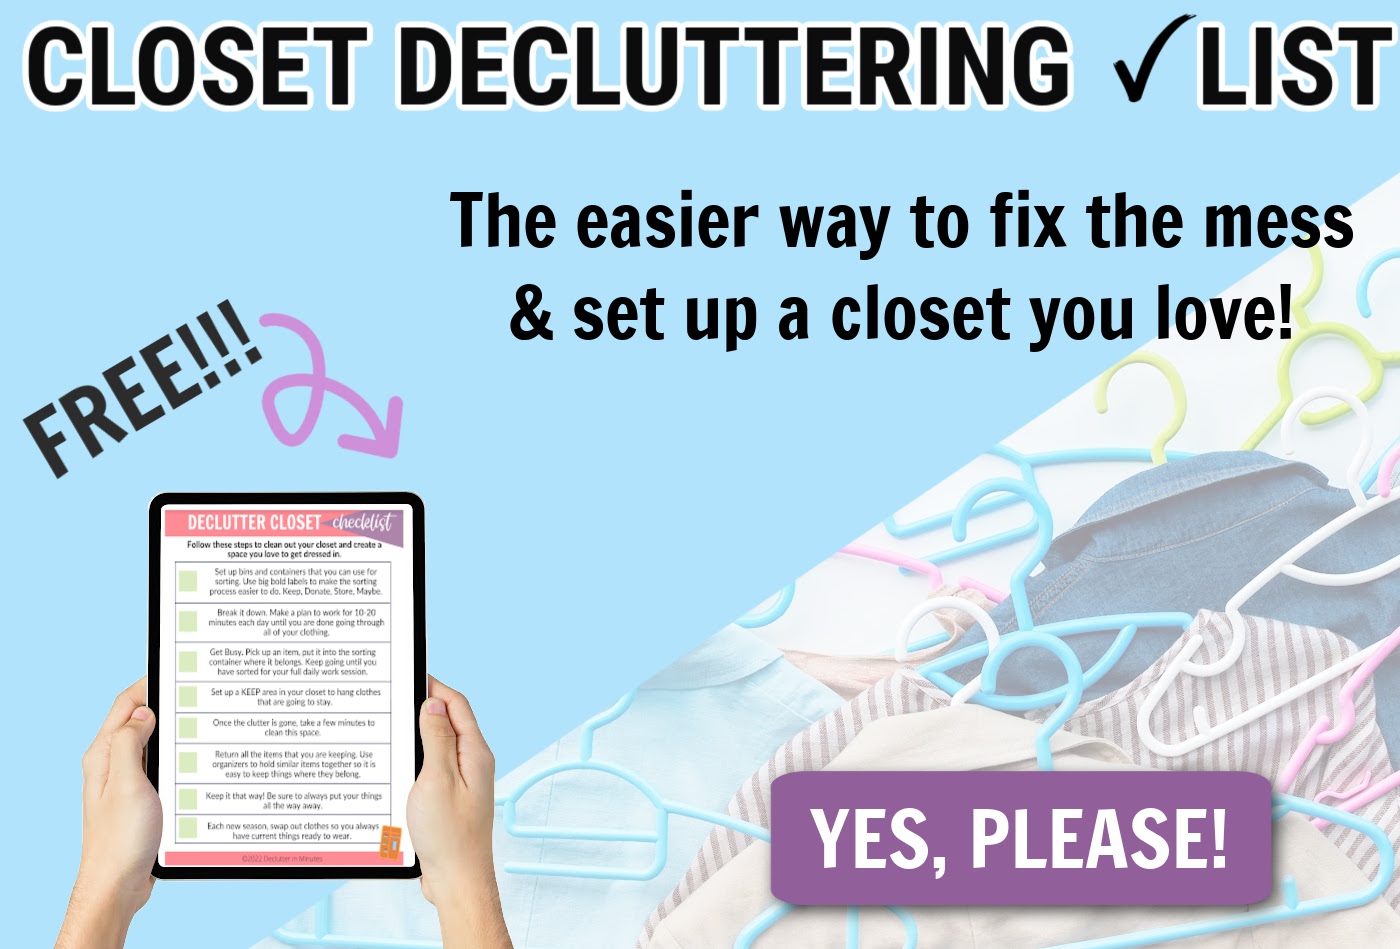
How to Organize Clothes in Drawers
If you are looking for a guide on how to organize clothes in drawers this will walk you through a few different ways so you can find the one that will work best for you.
How to organize every drawer no matter what you keep inside so it stays neat and mess-free.

Did your favorite shirt go missing again? Is it hiding in over-stuffed and messy drawers?
Organizing a messy area can be a bit intimidating especially when it comes to your clothes. And sure, the idea makes sense and even sounds simple but finding a layout that you can stick with, may be easier said than done.
Actually, this is a common roadblock for many folks and my hope is to remove the hard part of doing this alone and bring in easy steps that you can just follow along. These are the tips that you can use to organize your dresser like a pro.
With a little bit of effort, you can have a beautifully organized dresser that makes finding what you need a breeze.
How to Organize Your Dresser
Before we get started, let go over a very common question.
What should be stored in a dresser?
When deciding to items to keep in your dresser and what items to keep in another area such as a closet, think about your clothes. A basic rule of thumb is anything that will store better folded or in bins will do better in a dresser.
A few ideas are:
- Underwear
- Pajamas
- Socks
- Tops
- Jeans
- Activewear
Other items like delicates, dresses, or bulky sweaters may do better in a closet or larger storage area.
Step #1. Start with a plan.
Before you dive into your dresser you will want to do a little bit of planning. Daydreaming the new layout of your dresser should be a fun task and will help you to get this project started on a positive note.
Think of the way you dress each day. What styles do you have? What clothes do you wear to work? What are your favorite pieces for the weekend? What are your comfy clothes for on a lazy day?

Your goal is to set up your dresser so each drawer holds a specific style of clothing. Before you begin, think about how you use your clothes. This will help you determine how best to organize each drawer.
– Daily Wear: Everyday items such as underwear, socks, pajamas, etc.
– Work Clothes: Items you wear to work such as dress shirts, slacks, skirts, etc.
– Weekend Wear: Weekends favorites such as jeans, comfy pants, casual tops, etc.
– Formal Wear: Dressier pieces, and formal wear for special occasions such as dresses, suits, etc.
– Seasonal Wear: Special items you only wear during certain seasons such as sweaters, swimwear, heavy coats, etc.
For the number of drawers you have in your dresser you can pick an item from the list above. So, for example, if you have 6 drawers then you can choose 3-6 clothing categories. Keep in mind that some categories will need 2 drawers whereas others only have one.
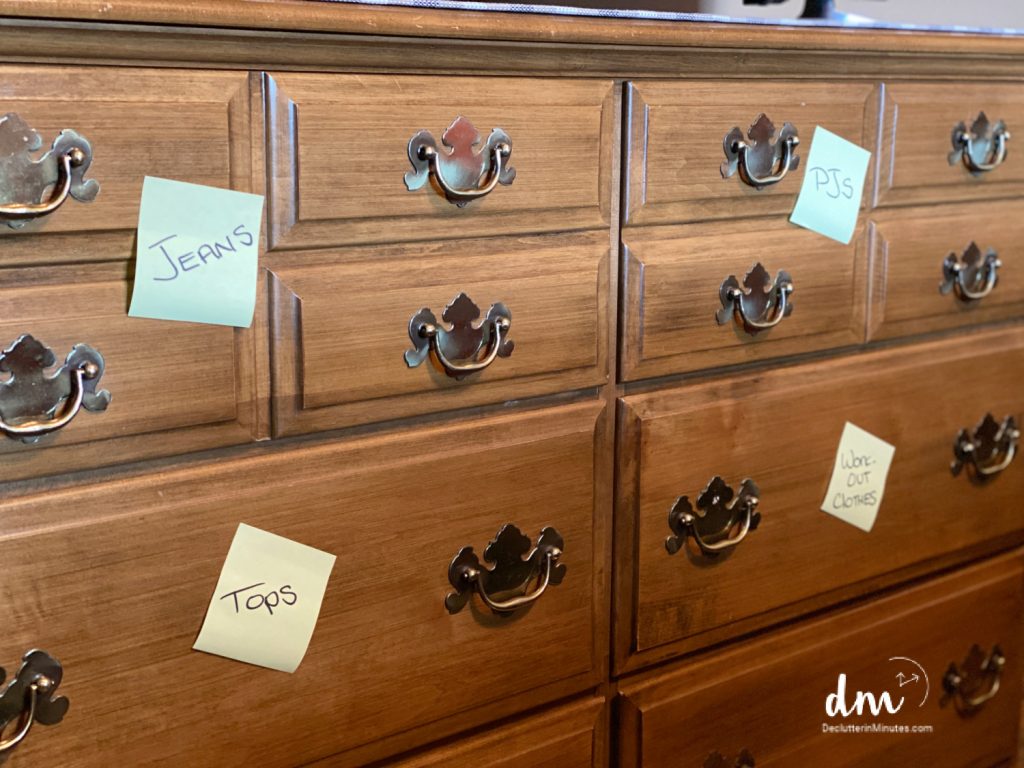
These are the tools you are going to use to set up a layout for your dresser. Stick the note on the front of the drawer where you plan to put the category of clothes. Once done, take a step back and see if it makes sense.
A tip to keep in mind is, that the more you wear it the closer you want it. The less frequently you wear it, the further away you can keep it.
This will guide you on a setup that fits you, your style, and your weekly schedule. This is why I love using sticky notes because they are so easy to move around allowing you to play with locations before you finalize each drawer.
This way once you get everything moved around you can be confident that the layout will work for you.
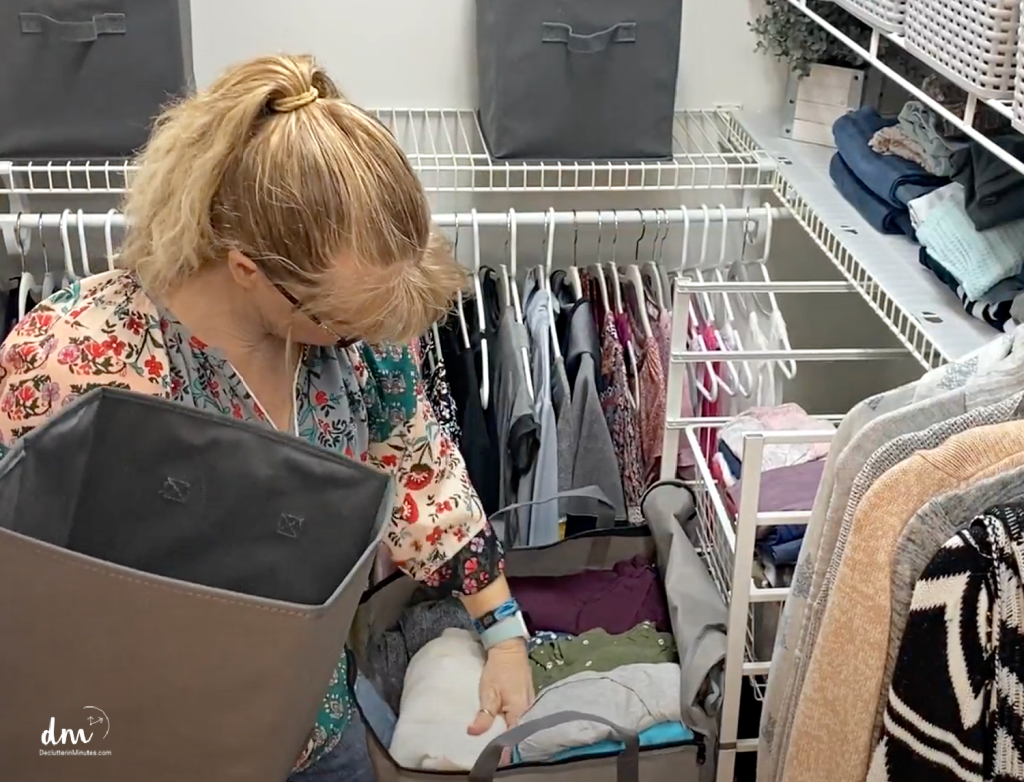
Step #2. Empty Your Dresser Out
A dresser is one of those areas that is easier to organize with a clean slate. That means taking everything out and starting from scratch.
Your bed is a great working area as you go through each item sorting as you go. If your bed is not an option you can spread out a sheet instead. Using a sheet will also allow you to stop sorting without having to remove your progress to sleep.
Step #3. Sort Your Clothing by Category
Start by putting like items with like items. This means all your jeans in one area, shirts in another, and so on. As you are sorting be sure to remove anything you do not wear or love. Put those items off to the side for either the donation bin or the trash if the are torn or stained.
If you are short on space, you can also sort out items that are for a different season. Finding a place to keep out of season clothing will free up some much needed space for the things you wear more often.
Storage Options for Out of Season Clothes.
- Under the Bed Storage Bags
- Clear Plastic Totes
- Zipper Bags
Step #4. Set Up Each Drawer
Now for the fun part! Setting up each drawer.
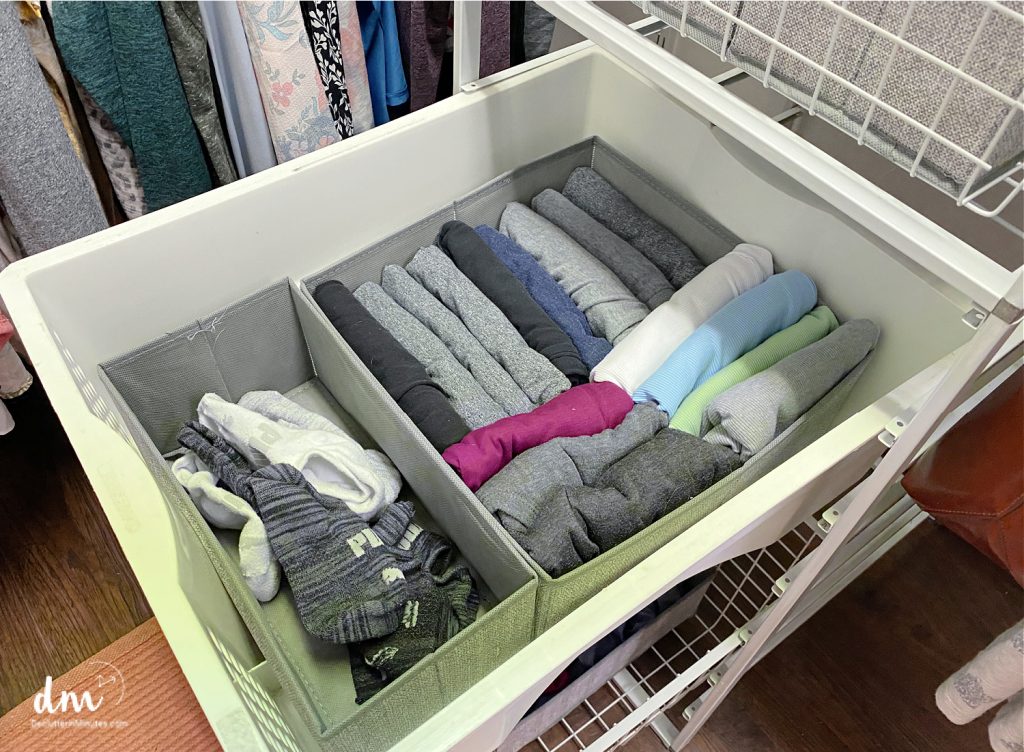
Rather than just return the clothes in folded piles let’s streamline this area a bit more first. The biggest issue with messy drawers is when things overlap causing chaos and mess. Separating each drawer into sections will help to keep things in their place where it belongs.
You can do this with tension dividers, drawer organizing baskets, or vertical organizers. Take a look at each option and see what you feel will work best. Your goal is to make it easy on you to put your things all the way away. The more you do this the less clutter you will need to deal with on a day-to-day basis.
Step #5. How to Fold
Once you have your drawers sectioned off you can start putting the clothes inside. How you fold your clothes is totally up to you. Some folding styles will better depending on the clothes.
Let’s cover a few of the most common below. Try out one option at a time until you see what you can most easily keep up with.
Rolled – This helps you to see each item in a single layer. Rolling is somewhat easy to do and keeps clothes free of wrinkles and creases.

Folded – This more easily keeps things stacked and in piles. The quickest way to store clothes but can cause creases and wrinkles.
Pocketed – A version of rolled and folded that helps you to see each item in a single layer while keeping things neat, compact, and wrinkle-free. This is a time-consuming way to store clothing.
Jeans – Storing clothes vertically in a drawer will help you to see everything you have more easily. But what do you do if you have jeans? How can you fold them to sit in a drawer that way?
The best way I have found is to fold them in quarters. Even though your jeans will be thicker that way they will be small enough to fit in a drawer vertically.

Whatever method you choose storing clothes vertically is something you may want to try. This will allow you to see at a glance just what you have so you can more easily choose what to wear.

Step #6. Don’t Over Stuff
If you have more clothes than you have room in a drawer you may want to declutter what you have or add a second drawer to this category. Sometimes having too many options can lead to frustration when getting dressed.
I have found over the years that the fewer clothes I have the more organized my drawers are and the more I enjoy getting ready for the day ahead.
Step #7. Label Each Drawer
Be sure to put a label on the outside of each drawer when you are finished. Remembering a new setup can be a bit overwhelming especially if you have done a complete overhaul.
Using sticky notes create temporary labels as you learn your way around your new setup. As you become comfortable you can remove the labels altogether.
Once you have your dresser organized it will be much easier to keep it that way. By taking the time to sort, store, and label each drawer you will be able to find what you need quickly and easily. This will save you time and frustration in the long run.
Don’t forget to empty your dresser out occasionally to ensure that everything is still in good condition and that you are still using everything. A well-organized dresser is a great way to keep your bedroom tidy and stress-free.
Use these tips for how to organize clothes in drawers starting today.