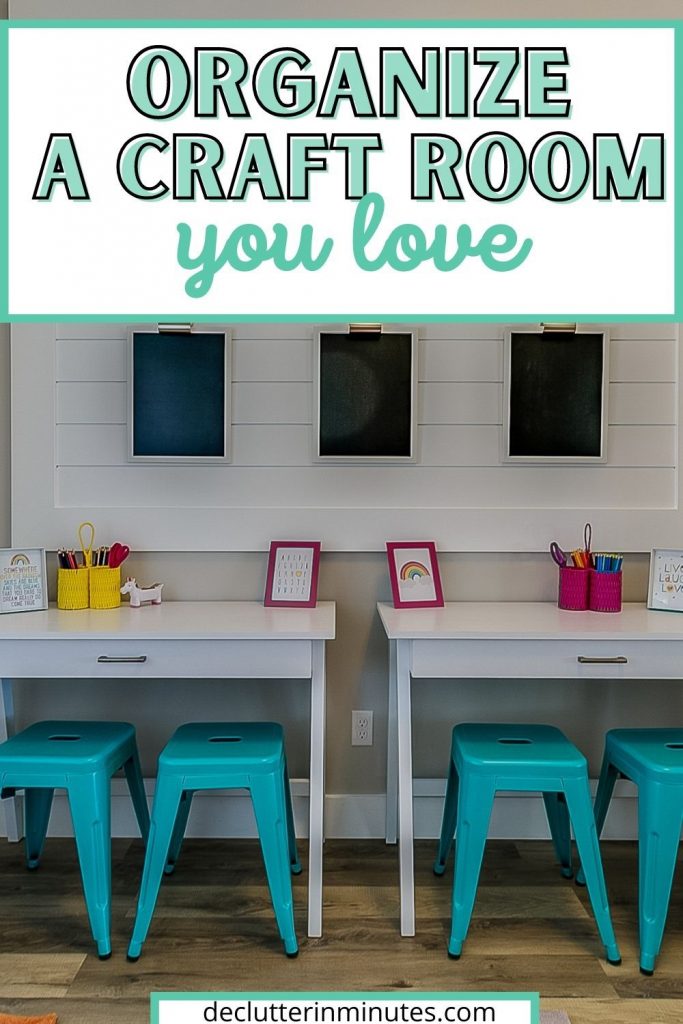
Steps to Organize Your Craft Room
Get the help you need on how to organize your craft room step by step. Follow along and streamline a space that you love to sew, paint, or craft in. Even if you do not have a craft room, I have tips on finding space for a creative area just for you!
How to organize a room that will hold all your supplies yet still have room for crafting, painting, and more.
Let’s face it, crafting is messy. With all the supplies, tools, paper, yarn, thread, paints, I could go on and on. The bigger the project the more supplies you will need and before you know it you have made a complete mess of a somewhat tidy room.
But let’s be honest here, this is your room.
Your place to get creative, to relax. To love. And it is only fair to give you a space that is all your own. One that is neat and organized and easier to keep that way.

Today, our goal is to find steps to organize a craft room you love to be in. And not only are we going to create a space for you that is dedicated to working on projects but we will also streamline it in a way that will allow you to work in that area without turning the entire room upside down.
If you have not decluttered your craft room yet, you will want to jump over and read our step-by-step guide on how to do just that.
READ: How to Declutter a Messy Craft Room the Easy Way
Once you are finished with the decluttering part you can then head back here for the fun part. Organizing a craft room you will love.
I know, I know…organizing is the fun part? But hear me out.
You already did the hard part. The initial clean out of the excess stuff that you have. And by removing the excess, you have begun to make way for systems that you can then rely on to keep your space as you love it. Neat and clutter-free.

Notice I said “initial clean out”. That is because, as a crafter myself I know just how many supplies you probably still have left in your area. Yes, even after you have decluttered.
Let’s face it, letting go of supplies is hard, but that is why I want to encourage you to look at your room and your things differently. Instead of the mindset of “what if I need those 27 orange juice can lids someday”, put your focus on keeping the supplies you know you will use in the near future.
The paints, the threads, the die cuts. The supplies that have a shelf life because you find you are consistently using them for projects.
When you change how you look at your craft supplies you will find yourself keeping the things you know you will be using for sure and not the things you might just need someday. This one shift in thinking will help you to make even more decisions in your craft room and remove even more items you no longer need.
Remember your end goal here. To set up a streamlined space that is a joy for you to be in. When you have an organized room you can really let those creative juices flow without being distracted by the piles and the bags and the stuff lying around.
Steps to Organize Your Craft Room
Step #1. Your Room’s Purpose
What exactly does this mean? Your room’s purpose is the final goal you have for your space, the end goal of why you are doing this. Knowing the purpose of your room is an important part of organizing a space you love and deserve, especially one where so many different activities take place.
I realize you may be tempted to skip this step, but I want to encourage you to give it some attention. Part of the reason why we lose ground with our decluttering and organizing projects is that we do not have a complete plan set into place. One that will take us from the very start to the very finish.
Your room’s purpose is your finish line and knowing the finish line for all the work you have done so far and the work you have left to do will help you to know there is end in sight and one you can work towards.
A few ideas for the purpose of this room are:
- Sewing Room
- Paint Studio
- Papercrafts
- Woodworking
- Knitting or Crocheting
- Ceramics
- Quilting
- Or a combination
When you distinguish what activities will take place in a room you can then also visualize how to set up organizers for the exact supplies you will be keeping.
Action Step: Make a list of 3-7 things you plan to do in your craft room. Take some time to sit in your room and envision just what you hope to do here. Take a look around. Be honest and list out the activities you want to do and not the ones you hope to do.
There will be time later on to try new things, but for now, our goal is to bring your vision in a bit so you can more easily organize the activities you already love to do.
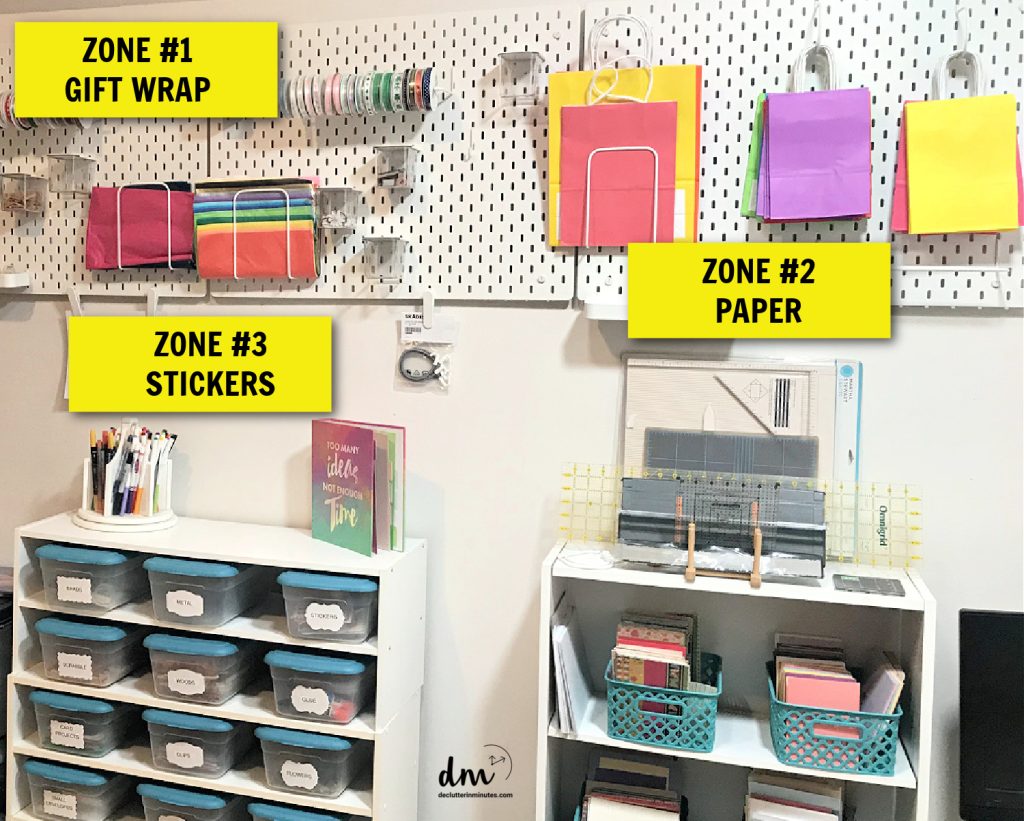
Step #2. List your Zones
Another helpful tool (and one of my favorites) is taking your room’s purpose one step further and designating a spot in your room where each activity will occur.
Just like any multipurpose room, by giving a specific area for the supplies needed for each task that you do, you will be better able to streamline the activity itself.
Let’s take a look at an example.
Have you ever been in a preschooler’s classroom? It takes zones to an art form and for good reason. When so many activities occur in one small space, zones are crucial to keeping children focused on what they are doing without getting distracted.
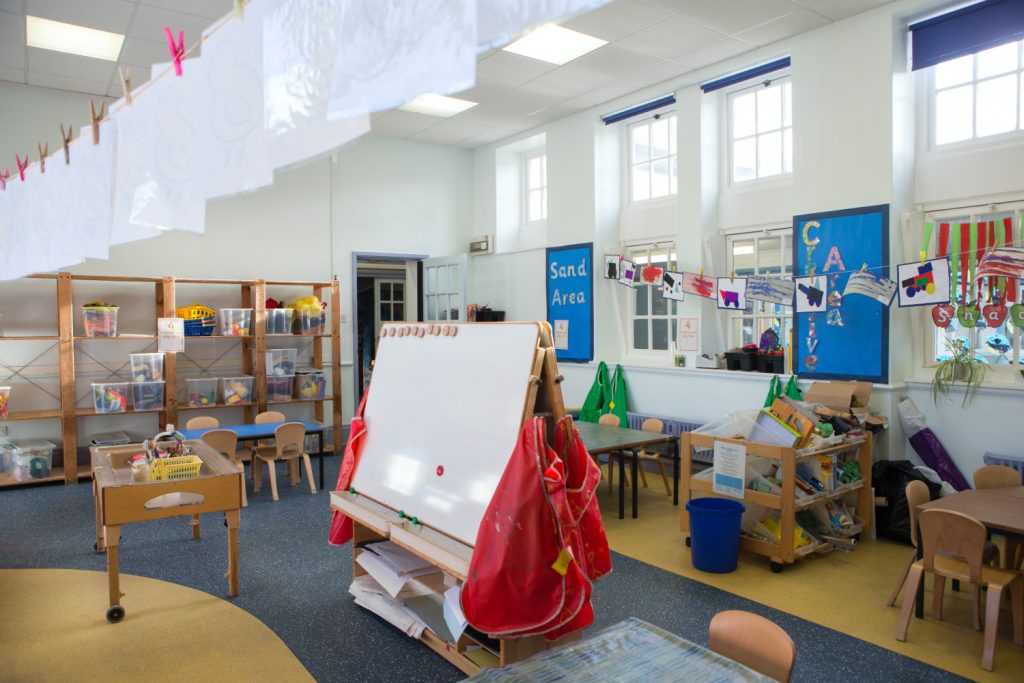
Clutter is the same for everyone, no matter what your age. Clutter is distracting and will cause the items in one zone to spill out into another area without us even realizing it. After just a few minutes your entire room can turn into a completely chaotic mess.
This is why I love zones so much especially in a craft room. Zones will not only make it so much easier to organize each individual area, but you will also streamline your focus when you are in the space working.
This will allow you to get lost in a project without becoming distracted by something else.
When working in such a multi-purpose space, knowing for sure where each activity will take place can be a bit overwhelming. No worries, Post-it notes to the rescue. Use these sticky papers to map out where you plan to locate each zone.
The beauty of using post-its allows you to move zones around as you settle on the best set up for you and your space.
Action Step: Place a post-it note in each zone so you can clearly see what will happen where.
Armed with post-it notes, walk your room and choose where you hope to do the activities you listed out in step #1. If you love to work on paper crafts, then a large table might be the best zone for that. If you love to paint, then an easel near a window may be your best area. Do you quilt?
A well-lit workspace close to your fabric shelf might work best. By using post-it notes you can move the locations around until you find a setup that works specifically for you.

What are some common zones in a craft room?
Yes, we are going to keep talking about zones for just a bit. I realize this can be a bit confusing if you are not used to this organizing technique so let’s take a moment to break things down a bit more.
Remember that the zones that you have will all depend on the main crafting you do in your space. There is no right or wrong here, it is all about personal choice. Below are a few of the more common tasks that crafters do and a few zone ideas to get you started.
Don’t overthink this part. Zones are meant to be helpful. To make the setup easier to do without getting frustrated.
Let’s see it in action.
Say you have a craft room where several activities routinely happen such as woodworking and sewing. Over the last few months, you have decided to stop woodworking but you plan to keep on with your sewing hobby. Oh, and while you are at it, you want to start making cards instead of buying them.
That would mean that your room will make a switch from two zones of woodworking and sewing to sewing and paper crafts. By knowing your zones (both before and after) you can begin boxing up the woodworking supplies and equipment.
This will not only free up much needed space for your new hobby of paper crafting but it will also turn your room into a more focused and enjoyable one.
D/M PRO TIP: Stressing out about giving away all your supplies to a stranger? Why not make craft totes for your kids or grandkids to enjoy? I still make a material/embellishments kit for my young niece each Christmas.
This not only gives her a bigger supply to work from but it frees up space in my room for paper craft projects.
Remember this list is just to give you a starting point and is not set in stone. Add in zones, supplies, tools and equipment that fits you more specifically.
Sewing Room
A sewing room includes making clothes, mending, quilting, and needlework. For a sewing room, you will need the following zones.
Work Zone
- A large table
- Good lighting
- Iron and board
- Magnifying glass
- Mannequin
Sew Ready Pro Stitch Sewing Machine Table – 56.75 PDM WORLDWIDE Beige Adjustable Dress Form Mannequin for Sewing Female Size 6-14, Pinnable Model Body with 13 Dials, Detachable Casters, 42.5LED Desk Lamp with Clamp, Architect Desk Lamp with Dual Light and Adjustable Swing Arm, Clip-on Eye-Care 4 CCT Modes & 5 Brightness Levels Table Light Modern Desk Light for Home OfficeTIDY ZEBRA Compact Ironing Board Full Size European Made – ULTRA THICK PADDED FOAM AVOIDS MOLD – Organic 100% Cotton Ironing Boards Covers – Sturdy Lightweight Iron table, Bonus Iron Board Cover 13×43SINGER SteamCraft Plus Digital Display Iron, Five Fabric Settings, OnPoint Tip for Easy Ironing, 1750W, Vertical Steam, 300ml Tank, Stainless Steel Soleplate, Auto Shut Off after 30 Minutes


Pattern/Planning Zone
- Material
- Pins
- Patterns
- Marking tools
SINGER Sewing Storage Organizer Desktop Spinner, Navy Floral PrintNew brothread 60 Spools Wooden Thread Rack/Thread Holder Organizer with Hanging Hooks for Embroidery Quilting and Sewing Threads4 Tier Collapsible Storage Bins with Wheels and Lid – 23QT Stackable Closet Organizers, Foldable Plastic Containers for Home, Office, Dorm RoomArtBin 6990SA Super Satchel Double Deep with Removable Dividers, Large Portable Art & Craft Storage with Handle, Translucent/Aqua Mist


Cutting Zone
- Scissors
- Rotary cutter
- Cutting mats
Asdirne Premium sewing Scissors Bundle, Perfect Sewing Partners, Sharp and Durable, Comfortable Handle, Contains 9”Fabric scissors, 5”Detail Scissors, 3.9”Embroidery Scissors, 4.8”Thread SnipsFiskars 197940-1002 Ergo Control Rotary Cutter, 60mmFiskars Rotary Cutter 3-Piece Set – 45mm Blade Rotary Cutter for Fabric, Self Healing Cutting Mat, and Sewing Ruler – Craft Supplies – White/GrayXINART 45mm Rotary Cutter for Fabric Safety Lock Ergonomic Classic Comfort Loop Fabric Small Rotary Cutter for Sewing Quilting Crafting (Extra 2pcs Replacement Blades Included)-Green


Sewing Zone
- Sewing machine
- Pins
- Threads
- Notions
- Scissors
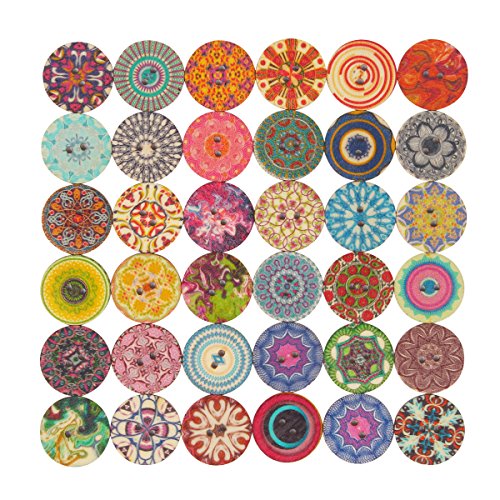
- Buttons
Electric Sewing Machine for Beginners, Portable Mini Sewing Machine Built in Lights &12 Stitches, with Reverse Sewing&2 Automatic Sewing Speed & Foot Pedal &42PCS Sewing Toolkit, for Household TravelMahaohao 100pcs Mixed Random Flower Painting Round 2 Holes Wood Wooden Buttons for Sewing Crafting 20mmGreentime 1500 pcs Round Resin Buttons Mixed Color Assorted Sizes for Crafts Sewing DIY Manual Button Painting DIY Handmade Ornament Buttons, 2 Holes and 4 HolesCiaraQ Sewing Threads Kits, 30 Colors Polyester 250 Yards Per Spools for Hand Sewing & Embroidery


Paper Crafts Room
As a paper crafter myself, I know the number of supplies and tools needed for this hobby. Paper crafts can include card making, scrapbooking, and paper art. Let’s take a look at some of the supplies you will need for an amazing paper craft room!
Work Zone
- A nice large table
- Good lighting
Paper Zone
- Paper of all sizes
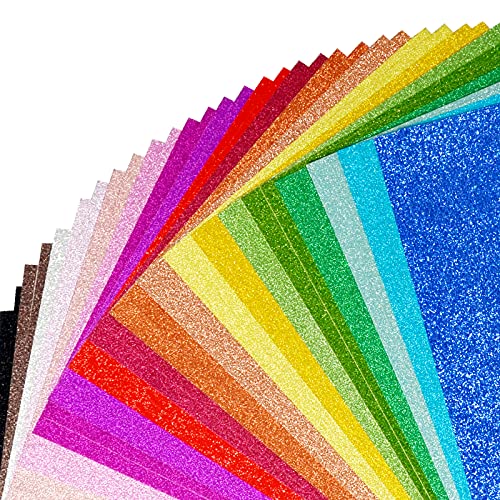
- Card stock
- Envelopes
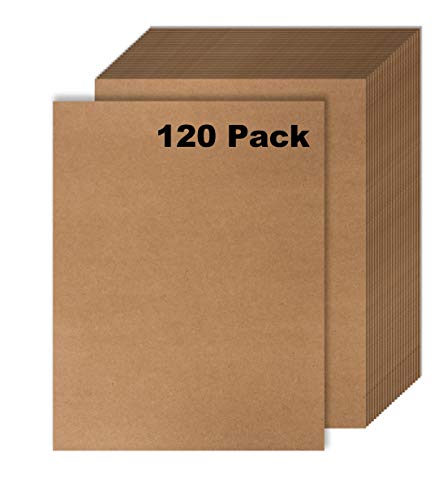
Glitter Cardstock, 40 Sheets in 20 Colors, Premium Cardstock for Cricut, Crafts and DIY Projects, Sparkly Paper for Card Making, 250 GSM300PCS Vintage Scrapbooking Supplies Scrapbook Paper Journaling Kit Aesthetic Decorative Craft DIY Stickers Kits for Bullet Journaling, Junk Journal, Retro Crafts(Vintage)120 Pack Kraft Paper – Brown Stationery Paper- Brown Craft Paper for Arts and Craft, Drawing, D.I.Y. Projects – Letter Size Kraft Paper – Laser & Inkjet Printer Compatible – 8.5 x 11 Inches30Pcs Scrapbook Paper Textured Paper, A5 Craft Scrapbooking Paper Sheets Handmade Snow Dot Mesh Fabric Mix Special Papers for Scrapbooking, Art Journaling, Card Making Supplies(5.5×7.8in,Style-B)


Cutting Zone
- Scissors
- Die cuts
- Paper cutters
- Cutting mats
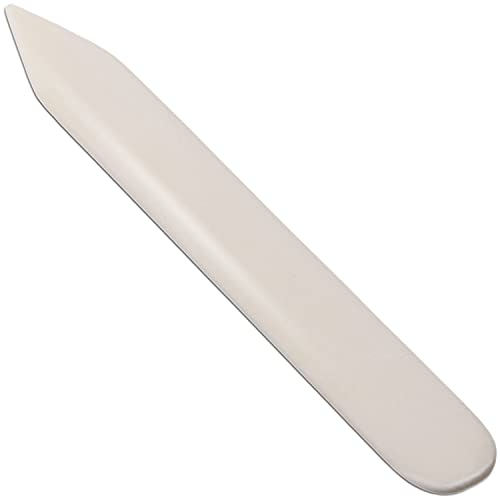
- Scoring Tool
VENCINK Genuine Bone Folder Scoring Folding Creasing Origami Paper Creaser Crafting Tool for DIY Handmade Leather Burnishing, Bookbinding, Scrapbooking, Paper Cards Crafts (100% Cattle Bone)Rouceyxin Double-Sided Tape for Crafts, 8 Rolls Double Side Adhesive Tape for Arts, Card Making, Scrapbooking, DIY and Paper Backing (Width: 8 mm/10 mm/12mm/15mm)Aromoty 30Pcs Handmade Scrapbook Paper Craft Textured Paper Morandi A5 sheet Mesh Fabric Mulberry Special Paper Mix for Scrapbooking Junk Journal Journaling Supplies DIY Materials, 5.8×8.2 inchesVintage Washi Tape Set, 18 Rolls for Scrapbook Decorative Tape, 5/10/15/20/25/30/50/75mm Wide Antique Floral Scrapbook Tape Set, Retro Masking Tape Junk Journal DIY Crafts


Embellishment Zone
VZKAH Acrylic Organizer with Drawers | 20 Drawers 4 Sets | Desk Organizer and Storage, Clear Makeup Organizer, For Office/Art Supply/Craft Storage and Organizationnovelinks Stackable Plastic Clear Storage Box Containers with Latching Lid – Art Craft Supply Organizer Storage Containers for Pencil Box, Lego, Crayon, Beads (6 Pack Small + 6 Pack Medium -Clear)2 Pack 24 Grids Clear Plastic Organizer Box, Storage Container with Adjustable Divider, Craft and Bead Storage Organizer Box for DIY Jewelry Tackles with 2 Sheets Label StickersVowcarol Clear Paint Organizer, Miniature Paint Holder 7 Layers Paint Storage Rack, Craft Paint Organizer Rack


Paint Studio
I love to paint! And although I do not have a lick of talent I still enjoy doing it. Painting hobbies are growing in popularity and if you need a creative outlet I highly encourage you give this one a try.
Work Zone
- Easel
- Chair
- Good lighting
- Table for supplies
JKB Concepts Acrylic Paint Organizer Set. Stunning Diamond-Polish Finish. 2oz Bottles, Miniatures & More Perfectly Fit in Paint Holder. Space-Saving Design. Thick, Durable Acrylic. 6 Bead Options.Acrylic Paint Organizer Craft Paint Storage Organizer for Apple Barrel, Folkart,2oz Craft Paints, Wall-mounted-49HolesPlaid Rotational Organizer Storage Container That Stores 24 Standard 2 fl oz Bottles of Acrylic Paint for DIY Arts and Crafts, 31100, BlackARFETIGO 6 Layer Acrylic Paint Organizer&Paint Brush Holder Snap-on Design Easy Assembly Paint Storage Rack for Acrylic Craft Hobby Miniature Model Light Paint Can Storage (Grey)


Paint Supply Zone
- Brushes
- Paints
- Stains
- Cleaners
Vidifor Large Portable Basket with Handle, Plastic Craft Storage Organizer Caddy Tote with Adjustable Divided for Makeup Art Supplies, Sewing, Colored Pencils-BlueU.S. Art Supply Plastic Artist Round 50 Hole Paint Brush Holder and Organizer – Rack Holds Paintbrushes, Makeup Cosmetic Brushes, Pencils, Pens, Markers, Art Tools, Desk Stand – Students, TeachersMarbrasse Wooden Pen Organizer, Multi-Functional DIY Pen Holder Box, Desktop Stationary, Easy Assembly, Home Office Art Supplies Organizer Storage with Drawer (B16-Cherry Color)HG Art Concepts Mezzo Artist Brush and Paint Tube Organizer Rack Set 3 Pieces – Wood Grain Laminate Multi-Layer Storage Display Stand for Paintbrushes, Oil & Acrylic Paints


Woodworking Room
Woodworking means so much more than building furniture. Woodworking can include small projects, wall decor, even holiday ornaments.
Work Zone
- Large open area
- Sturdy table
- Good lighting
- Chair or stool
- Power tools if needed
ZYRELYNX Sandpaper Organizer Fit for Sanding Discs 5 Inch, Sandpaper Storage Holder, Woodworking Tool Box Organizers and Storage Rack (Excluding Sandpaper), 1 PackRockler 24” Parallel Clamp Rack – Helps to Store Heavy Duty Clamps – Durable Galvanized Steel Parallel Clamps – Rack Stores Clamps up to 24” Wide – Workshop Organizers and StoragePower Tool Organizer Garage Storage Organization Shelving Tool Holder Drill Rack Shelf Rolling Cart Open Tool Chest Cabinet Box Organizer with Wheels Workshop Garage Gift Ideas for Men DadYYR Wood Organizer and Lumber Storage Rack Wall Mount, Heavy Duty Metal Shelf with 6-Level Holds Up 1200 LBS, Indoor & Outdoor Use – Black


Finish Work
- Stains
- Staining supplies
- Paints
- Paint supplies
- Hardware
- Glue
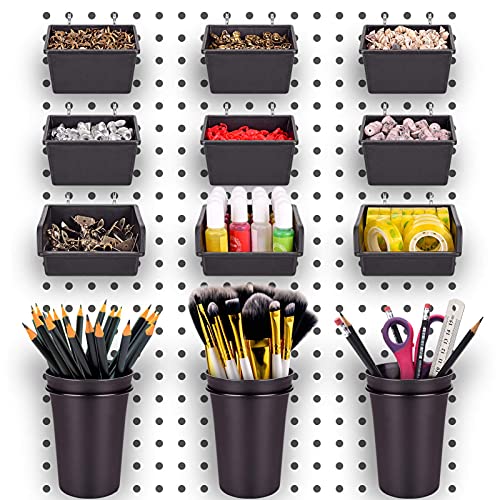
ELEAD 260 Piece Pegboard Hooks 1/8 and 1/4 inch peg Board Organizer Accessories with Pegboard Bins for Organizing Various Tools in The Garage Kitchen Bathroom Craft RoomDualshine Premium Pegboard Combination Kit, Versatile White Wall Organizer with 2 Small Plastic Panels and 32 Accessories, Ideal for Craft Room, Bathroom, Nursery Storage, and Office (2212 Pack Pegboard Bins PegBoard Cups with Hooks & Loops, Peg Hooks Assortment Organizer Accessory Set, Various Tools Storage Arrange System Accessories Kit for Garage Craft Workshop Workbench HobbyPower Tool Organizer Wall Mounted, Tool Storage Organizer Holder, Heavy Duty Utility Rack, Garage Tool Organizer, Cordless Drill Holder, Pegboard Tool Organization, Tool Shelf for Men,Father’s Day


Step #3. Focus on One Zone at a Time
I know we have covered a lot so far and it can be so easy to get overwhelmed. Take a minute to catch your breath.
When we are in the middle of a big project and let’s face it, this is a big project, it can be easy to lose focus and start to freak out just a bit. If this is where your mind is, I want to encourage you to take a step back and bring that finish line in.
Break your project into a more realistic game plan so you can experience more small wins as you work your way through this space.
This may mean focusing on just one zone at a time instead of the entire room.
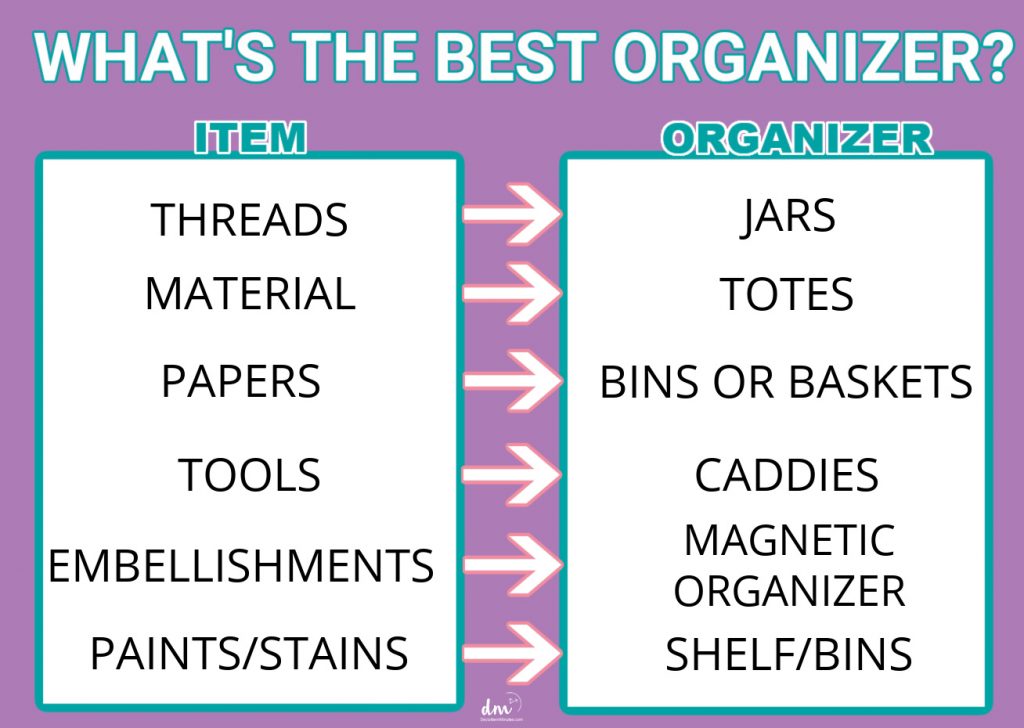
What does this look like? Look at the overall room and pick out one area to put your focus first. Take a look around and ask yourself what tools would make it easier for me to work on this activity and enjoy the project at hand? This could be bins, baskets, boxes, jars, or complete organizers.
Write down a few options you can see that may work well in this zone and help contain tools and supplies more easily while you are working. When organizing any area your goal is to make it easy to find what you need and just as easy to put those items away again.
Action Step: Look at each zone and make a list of organizers that you would love to have in this space.
Once you have your list remember to shop your home first. This means taking a looks at your stash of tools that I am sure you already have scattered around your home. You might be surprised at what you already have that might just be the answer to an area in your craft room.
READ: How to Setup a Decluttering and Organizing Kit
Step #4. Get Inspiration!
Once you have a plan you can then get into the fun part. Finding organizing ideas that will fit your room and your organizing personality.
Jump over to the zone you want to set up first and check out some organizing ideas here (see below), online, or on Pinterest. Adopt the ones that make you smile and skip over the ones that just don’t fit with your room or your personality.
If it helps, take your phone or laptop into your craft room and see if any of the ideas below will work for you in any of your zones.
Action Step: Have fun with this, dream big because you deserve it! Remember, there is no right or wrong here, our goal is to just inspire you to create a room you love to be in so you can enjoy the space rather than avoid it like the plague.
What’s next? Check out a few of these focused articles that will help you to set up each area in your craft room! And bookmark this page so you can stop back as I add more!
Organizing Ideas for your Sewing Room
This is your space and you can have fun with it all the while putting your stamp on things and making it your own. Do you have fun ways to organize a craft room? Share in the comments below!