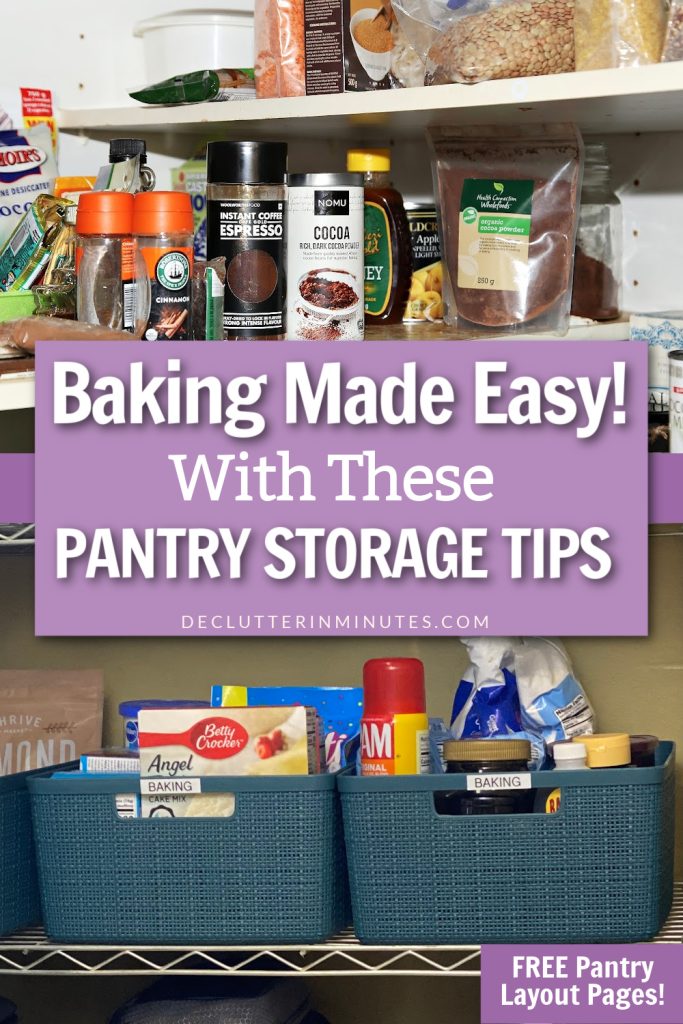
How to Organize Baking Supplies
Whether you love to bake for just the holidays or if homemade cookies are a weekly task, this guide on how to organize baking supplies will help to streamline your ingredients. When everything’s in the right spot, you’ll spend less time digging around and more time having fun in the kitchen.
Use this approach in all your pantry organization layouts and set up an area that is neat and easy to keep that way.
Back when I was younger, baking was a daily thing for me. I’d whip up muffins for breakfast or brownies for lunch, and honestly, those were some of my favorite moments. But I also remember the chaos of trying to find everything I needed. I’d grab a container from one cabinet, a bag from another, only to realize I was out of cocoa powder. Again.
Setting up a spot just for your baking supplies can make life so much easier. You’ll save time gathering everything and always know what you’ve got on hand. Trust me, it’s a game-changer.
How to Organize Baking Supplies
If you love baking, you know how frustrating it can be to dig through a messy cabinet or pantry, hunting for flour or cocoa powder. Organizing your baking supplies doesn’t just save time; it makes the experience more enjoyable.
Supplies You’ll Need
Before you jump in, gather a few items to help with the organizing part of this project.
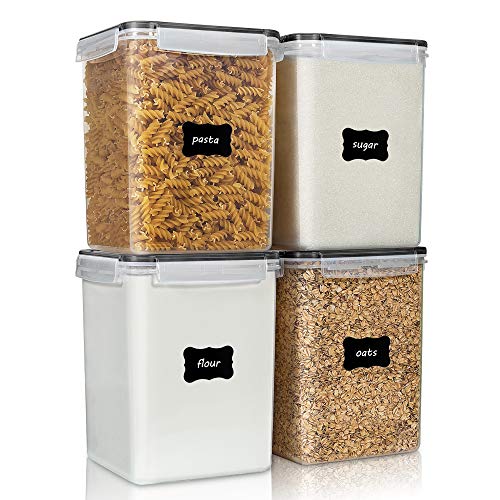
- Airtight containers for dry ingredients like flour, sugar, and baking powder. These are the containers I use, and even thought they are a cost investment, they are worth it!
- Labels or a label maker to keep everything easy to identify.
- Bins, baskets, or clear organizers to group similar items together.
- Containers with scoops so you can grab-and-go directly from the container.
- Cleaning spray and a cloth for cleaning the area so you can start fresh.
- A shopping list for anything you might need to replace or stock up on.
If you don’t already have these supplies, don’t worry. You can decide exactly what you’ll need as you declutter and start your wish list of pantry organizers.
Vtopmart 4 PCS Large Food Storage Containers 5.2L / 175oz, 4 Pieces BPA Free Plastic Airtight Canisters for Flour, Sugar, Baking Supplies, Rice with Lids, 4 Measuring Cups and 24 Labels, Black Progressive International Prepworks ProKeeper Kitchen Clear Plastic, Airtight Food, Flour and Sugar Storage Container Set, 6 Piece, WhiteOXO Good Grips 3-PC Small Square Short POP Container Set, White,Grey


Step 1: Declutter Your Supplies
Start with a clean slate by pulling everything out of your baking section. Yes, everything. This might feel overwhelming, but trust me, it’s worth it. Lay it all out on a counter or dining table so you can see what you’re working with.
Get tips on how to Declutter a Kitchen Pantry for a step-by-step approach..
Check the expiration dates on your ingredients. Flour, sugar, baking soda, and spices all have a shelf life. Toss anything that’s expired or looks questionable—like that half-used bag of almond flour from three years ago.
While decluttering, jot down items you’re missing or anything that needs to be restocked, like vanilla extract or brown sugar. This will make your next grocery trip more focused.

D/M Pro Tip: Pop a terra-cotta brown sugar saver into your container to keep your sugar soft and easy to scoop, instead of turning into a rock-hard clump.
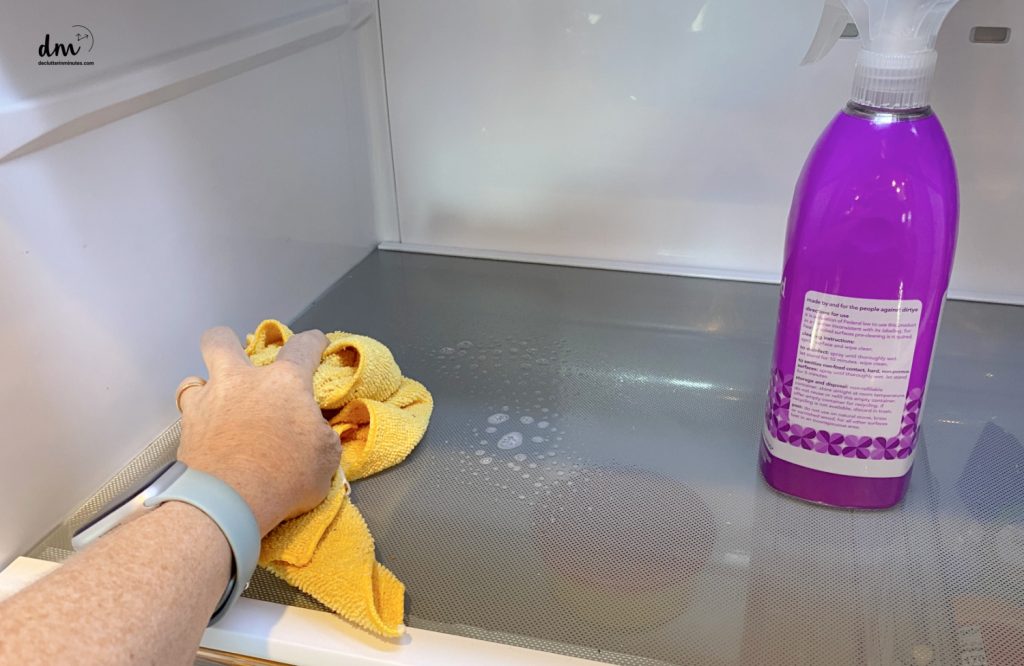
Step 2: Clean Your Space
Now that your shelves or cabinets are empty, it’s the perfect time to give them a good cleaning. Grab a damp cloth and some all-purpose cleaner, and wipe down every surface. Be sure to get the sides, the back, and the door.
Starting with a fresh, clean space makes this project feel more complete and (hopefully) will motivate you to keep up with the new layout.
Step 3: Sort and Organize
With your supplies decluttered and your space clean, it’s time to start putting everything back in a way that makes sense so it’s easier to keep up with.
- Group similar items together: Store all your flours in one section, sugars in another, and spices or toppings (like sprinkles and chocolate chips) in their own spot.
- Transfer dry ingredients into airtight containers: Flour, sugar, and other dry goods stay fresher longer in sealed containers. Bonus points if they’re clear, so you can see when you’re running low.
- Use bins and baskets for oddly shaped or smaller items, like cupcake liners or cookie cutters. This keeps them from rolling around and getting lost.
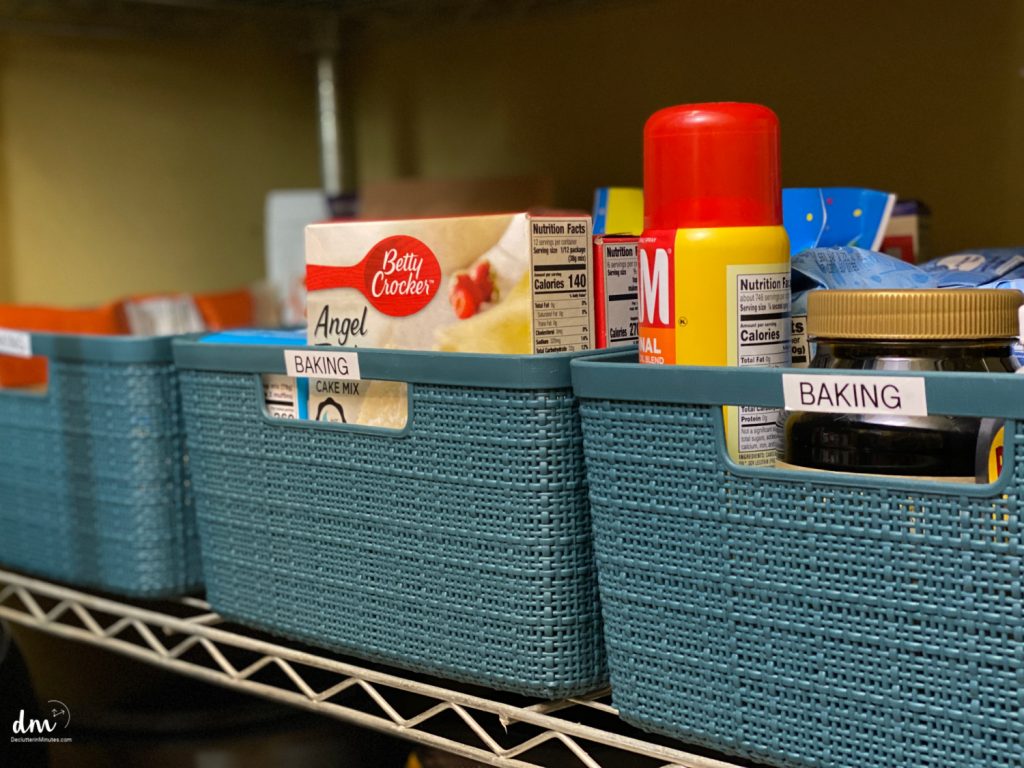
- Label everything! Even if you think you’ll remember which container holds what, labels save you (and anyone else in the kitchen) from second-guessing.
D/M Pro Tip: Take it a step further and add a label to the shelf. Something as simple as “Baking Supplies” can be a nice reminder for you (and the whole family) about what belongs there and what doesn’t.
Step 4: Add Organizers
You can really make the most of your space with these tools—they’re great for squeezing in extra storage, even in the smallest spots.
- Tiered shelves are great for stacking jars, small containers, or spices.
- Pull-out drawers are great for cupcake liners or bags of powdered sugar.
- Lazy Susans keep smaller items like extracts or food coloring easy to get to.
D/M Pro Tip: Take a moment to consider how you bake. If you’re always reaching for sprinkles or brown sugar, make those easy to access rather than tucked away.
Step #5. Keep your layout functional
Even if you have a large space and plenty of storage space, how you plan the layout matters. Keep things you use often within easy reach and things you use left often further away.
Tips for Your Space
Whether it’s a cluttered pantry or a cramped cabinet, there are simple ways to turn every space into a more organized and functional part of your kitchen.
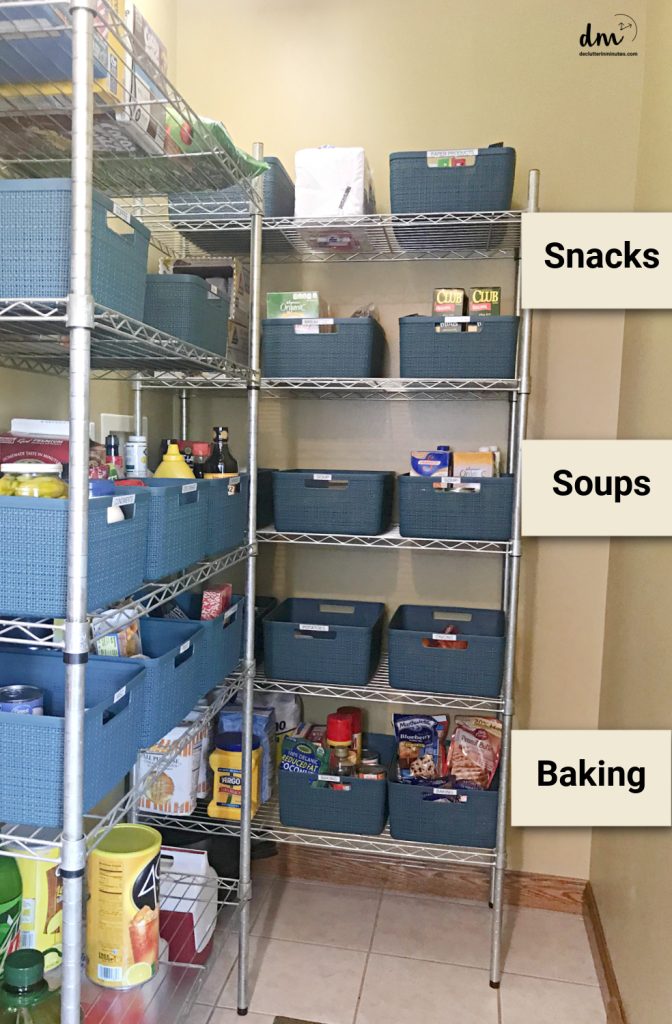
For the Pantry
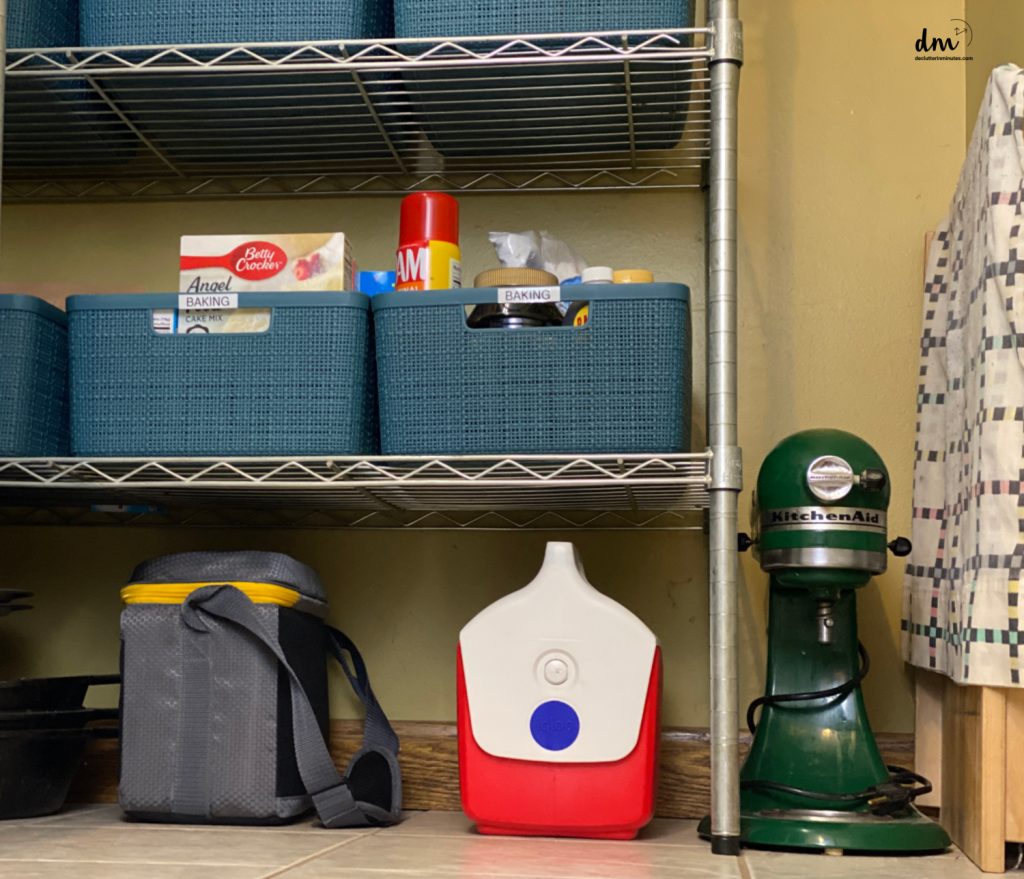
If you’ve got pantry space for your baking supplies, lucky you. Use it smartly by putting heavier items like big bags of flour or sugar on the lower shelves (your back will thank you). Smaller things like cupcake liners or spice jars can go up higher, where they’re easy to grab.
Try grouping everything by category, so you can spot what you need in seconds. And here’s a pro tip: use a big bin or basket labeled “Baking Supplies” to keep smaller tools like rolling pins and cookie cutters from wandering off.
Curver Set of 4 Jute Large Decorative Plastic Organization and Storage Basket Perfect Bins for Home Office, Closet Shelves, Kitchen Pantry and All Bedroom Essentials, GreyBLLREMIPSUR 3 Pack White Storage Bin, 10FUCDTEFC Black Plastic Basket, 8 Pack Home Organization and Storage Baskets with Handles, Space Saving Woven Organizer Bins Plastic Storage Basket for Organizing Cabinets,Closets, Shelves, Countertops


If you are short on space, get our best pick list of organizers on a small pantry to streamline any area.
Inside Cabinets
Cabinets can be a great storage option for holding your baking supplies. Stackable containers are total game-changers for keeping things organized and making more room. The back of your cabinet doors? Perfect for hanging racks that hold measuring cups or tiny tools.
Feeling short on space? No worries! Keep just the essentials in your cabinet, and find a spot for the extras somewhere else.
D/M Pro Tip: Want an easy way to stay organized while baking? Baskets are your best friend. They’re perfect for grouping similar items together, so you can grab everything you need and bring it over to your baking area in one go.
- Cookie Basket: Toss in chocolate extracts, chips, nuts, and raisins so you’re ready to whip up a batch anytime.
- Muffins or Cupcakes: Keep paper liners, sprinkles, and nuts together for your next muffin-making session.
- Cakes: Store food coloring and icing supplies in one basket to make decorating a breeze.
- Mixer tools: Keep all your mixer attachments and tools together for easy access.
With these baskets, everything you need is handy and neatly stored, making baking much more fun and hassle-free.
Organizing your baking supplies might take a little effort upfront, but it’s a game-changer once everything is in place. Not only will you enjoy your time in the kitchen more, but you’ll also feel like a pro every time you bake.
Now that you know how to organize baking supplies, you are ready to get your whisk on!
More Pantry Organizing Tips:
Keep the momentum going with another great project for your kitchen pantry!