Right-Size Your Cleaning Supplies and Create a Cleaning Area That Works
When your cleaning supplies are overflowing, cleaning feels harder than it needs to be. This is where learning how to right-size your cleaning supplies makes a real difference. Instead of storing backups you never reach for or products you don’t even like using, this approach helps you keep what you use and let go of what you did not.
If you’ve been following along with Downsizing 101, this is where those ideas turn into everyday action. In this post, you’ll learn a simple, step-by-step way to create a cleaning area that actually works for your home.

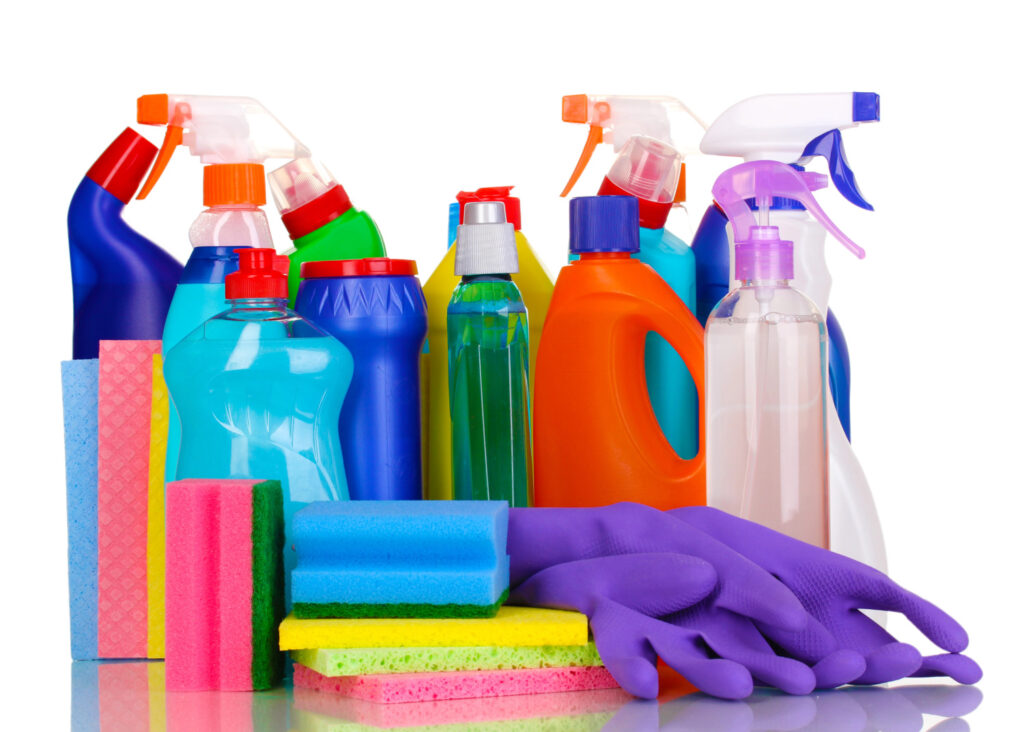
I used to have a lot of cleaning supplies. Hoard is probably too strong of a word, but looking back, I definitely had more than I needed.
When my boys were young and our family home was busy, it made sense at the time. The farm was active, people were coming and going, and there were always things that needed to be cleaned. I bought supplies in bulk, by the case, so I never had to worry about running out. Convenience felt responsible back then.
Then life changed.
We moved into a smaller home, became empty nesters, and suddenly my cleaning supply area was a fraction of the size it used to be. I also had boxes and boxes of cleaners sitting in storage because there simply wasn’t room for them in the house. That was a pretty big (and slightly embarrassing) wake-up call.
What once felt practical no longer fit how I was living, just my husband, me, and one busy dog.
What I soon realized was that right-sizing my cleaning supplies wasn’t about getting rid of things for the sake of it. It was about adjusting my home to match my life today. And while it took effort, the feeling of finally having a setup that worked was worth it.
Setting up a home that reflects who you are now isn’t always easy, but when you do, it feels right.
What It Means to Right-Size Your Cleaning Supplies
Right-sizing your cleaning supplies isn’t about having as little as possible. It’s about having the right amount for how you live now. That means keeping what you actually use and letting go of what you do not.
As life changes, our homes need to change too. What made sense when kids were home, schedules were full, or space was larger may no longer fit today. Right-sizing helps you adjust without pressure. You’re not doing it “wrong” if you once needed more, you’re simply choosing to set up your home in a way that fits who you are today.
This is one small, practical way to put downsizing into action where it counts: everyday life.
Step-by-Step: Create One Right-Sized Cleaning Area
Here’s a simple step-by-step way to right-size your cleaning supplies and set up a cleaning area that works.
Step 1: Choose Your Central Cleaning Area
Pick one main spot in your home where your supplies will live. This might be:
- An area in a linen closet
- A section of the laundry room
- A utility closet
- A cabinet in the kitchen or hallway
- A shelving unit in a basement
Choose a place that’s easy to reach and makes sense for how you move through your home.
Action tip: Take a slow walk through your home and notice where you do most of your cleaning. If it’s mainly the kitchen, your supplies may belong nearby. If bathrooms take most of your time, a linen closet might make more sense. There’s no right answer, just choose what feels easiest.
Step 2: Gather All Your Cleaning Supplies
Walk through your home and bring every cleaning product to one area so you can see what you’re working with. A kitchen table, folding table, or a large open countertop works well for this step.
Check places like:
- Under sinks
- In bathrooms
- In the laundry room
- On random shelves or in the garage
Action tip: Don’t sort yet. Just gather. Use a sturdy laundry basket or bin to collect items as you find them and bring everything back to your sorting area.
Step 3: Sort by How You Really Use Things
This step helps you set up a cleaning area that is practical and easy to maintain.
Once everything is in one place, create three groups:
- Use regularly
- Rarely use
- Do not use
Action tip: Use sticky notes or scrap paper to label each group. This makes it easier to pause and come back later without losing track of where things belong.
Step 4: Keep What You Use, Let Go of What You Did Not
This is where you get to choose your favorites and create a cleaning area that works efficiently for you.
Look at each item and decide if it earns a spot in your central cleaning area. When you choose what you use and enjoy using, it becomes much easier to see what the excess really is.
These questions may help:
- Do I reach for this often?
- Do I like using it?
- Does it work well?
- Do I already have something else that does the same job?
Keep what you use and feel comfortable using. Let go of what you do not. When several products do the same thing, keeping the one you reach for most often is usually enough.
Action tip: If you feel unsure about an item, set it aside in a “maybe” group. You don’t have to decide everything today, sometimes letting things sit makes the answer clearer.
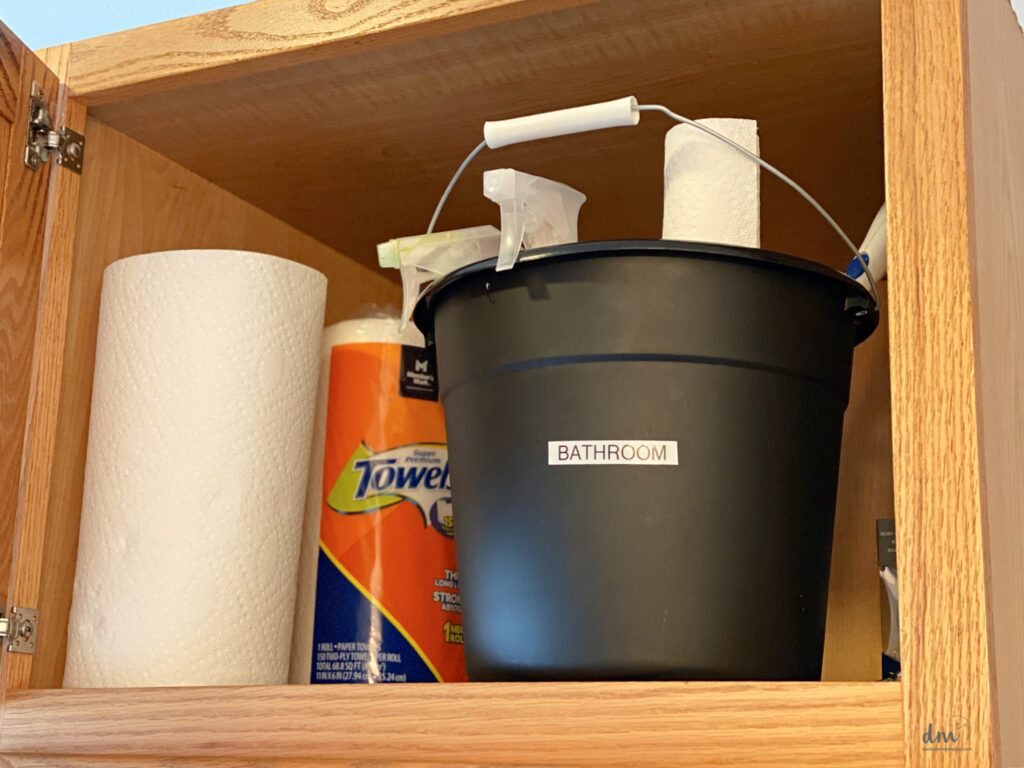
Step 5: Right-Size the Amount You Keep for the Space You Have
Your cleaning area doesn’t need to hold everything you’ve ever owned, it only needs to hold what you currently use and what comfortably fits.
As you place items back into the space, keep these guidelines in mind:
- Keep enough supplies so everything fits comfortably
- Avoid stacking, squeezing, or overfilling shelves
- Let extra backups go if they are taking up too much room
- Remember that most items can be replaced as needed
When your supplies fit the space without overcrowding, cleaning feels less frustrating.
Action tip: The goal is a central cleaning area that feels calm, not crowded. When you open the door or cabinet, you should be able to see what you have and grab what you need without moving a dozen other things.
Step 6: Make Sure Your Right-Sized Cleaning Area Works for You
Now that everything is back in place, take a moment to make sure your setup actually works in everyday life.
Look at your central cleaning area and ask:
- Can I see what I have at a glance?
- Are the items I use most within easy reach?
- Does everything fit without crowding or falling over?
- Is there a little breathing room so it doesn’t feel crammed?
You don’t need it to look perfect. You just want a space that’s simple to use and easy to keep up with when life gets busy.
Action tip: Use your cleaning a few times before making any changes. A quick real-life test will show you what works well and what might need a small adjustment.
How to Dispose of Cleaning Supplies Correctly
Once you’ve right-sized your cleaning supplies, the next step is knowing how to dispose of the excess in a safe and responsible way.
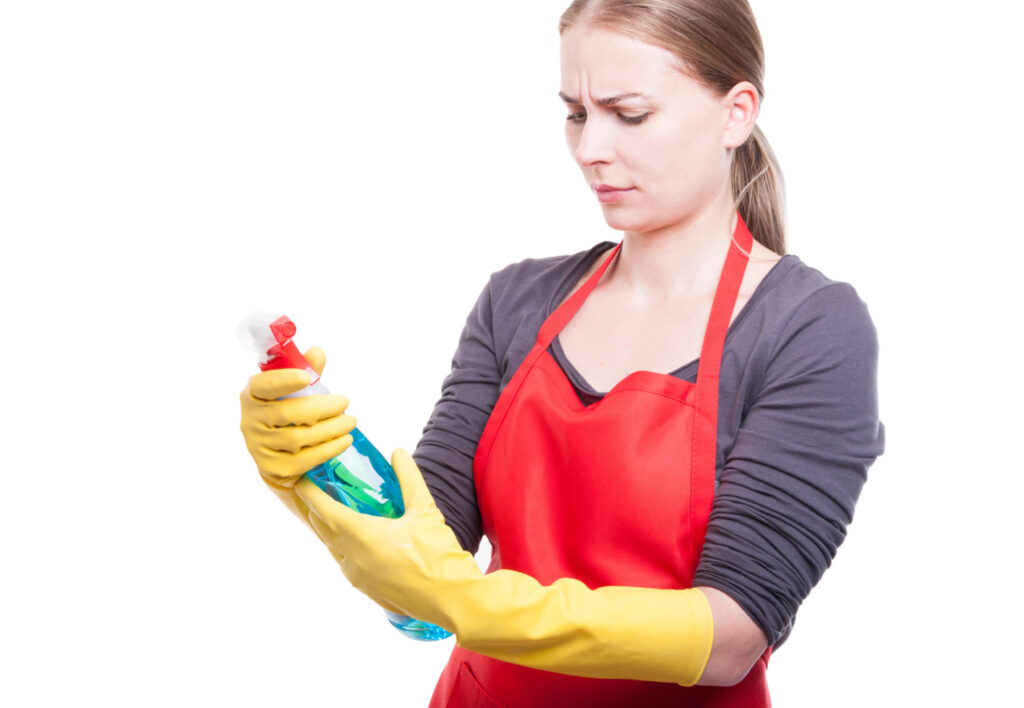
Start by reading the label on each product. Many cleaners include disposal instructions, and those directions are always the best place to begin. Some products can be poured out or rinsed away, while others need a little more care.
A few general guidelines to keep in mind:
- Never mix cleaning products together when disposing of them
- Do not pour chemicals down the drain unless the label says it’s safe to do so
- Empty bottles can often be rinsed and recycled, depending on your local guidelines
- Partially full or older products may need to be taken to a household hazardous waste collection site
If you’re unsure how to dispose of a specific cleaner, Earth911 is a helpful resource. Their website allows you to look up disposal options by item and location, making it easier to do the right thing without overthinking it.
Action tip: Before disposing of any cleaners, ask family or friends if they could use them. You may be surprised how happy someone is to take a few extras off your hands, and it makes letting go feel even better.
Right-sizing your cleaning supplies is one of those simple changes that makes everyday life feel easier. You’ve created a space that fits how you live now, without being overstuffed with excess, and that matters.
This is what right-sized living looks like in practice. You choose what you use, let go of what no longer fits, and set things up in a way that supports you instead of working against you. It doesn’t have to be complicated, and it doesn’t have to happen all at once.
If this felt good, keep going by tackling other areas of your home. The closet, the kitchen, or just the top of your dresser. Even small areas count because they really add up, and over time they create a home that feels easier to care for.
You don’t need to do everything today. You just need to keep going in a way that works for you.